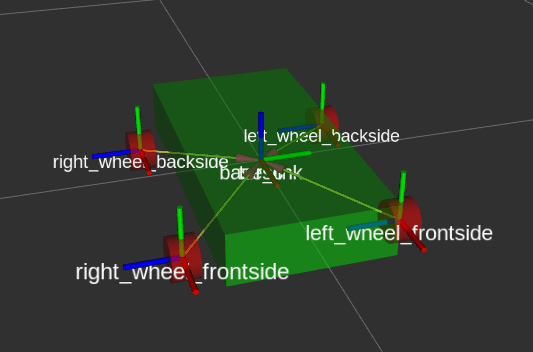
In the last article, I showed how to model a 4-wheel robot with the Robot Operating System. We explored how to model a robot with the main concepts of links, shapes in the form of boxes, spheres or cylinders, and of joints, which define the connection and the positioning of the links. This model is expressed as an URDF file, an XML file format. The final model is very verbose and has lots of repetitions.
URDF is a custom data format for describing robots. It’s an XML file that provides concepts such as joints, motors and the general dimension of you robot. From this description, you can create and apply simulations. In this article, I will explain how to describe a robot with URDF.
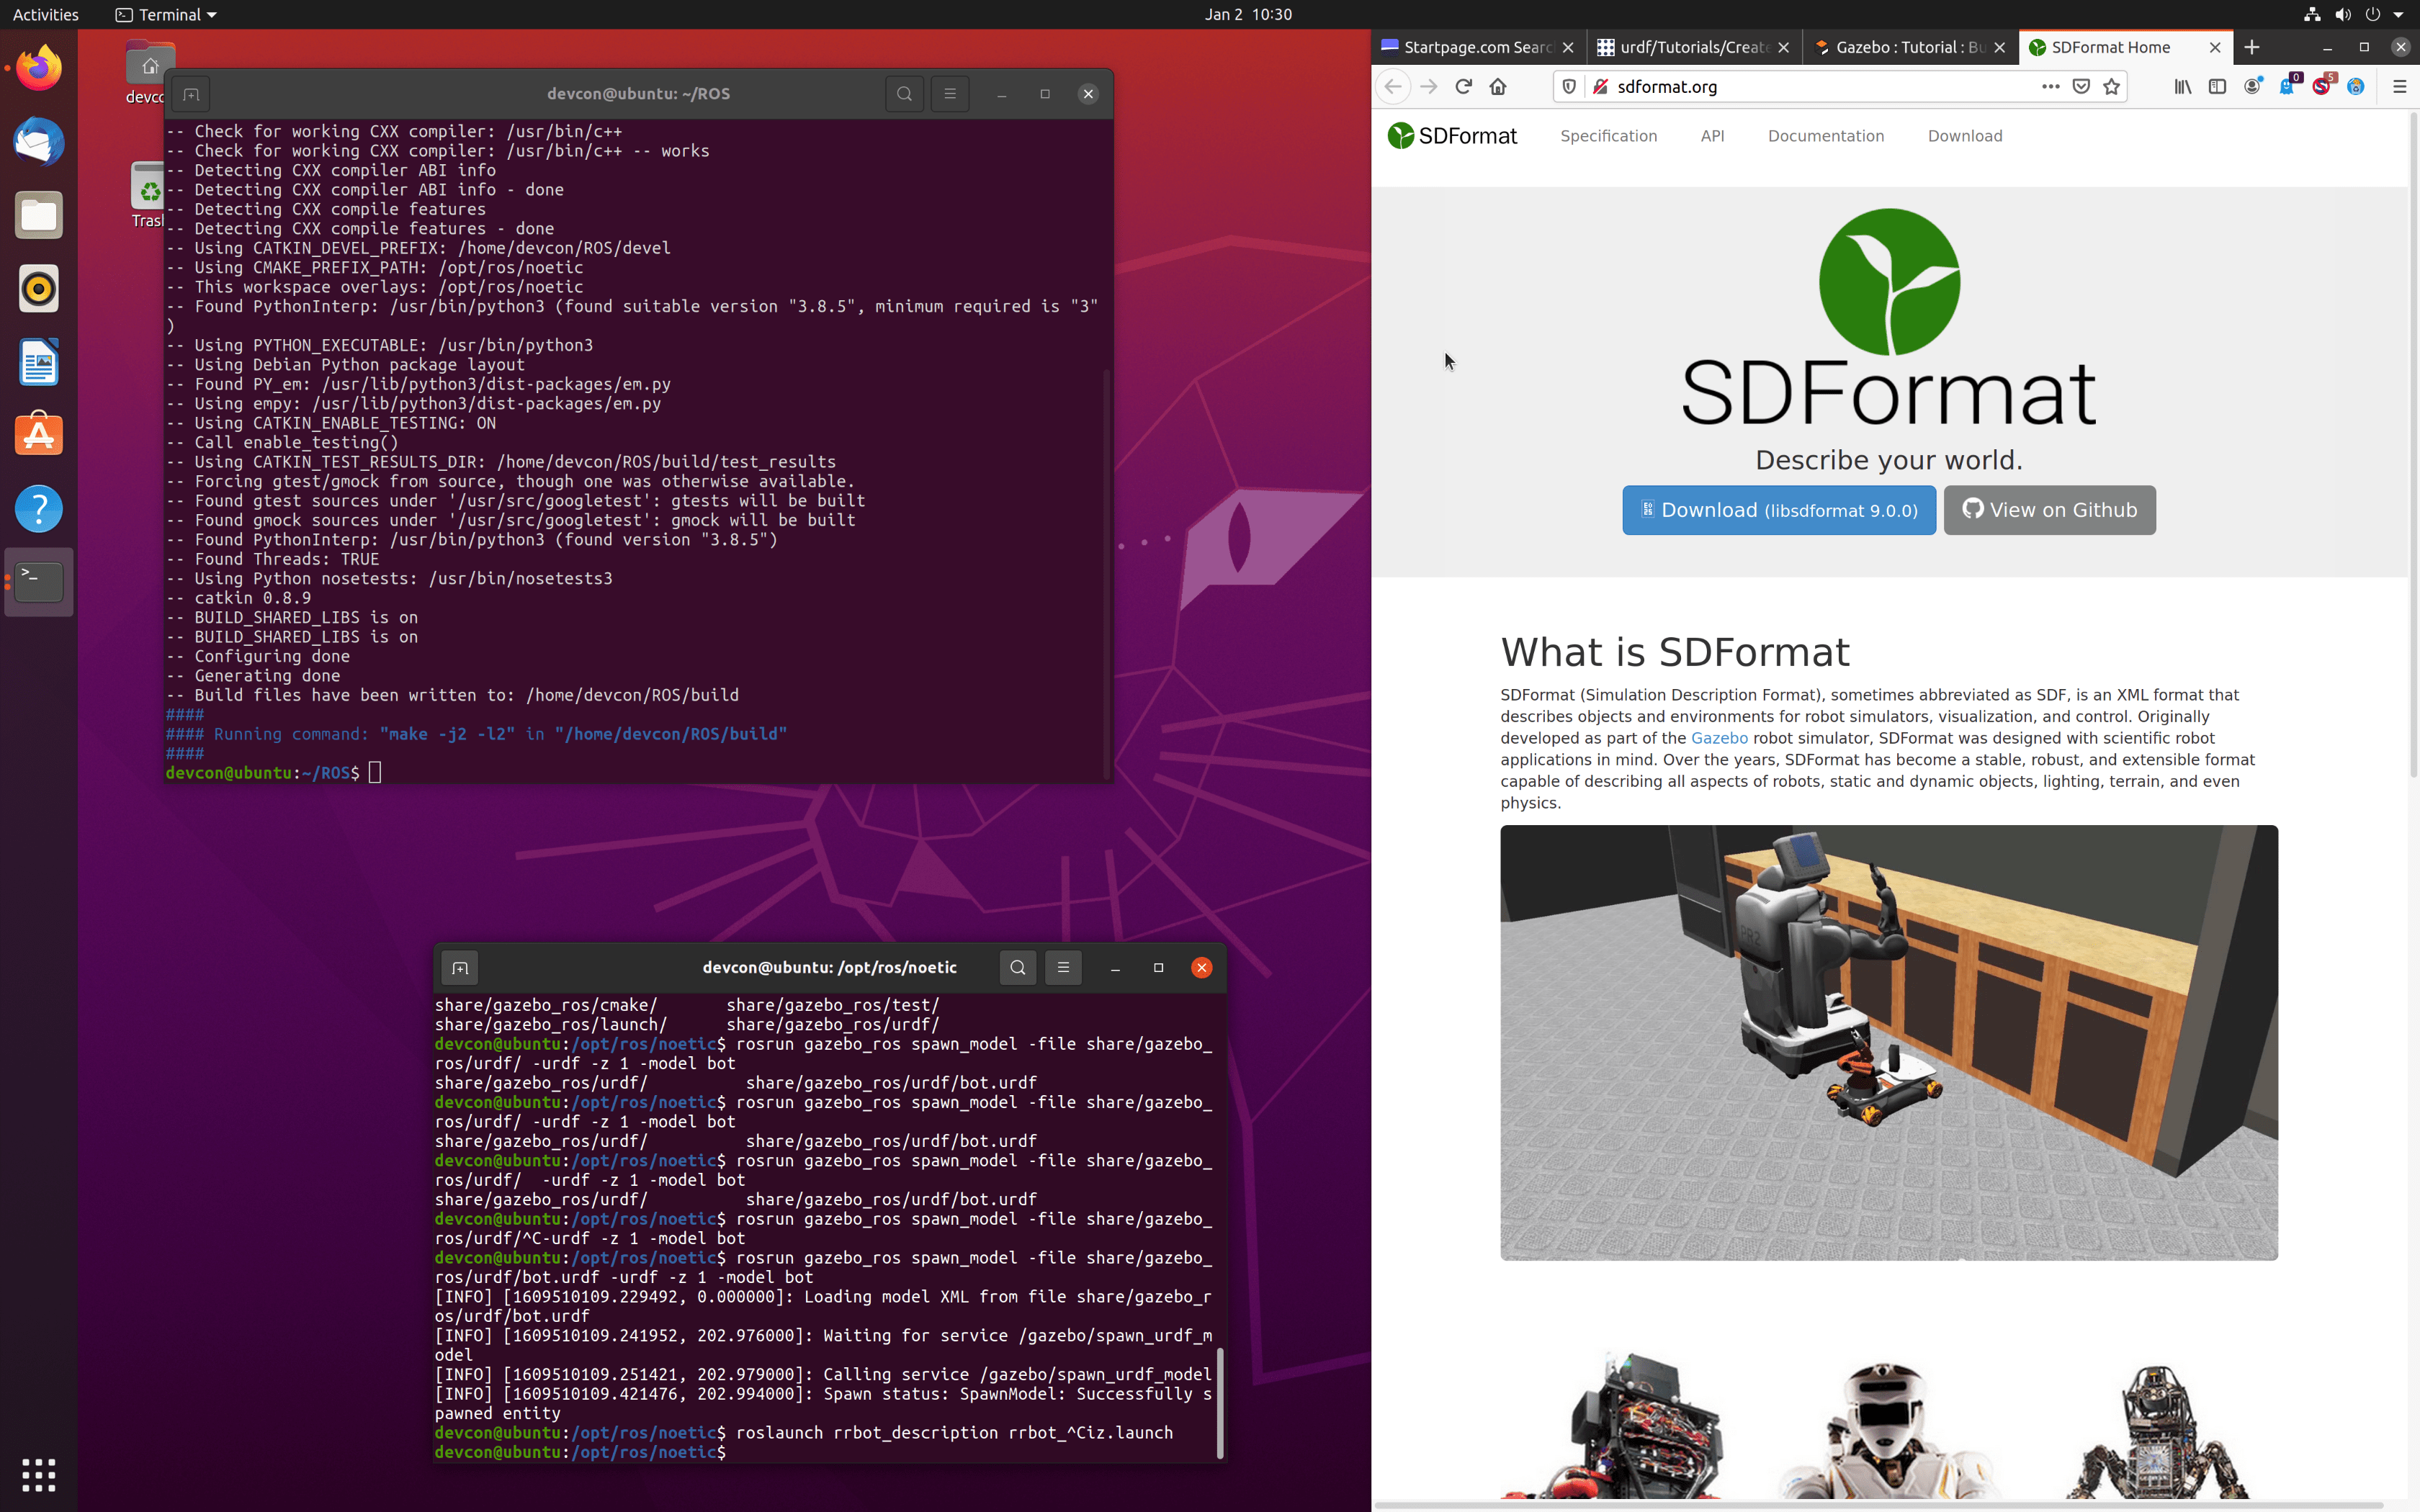
With ROS, you have a powerful array of tools to help in your robotics project. One of these tools is rviz, a visualization tool for your robot model described in an URDF file. When I wanted to use rviz, I thought it would be as simple as starting rviz via the command line and to provide the URDF file as a parameter. But this is not a case! While I was following other URDF tutorials, the simulation always worked. But I did not understand why. However, when I learn things from ground up, I want to know why things work - and if they don’t work, how to fix them.
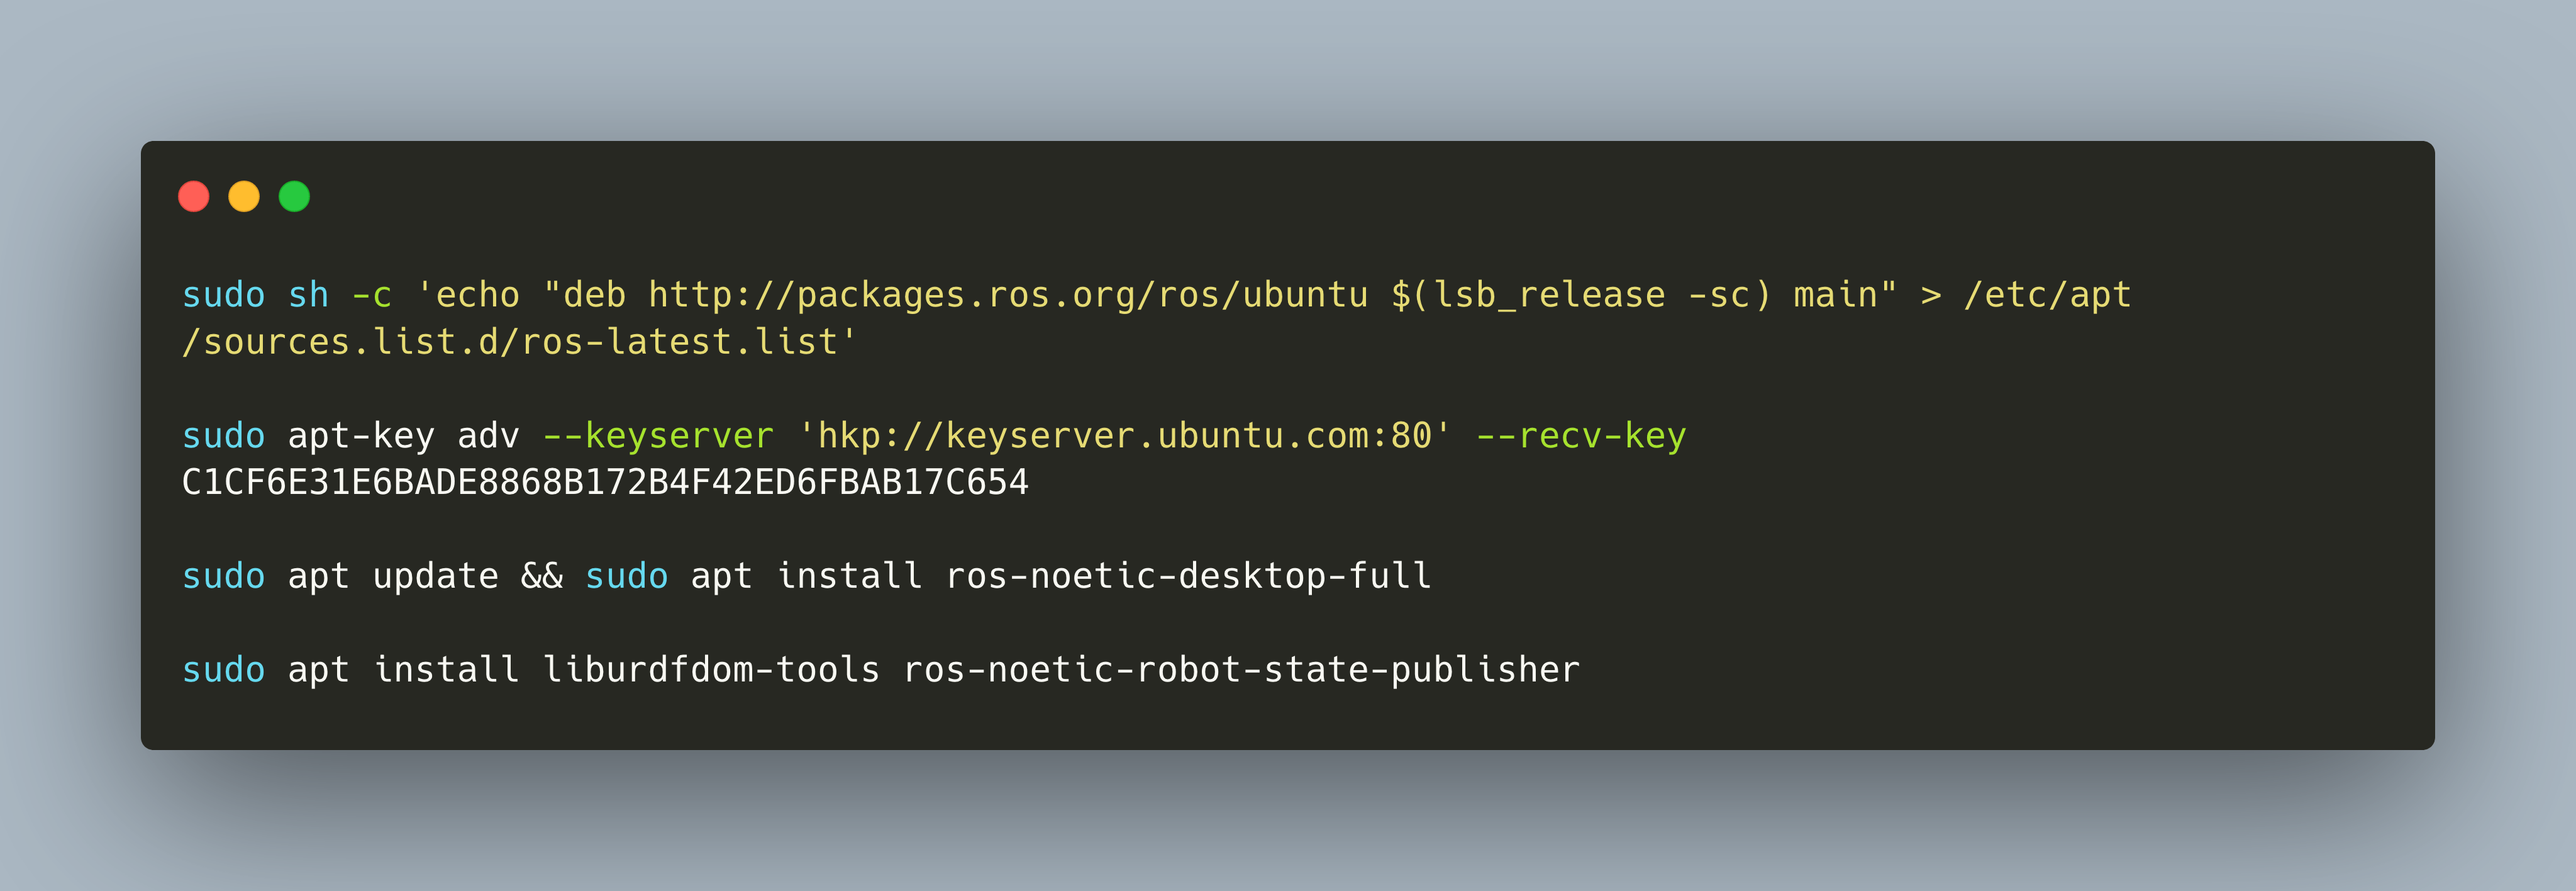
The Robot Operating System ROS is provided as several Debian packages. Installation instructions specifically target the Ubuntu distribution. If you want to get ROS running, its best to do so on an Ubuntu system. But what to do if you cannot use Ubuntu or have another operating system like OsX?
My ongoing goal is to build a self-navigating, pickup-and-deliver robot. Following the [project outline article](https://admantium.com/blog/robo01_intro/), I have researched the required hardware and software (phase 1) and built a moving robot prototype(phase 2). Now the goal is to use a robotics middleware software for simulating the robot with its chassis, movement abilities, and sensors.
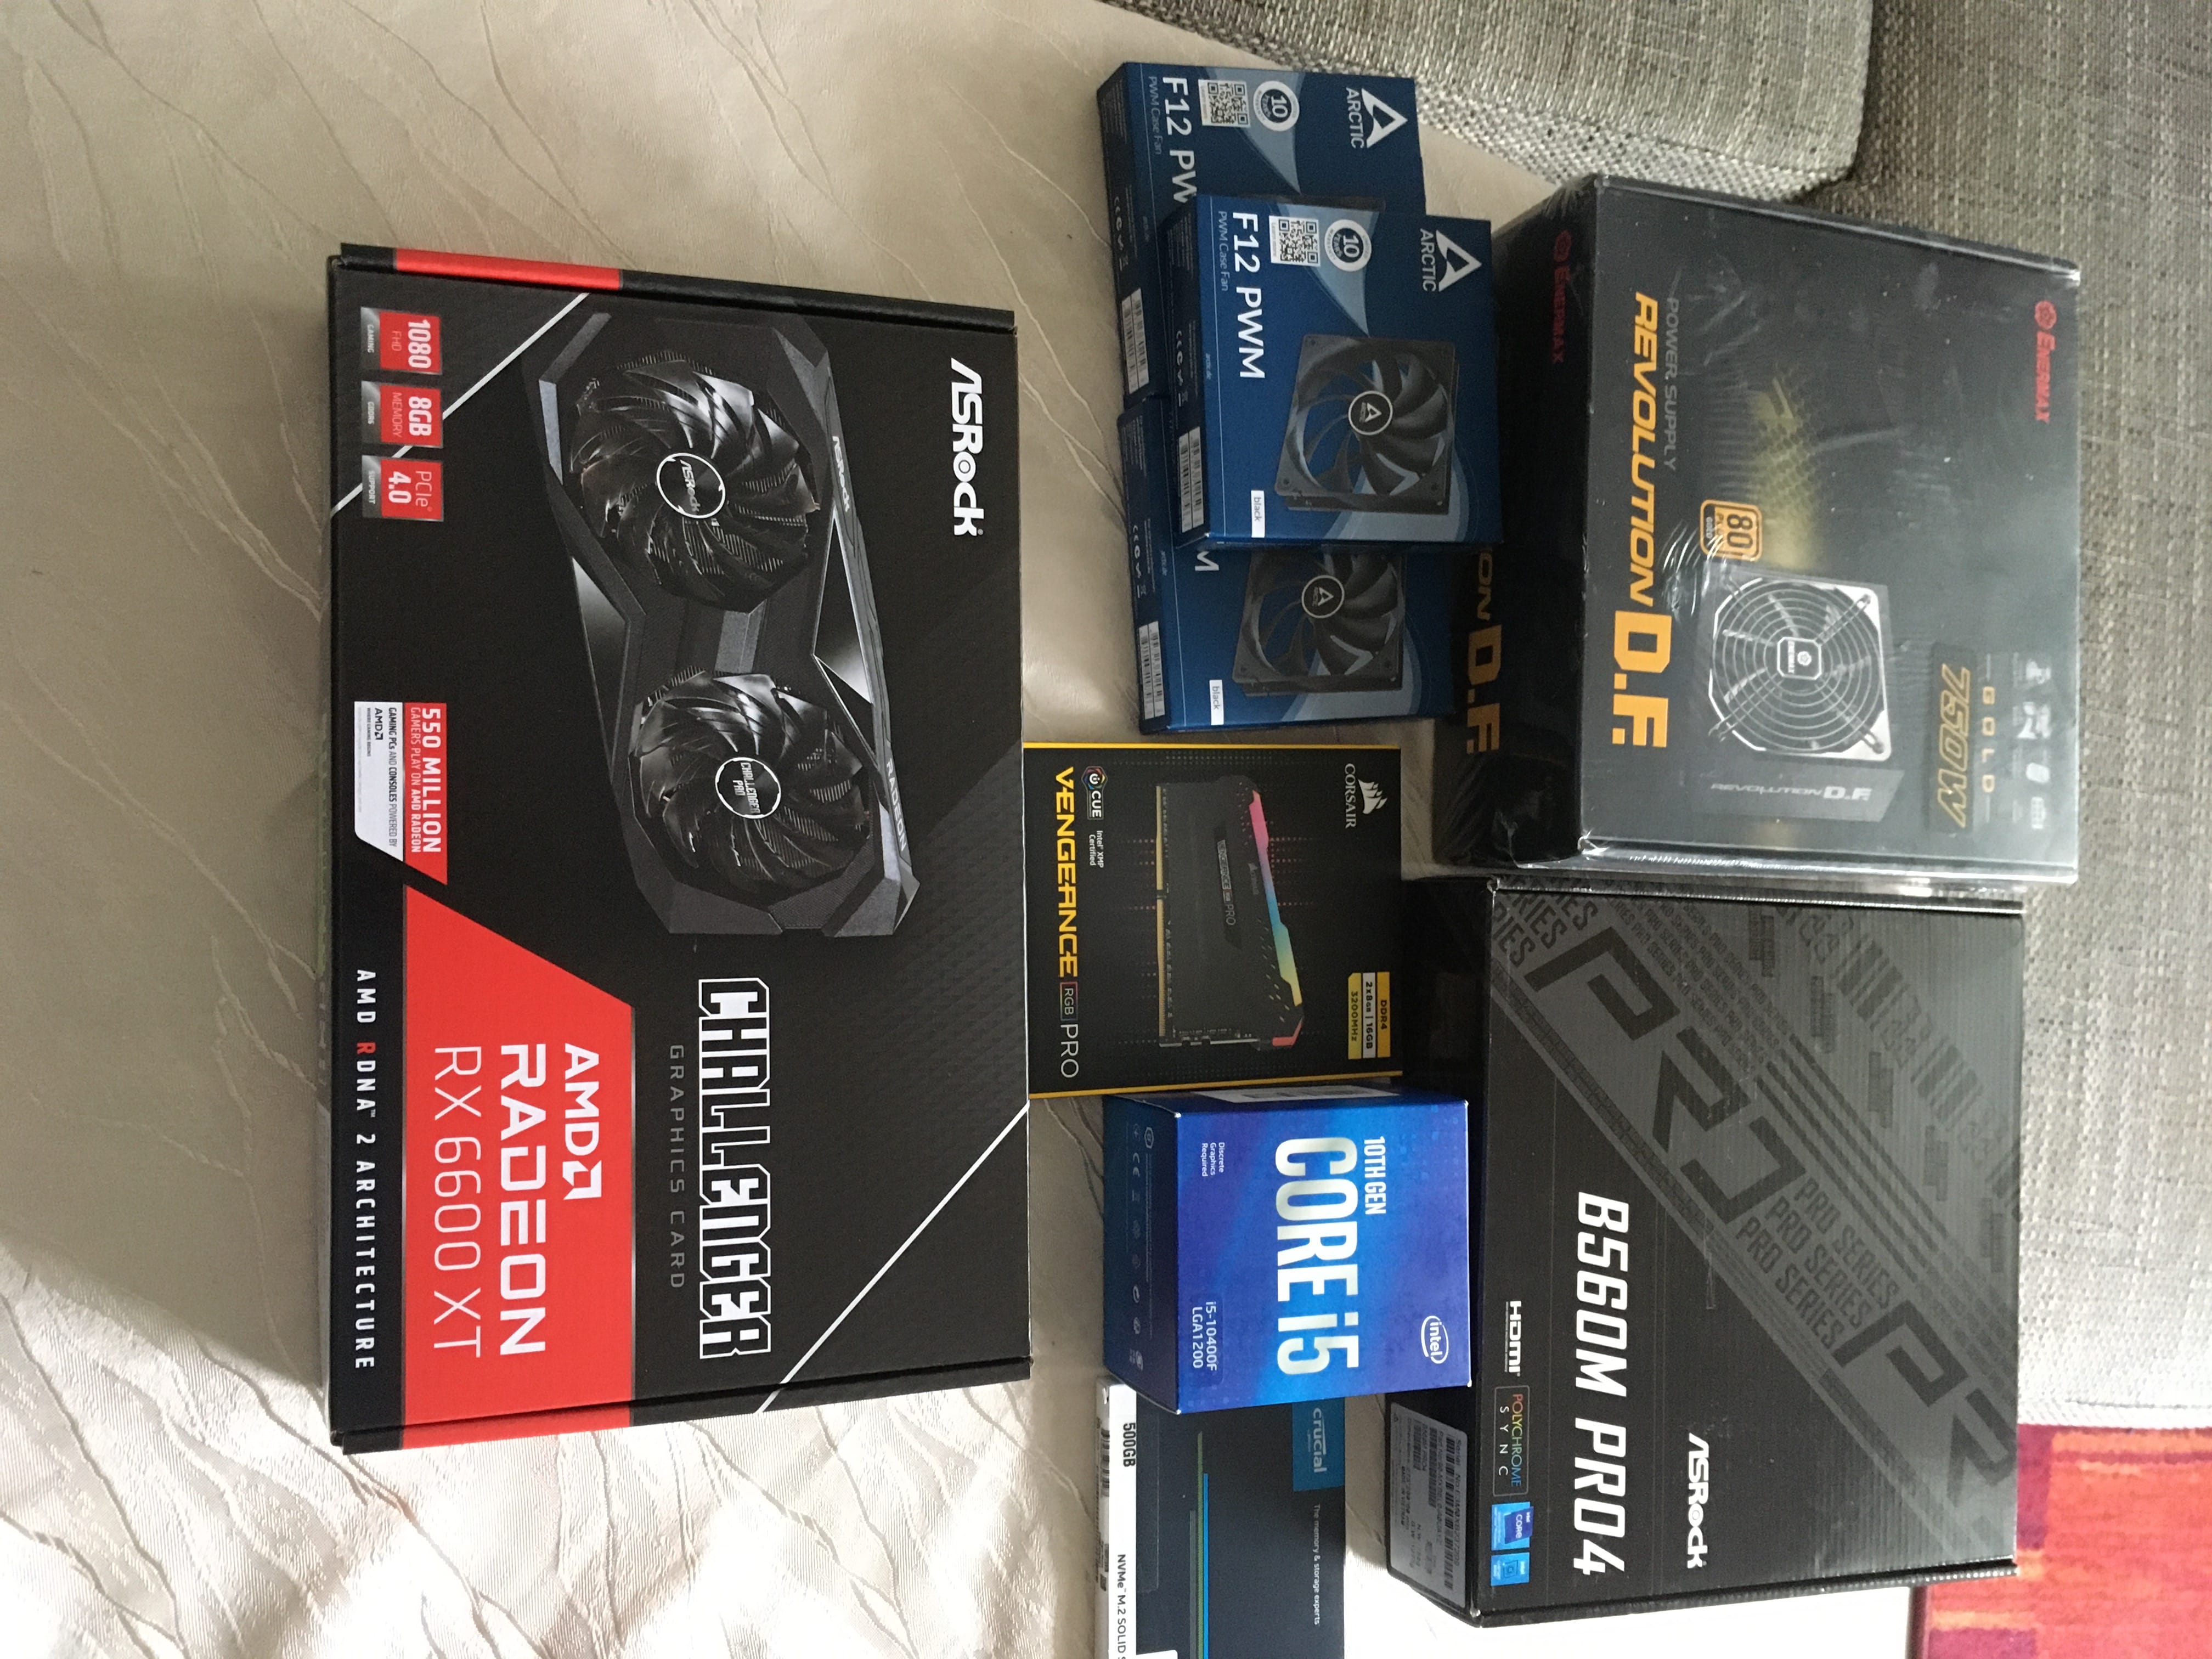
Since years I have been working with laptops and small desktop computers, completely preassembled hardware. This year, working with Arduino, Raspberry Pi and Robot Projects, I feel more interested and familiar with electronics and hardware. Also, with the advent of recent next generation game consoles that use NVME technology to accelerate graphics rendering, I became interested and fascinated with PC hardware. To catch up and out of pure educational purpose I decided to build a new PC from scratch.
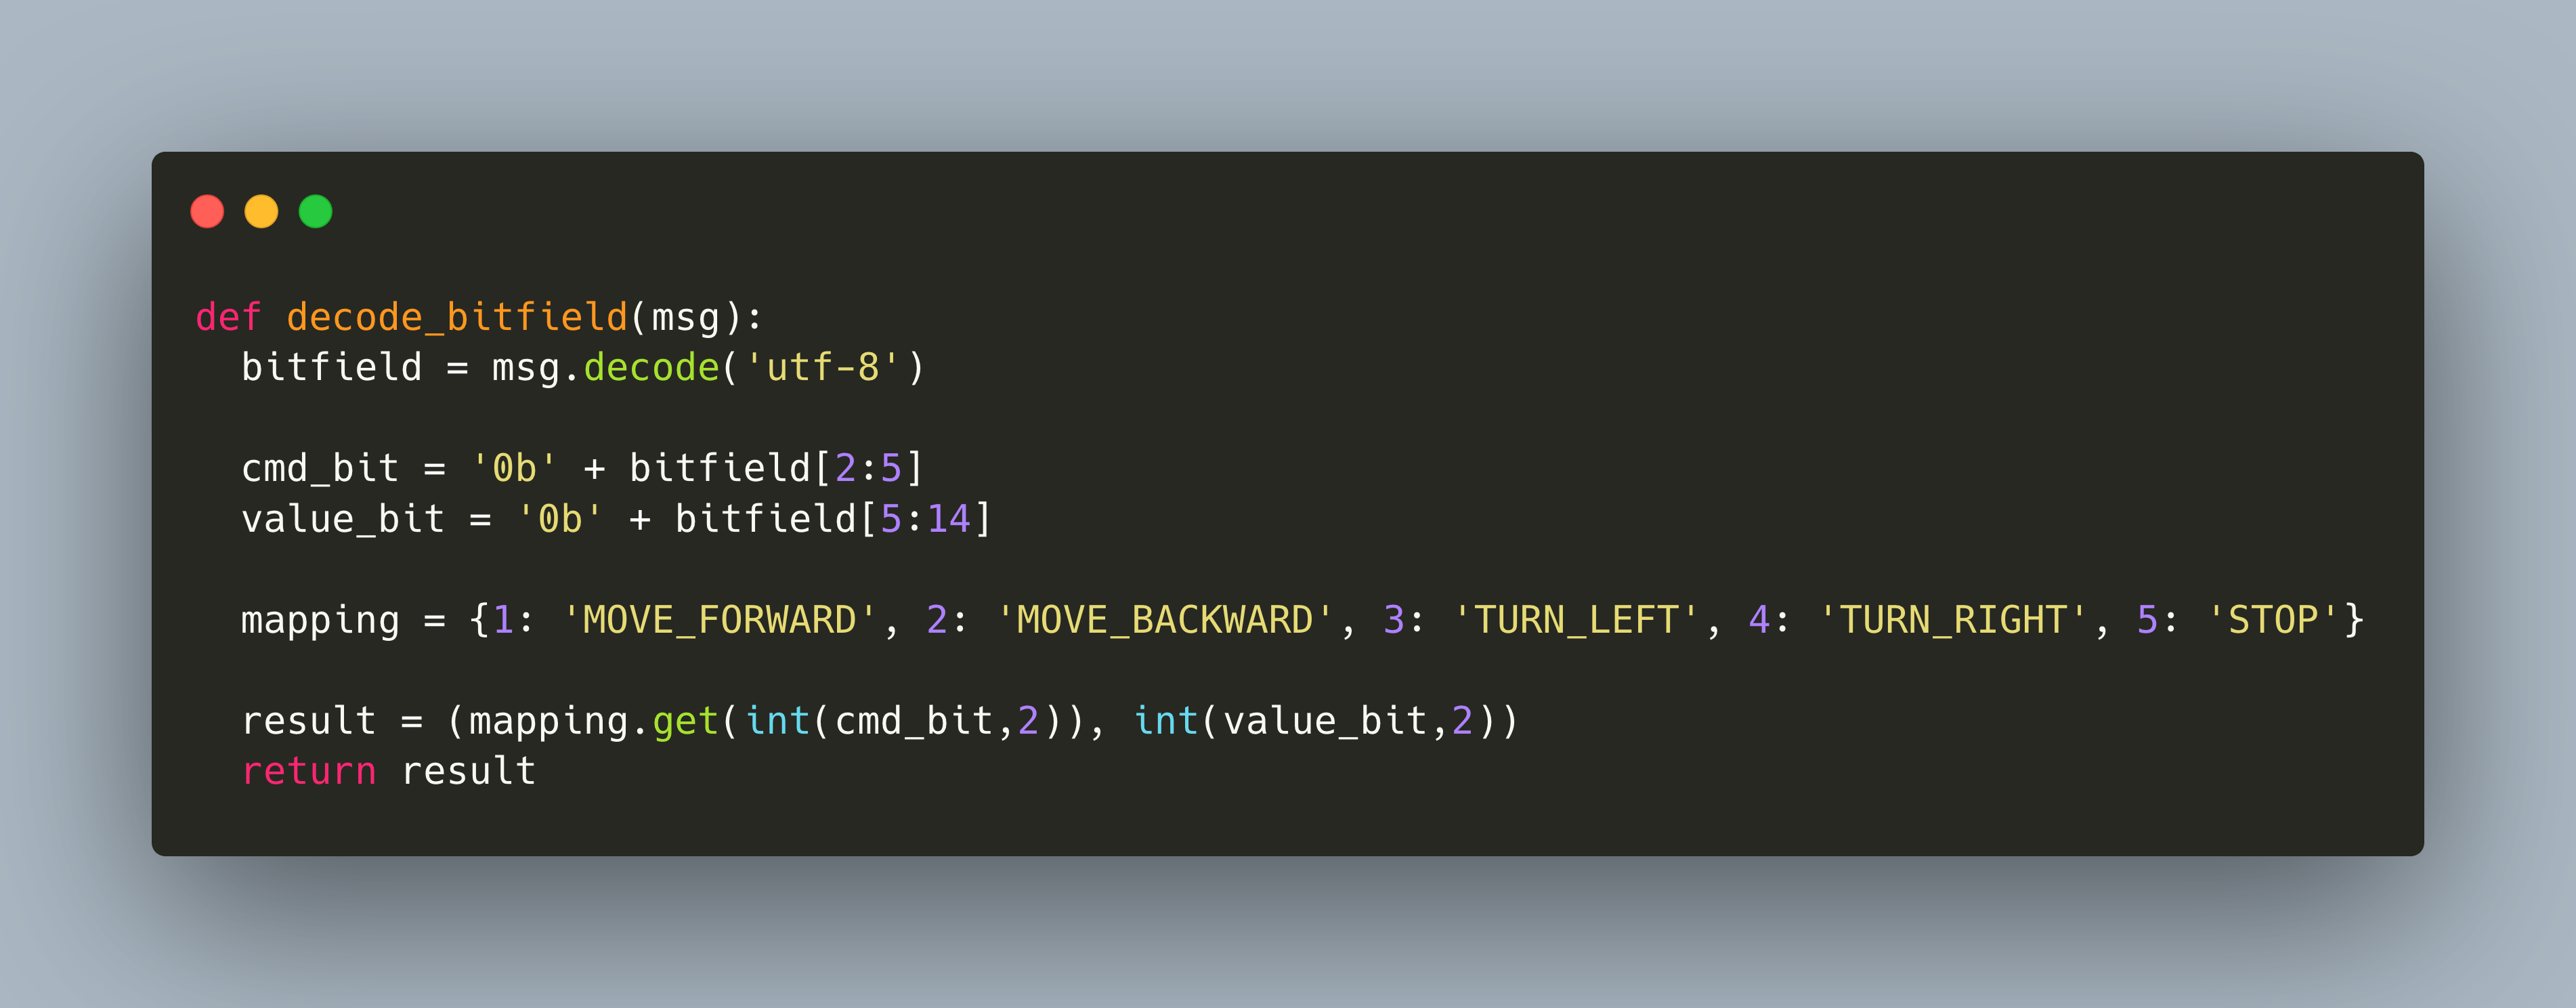
Sending serial data between microcontrollers and single-board-computers is an easy way to exchange information. In the last article, I showed three options how to connect the Raspberry Pi to the Raspberry Pico. At the time of writing this article, the best way is to use an USB-FTL connector on the Pi, and then to connect directly to TX/RX. This way, you do not need to configure anything special on your Pi and have a reliable connection.
At the beginning of 2021, I started my robot project. One of its subprojects was to get familiar with the Arduino and C-Programming. The Arduino is unchallenged in terms of sensor and actuator libraries, and unparallelled in the "connect and it works" experience. However, in the middle of the year, I made the decision to switch to using the Raspberry Pico and MicroPython to implement my Robot. This choice is motivated by using one and only one programming language for the Robotics middleware, the SBD and the Microcontroller, as well as to tap into the powerful Python libraries for image recognition that are offered by the RealSense D435 camera.
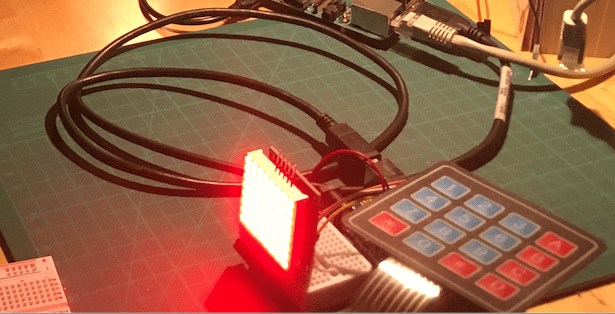
Every Arduino programmer needs to start somewhere. The first Arduino device is a simple combination of a membrane keypad and the an 8X8 matrix. When a key is pressed, it is shown on the 8X8 matrix. Just check the API for the membrane, figure out how to process the button pressed. And then send this character to the LED Matrix. This sounds very easy, right?
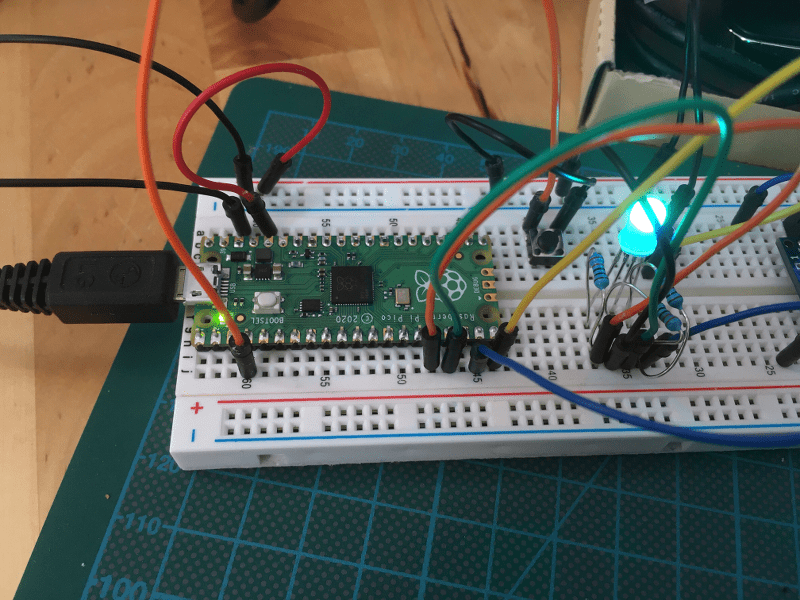
Every Arduino programmer starts with writing the first LED blinking sketch using the C programming languages. You understand basic imperative commands to define output pins and to change pins. You also know what functions are, and how the `setup()` and `loop()` methods interact. And from there on, you can use the full power of the C and C++ programming language.