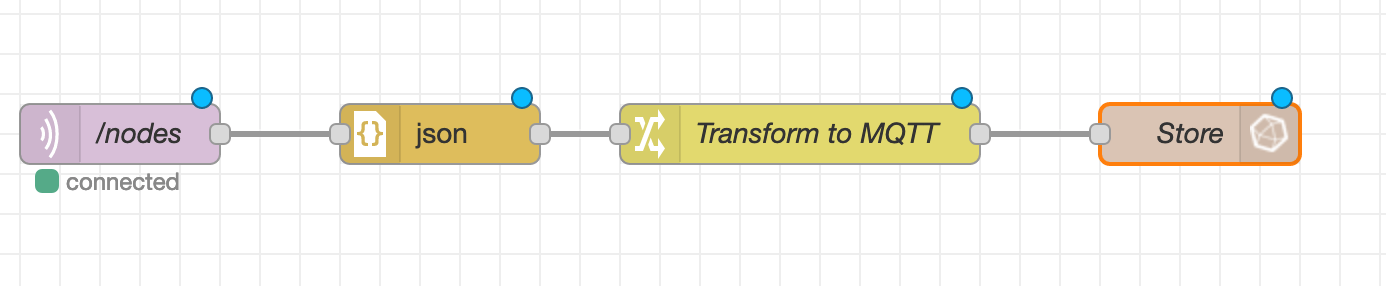
Fluent Bit is an amazing tool for logfile aggregation, processing and storing. Due to its flexible plugin architecture, each step of the processing pipeline from input, parser, filter, and output can be tailored to very specific data formats. And because of its small footprint on required computing resources, it’s also ideal to be used in an IOT context.
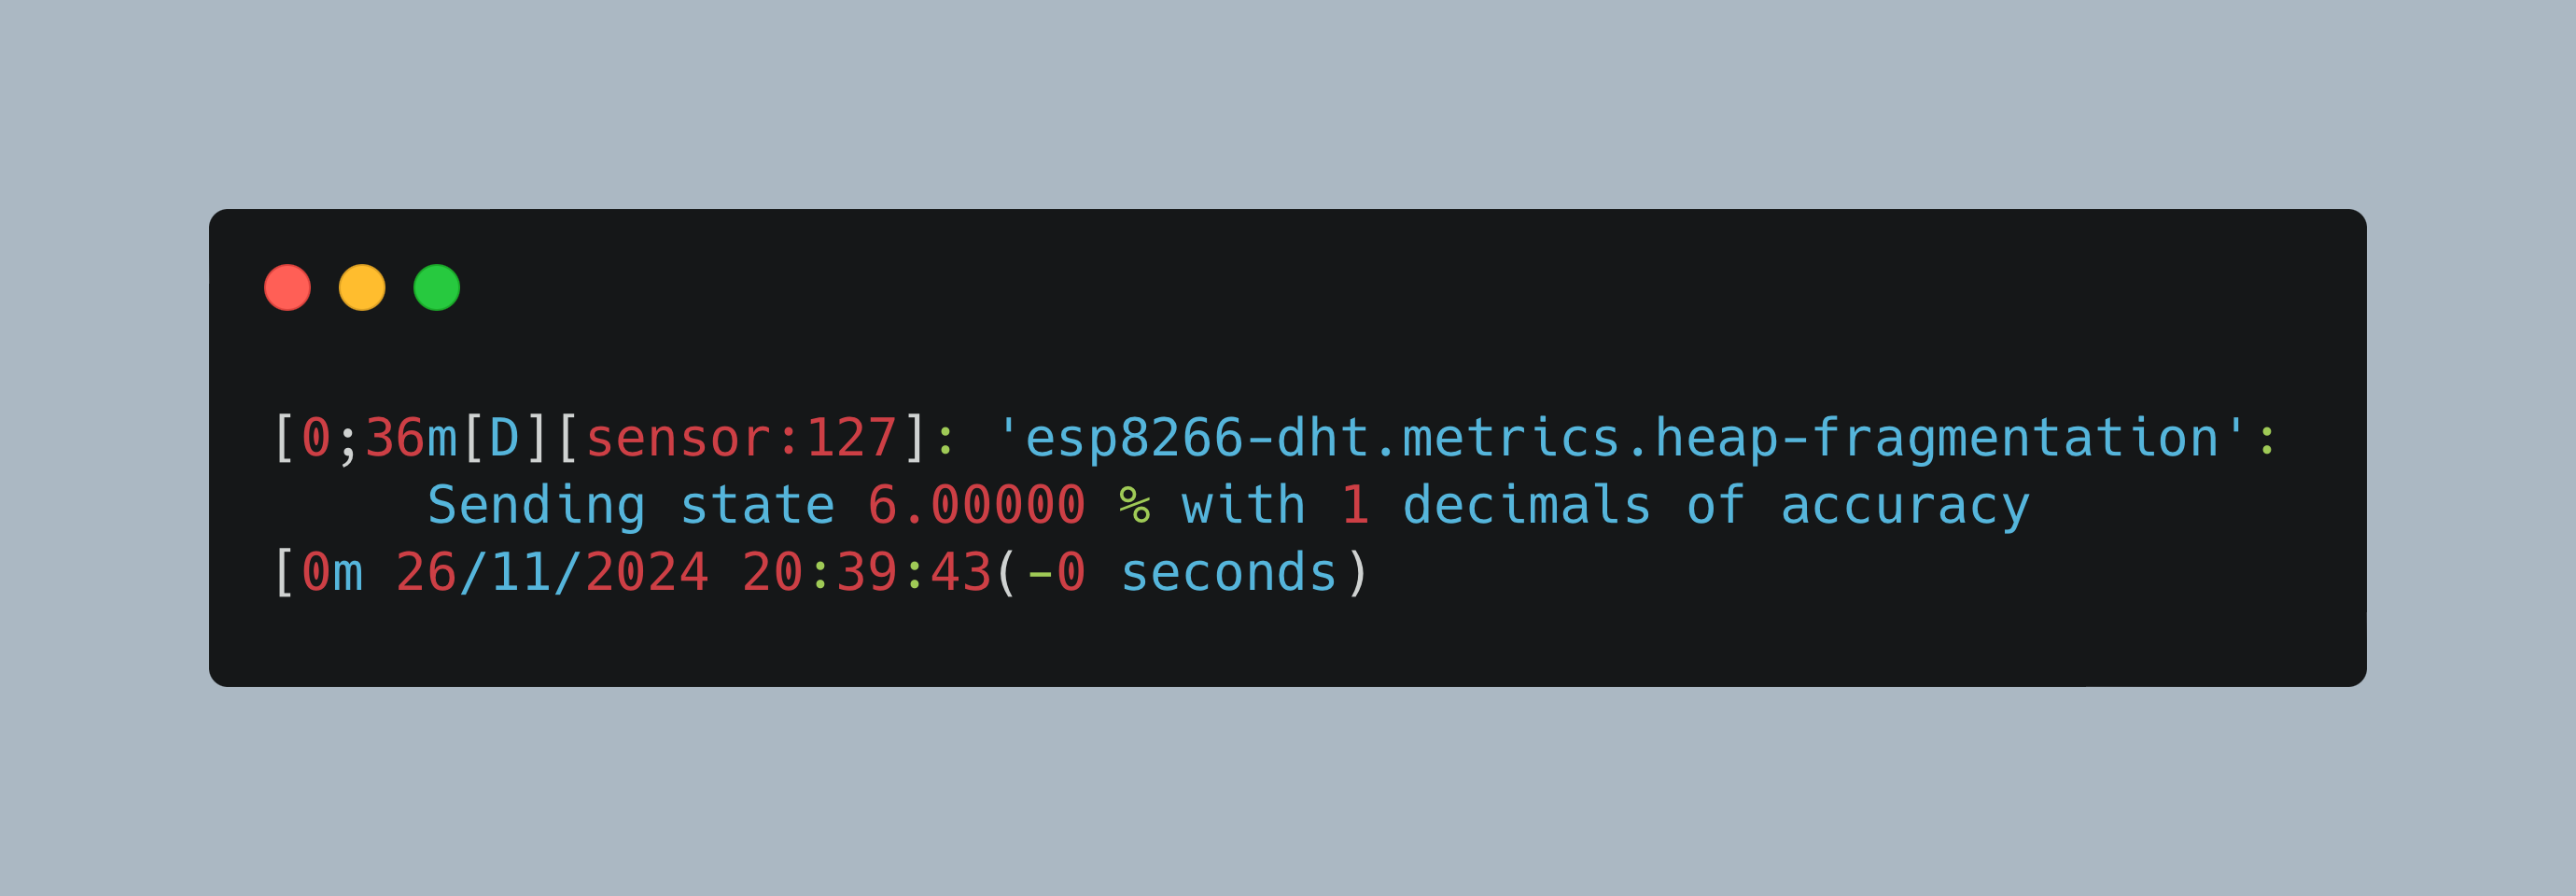
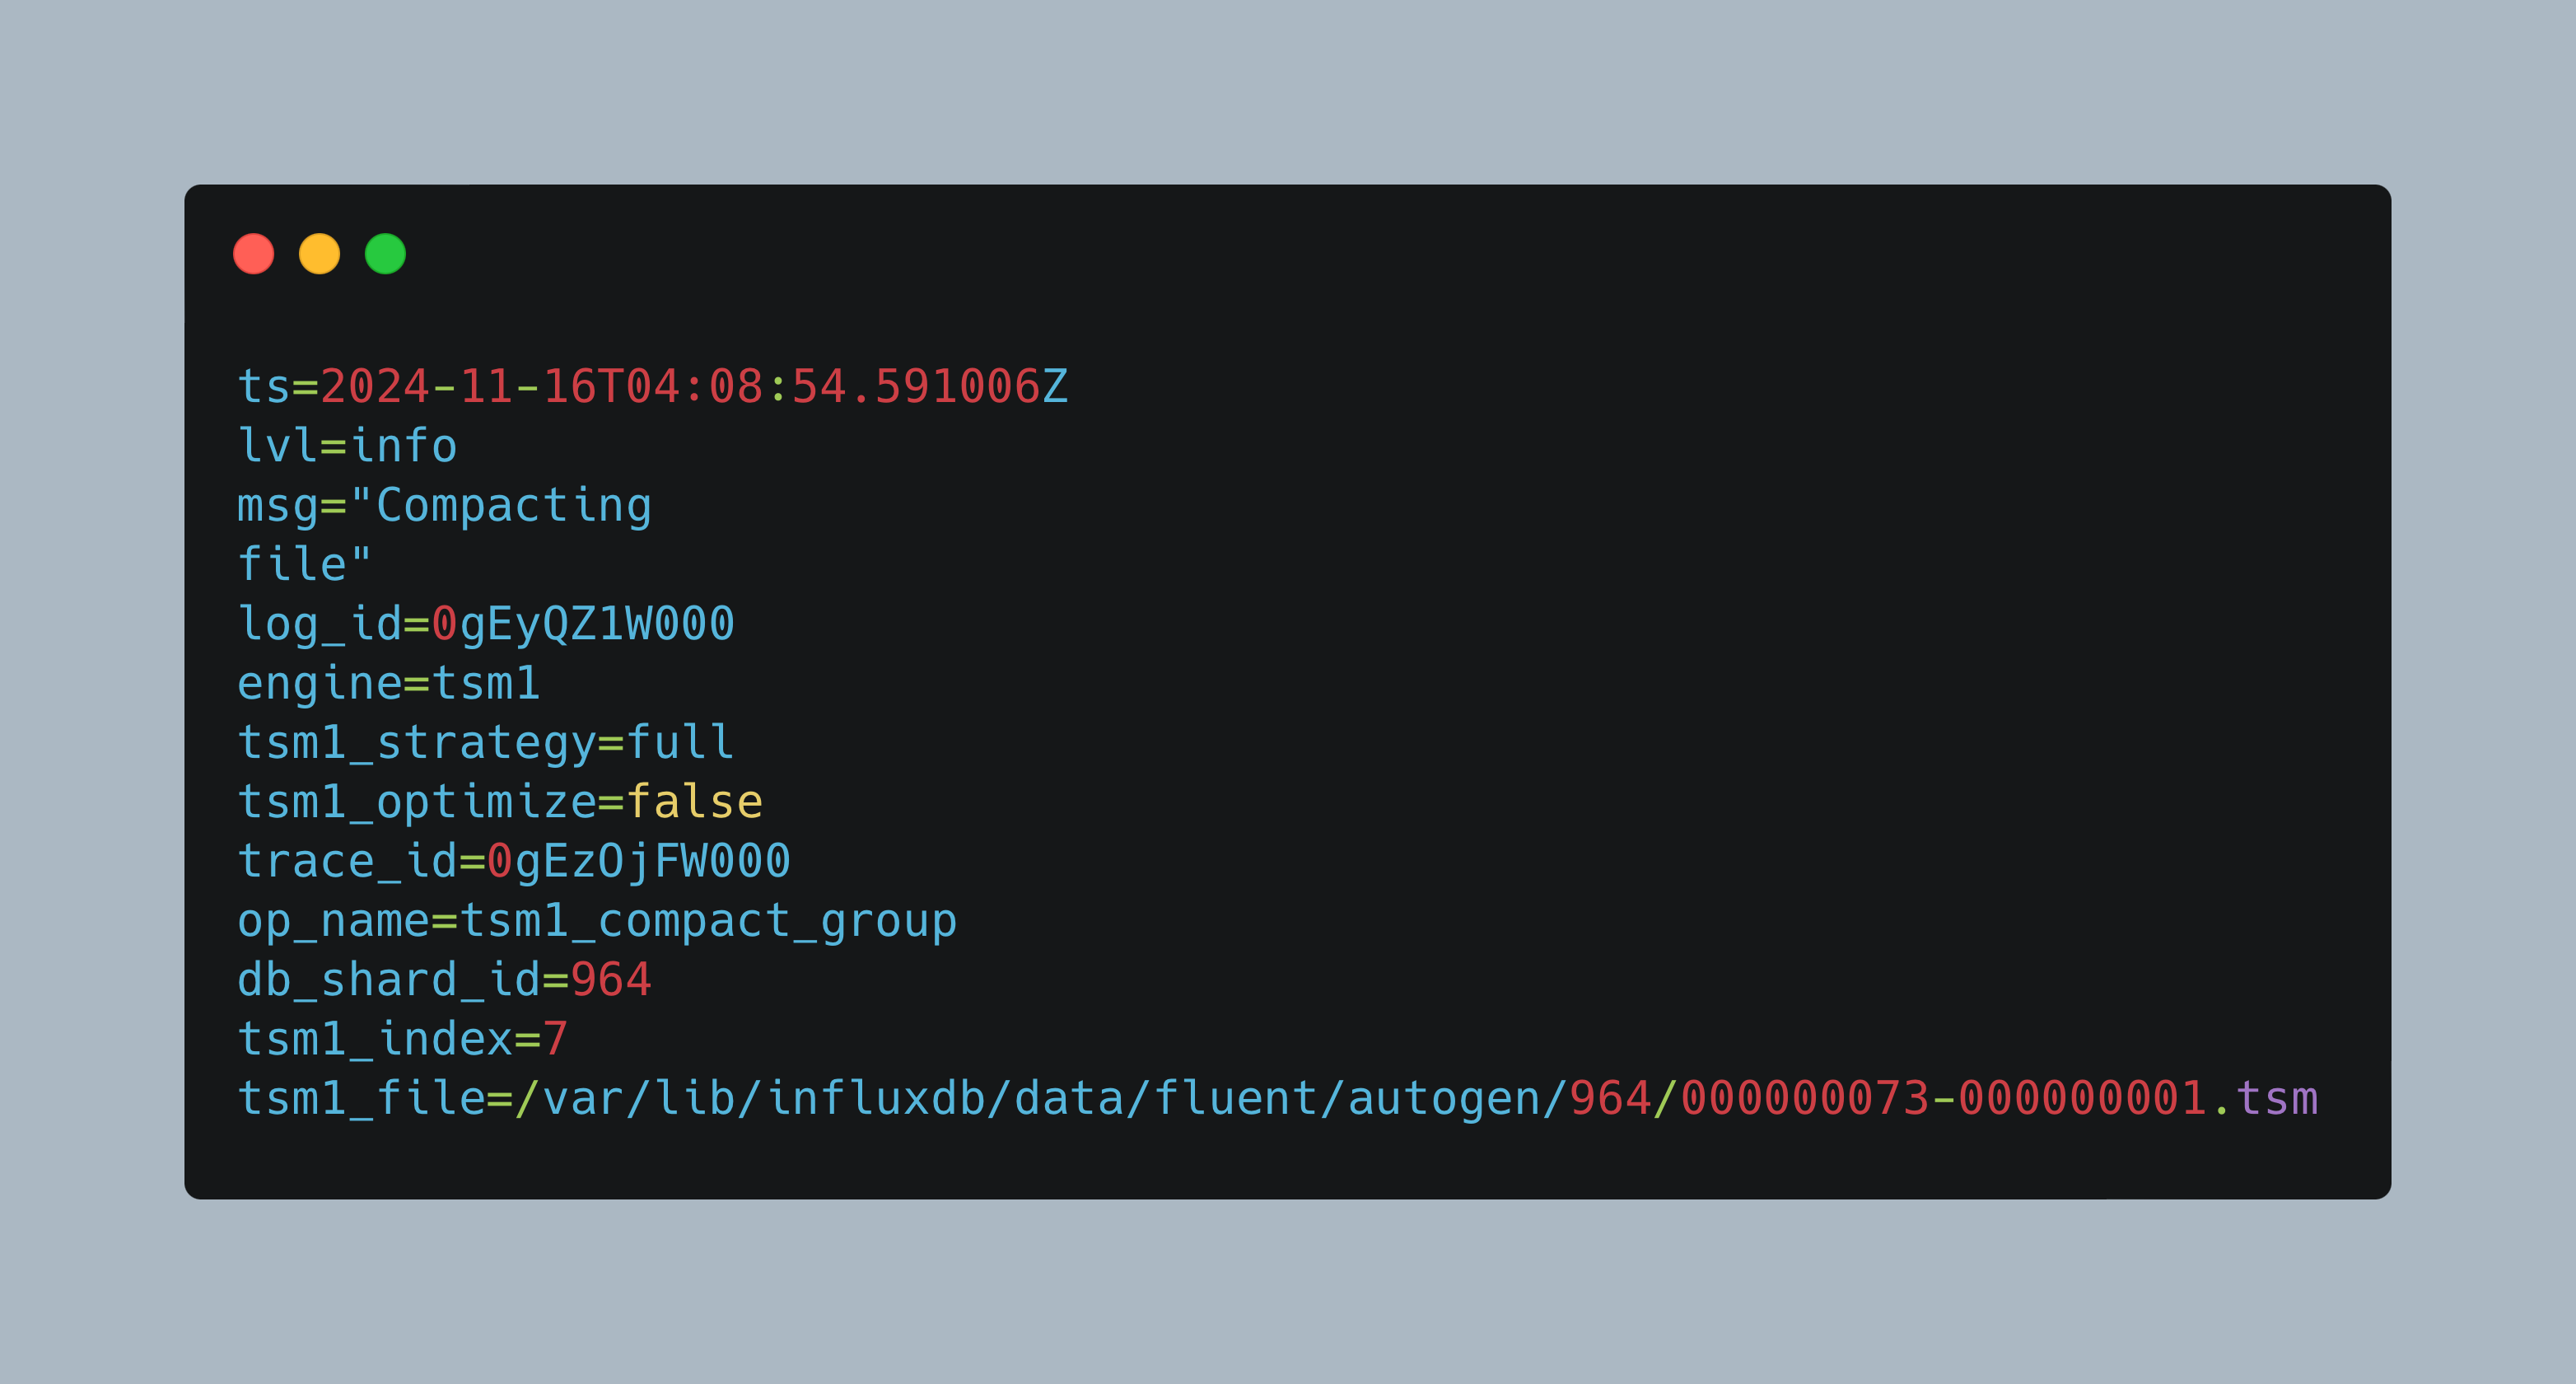
Over the course of the last articles, I introduced InfluxDB and showed how to store system and application log files coming from FluentBit inside InfluxDB. About two weeks later, the InfluxDB container would suddenly not start any more. The root cause was insufficient memory during compaction of large databases containing the log files.
In a growing network of IOT sensors and computer devices, getting quick access to essential log files is a challenge. On the one side, you have docker containers that host applications like Home Assistant or ESPHome. On another side, you have sensors that produce sensor readings, values, and log files as well. And finally, you have computers or special appliances like a firewall that also generates log files. Now, if there is an error, where do you start? Will you manually log into the systems and check the log files?
In a typical IOT network, several sensors with different hardware and software, and several computer and single board computers exist. Its challenging to get coherent metrics from all of them and storing them in a central database.
In a self-made IOT stack, several applications provide, parse, and store data. You might have all applications running on the same or several machines. You might have different sensors providing data, and different methods to access and store this data. For a hobby project, this is all well until the point where things are not running anymore.
In my IOT enabled home, I have several sensors that continuously provide environmental data such as the temperature, humidity, or air quality. In addition, I have experimented with movement sensors and light automation with the goal of activating light during the night when motion is detected. Another idea that sparked my curiosity is motion detection with a video camera or webcam. One camera that I used for permeant video streaming is the ESP32 Camera board: Very compact, very minimal, very low FPWS, and also very simply integrated with ESP Home. However, there is no motion detection feature available.
Building an IOT sensor with the ESP8266 and ESP32 boards can be done in two ways. Either you are starting with a basic sketch that accesses your sensor, and then add the IOT integration (WIFI, MQTT, InfluxDB message). Or you use an integrated System such as ESPHome or Home Assistant with which integration boils down to defining the correct configuration. After an initial sketch for a DHT11 sensor that I programmed completely with Arduino code, the next sensor should be integrated directly into ESPHome and Home Assistant. Following this approach, I want to see how different the approaches are, and in general how much work needs to be done.
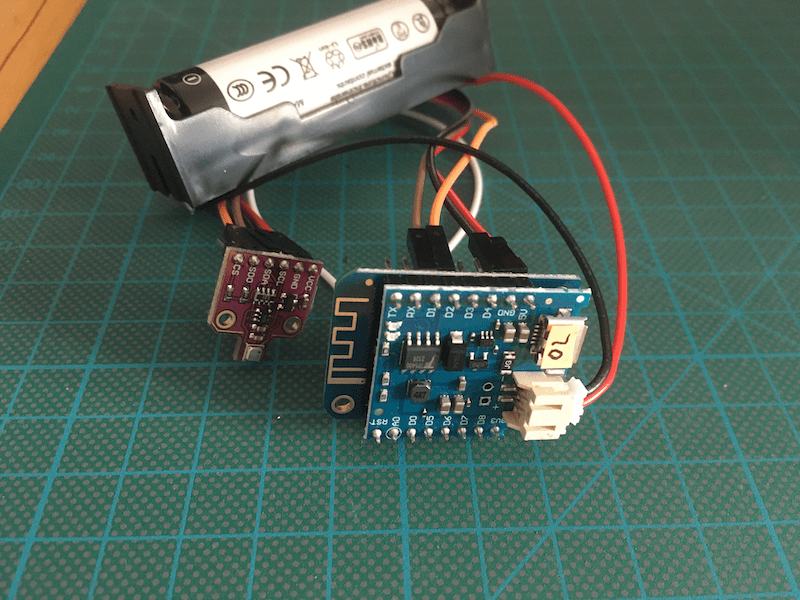
When you install IOT sensors inside your house, you will have plenty main power outlets, USB adapters etc. to power your boards. But when sensors should be mobile, or should be used at places without power supply, they need to be powered by batteries. Its easy to provide the correct voltage, but how can you approximate the remaining battery power to ensure continuous operation?
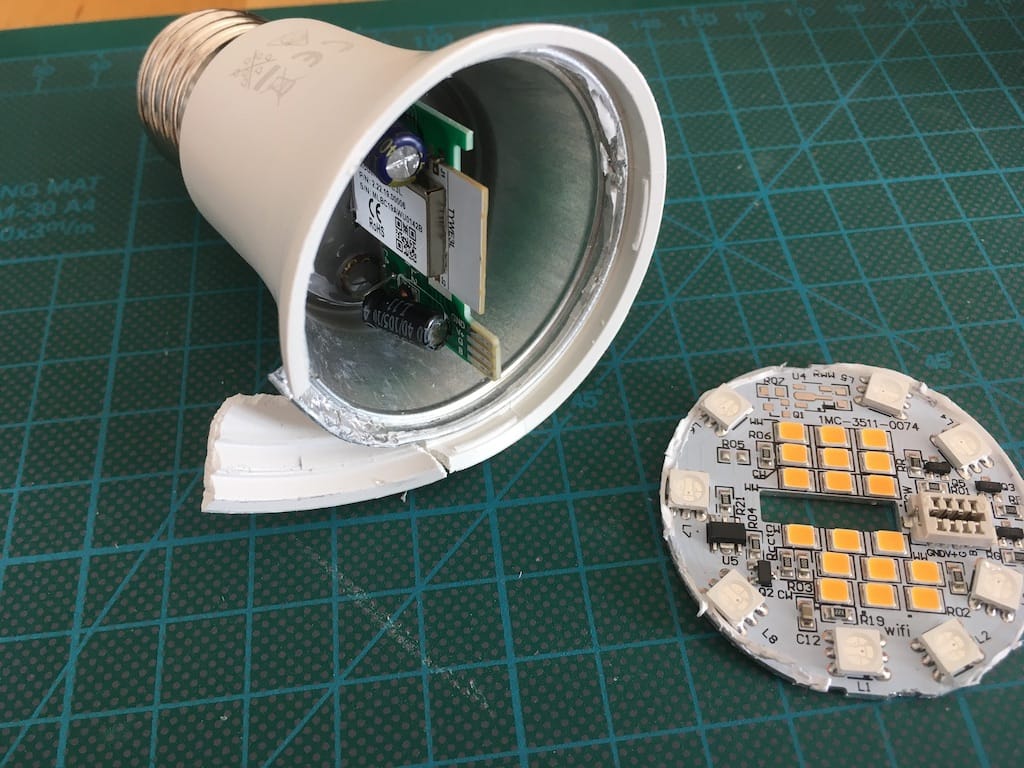
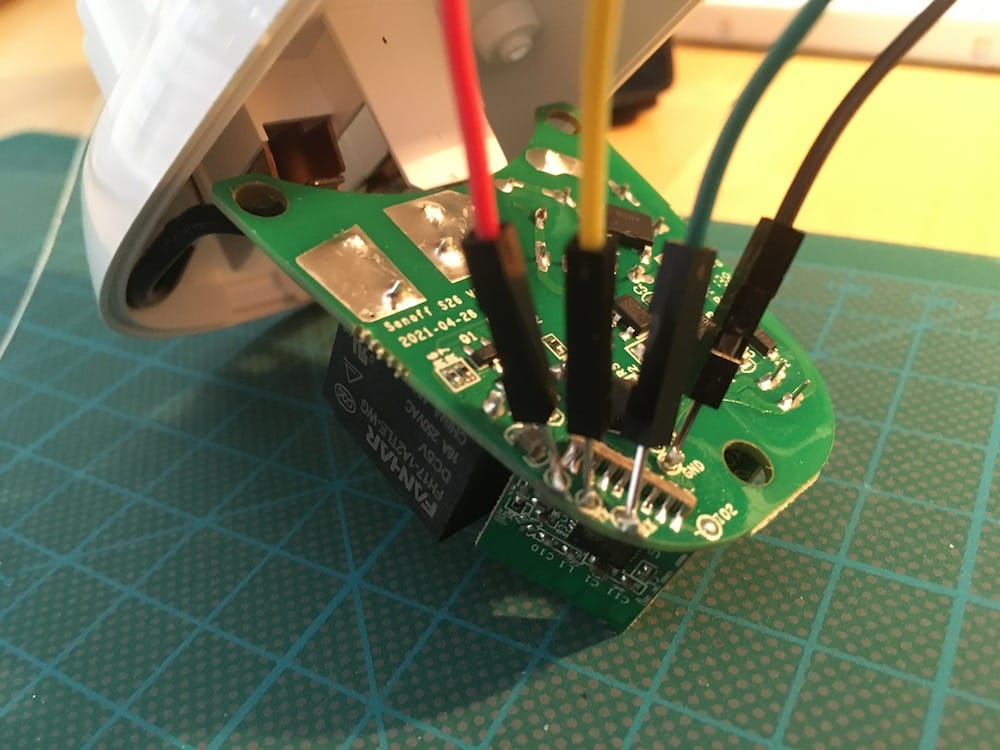
My IOT enabled home grows sensor by sensor. In one of the last articles, I explained which new devices I want to integrate: Power switches and Wi-Fi lightbulbs. Starting with power switches, I made the experience of disassembling, soldering connection lines, and manual flashing. It required some dexterity to solder the connecting pins to the board, but it was possible. Then, manually flashing them with Tasmotizer, and they were available in my Home Assistant application.
In your smart home, controlling and access sensors and devices is an essential capability. From a functional viewpoint, smart power switches just offer a remote control for enabling or disabling power. But from a smart home perspective, these devices allow powerful and creative use cases, like time-based scheduling of other sensors, or the activation and deactivation based on events.