
Creating a Kubernetes Cluster from scratch seemed like a daunting task to me. And then I discovered the lightweight Kubernetes distribution K3S: Creating a cluster with an on-line command per Node! Here is the tutorial for you to follow along.
Required Hardware
For this tutorial, you need three different types of hardware.
- controller: Your laptop/PC to bootstrap the installation
- k3s-server: A node designated as the server
- k3s-nodes: Nodes designated as worker
For simplicity, I created cloud computing servers with the following specs.
- k3s-server: 1 CPU, 2 GB RAM
- k3s-node1: 2 CPUs, 4GB RAM
- k3s-node2: 2 CPUs, 4GB RAM
Be sure to have SSH access to each node.
Prepare the Controller
Using MaxOsX, you execute:
curl -LO "https://storage.googleapis.com/kubernetes-release/release/$(curl -s https://storage.googleapis.com/kubernetes-release/release/stable.txt)/bin/darwin/amd64/kubectl"
curl -sLS https://get.k3sup.dev | sh
Install K3S
Install K3S on the server node first.
k3sup install --ip $SERVER_IP --user $USER
cp ${pwd}kubeconfig ~/.kubeconfig
export KUBECONFIG=~/.kubeconfig
Then, install K3S on all worker nodes.
k3sup join --ip $NODE_IP --server-ip $SERVER_IP --user $USERNAME
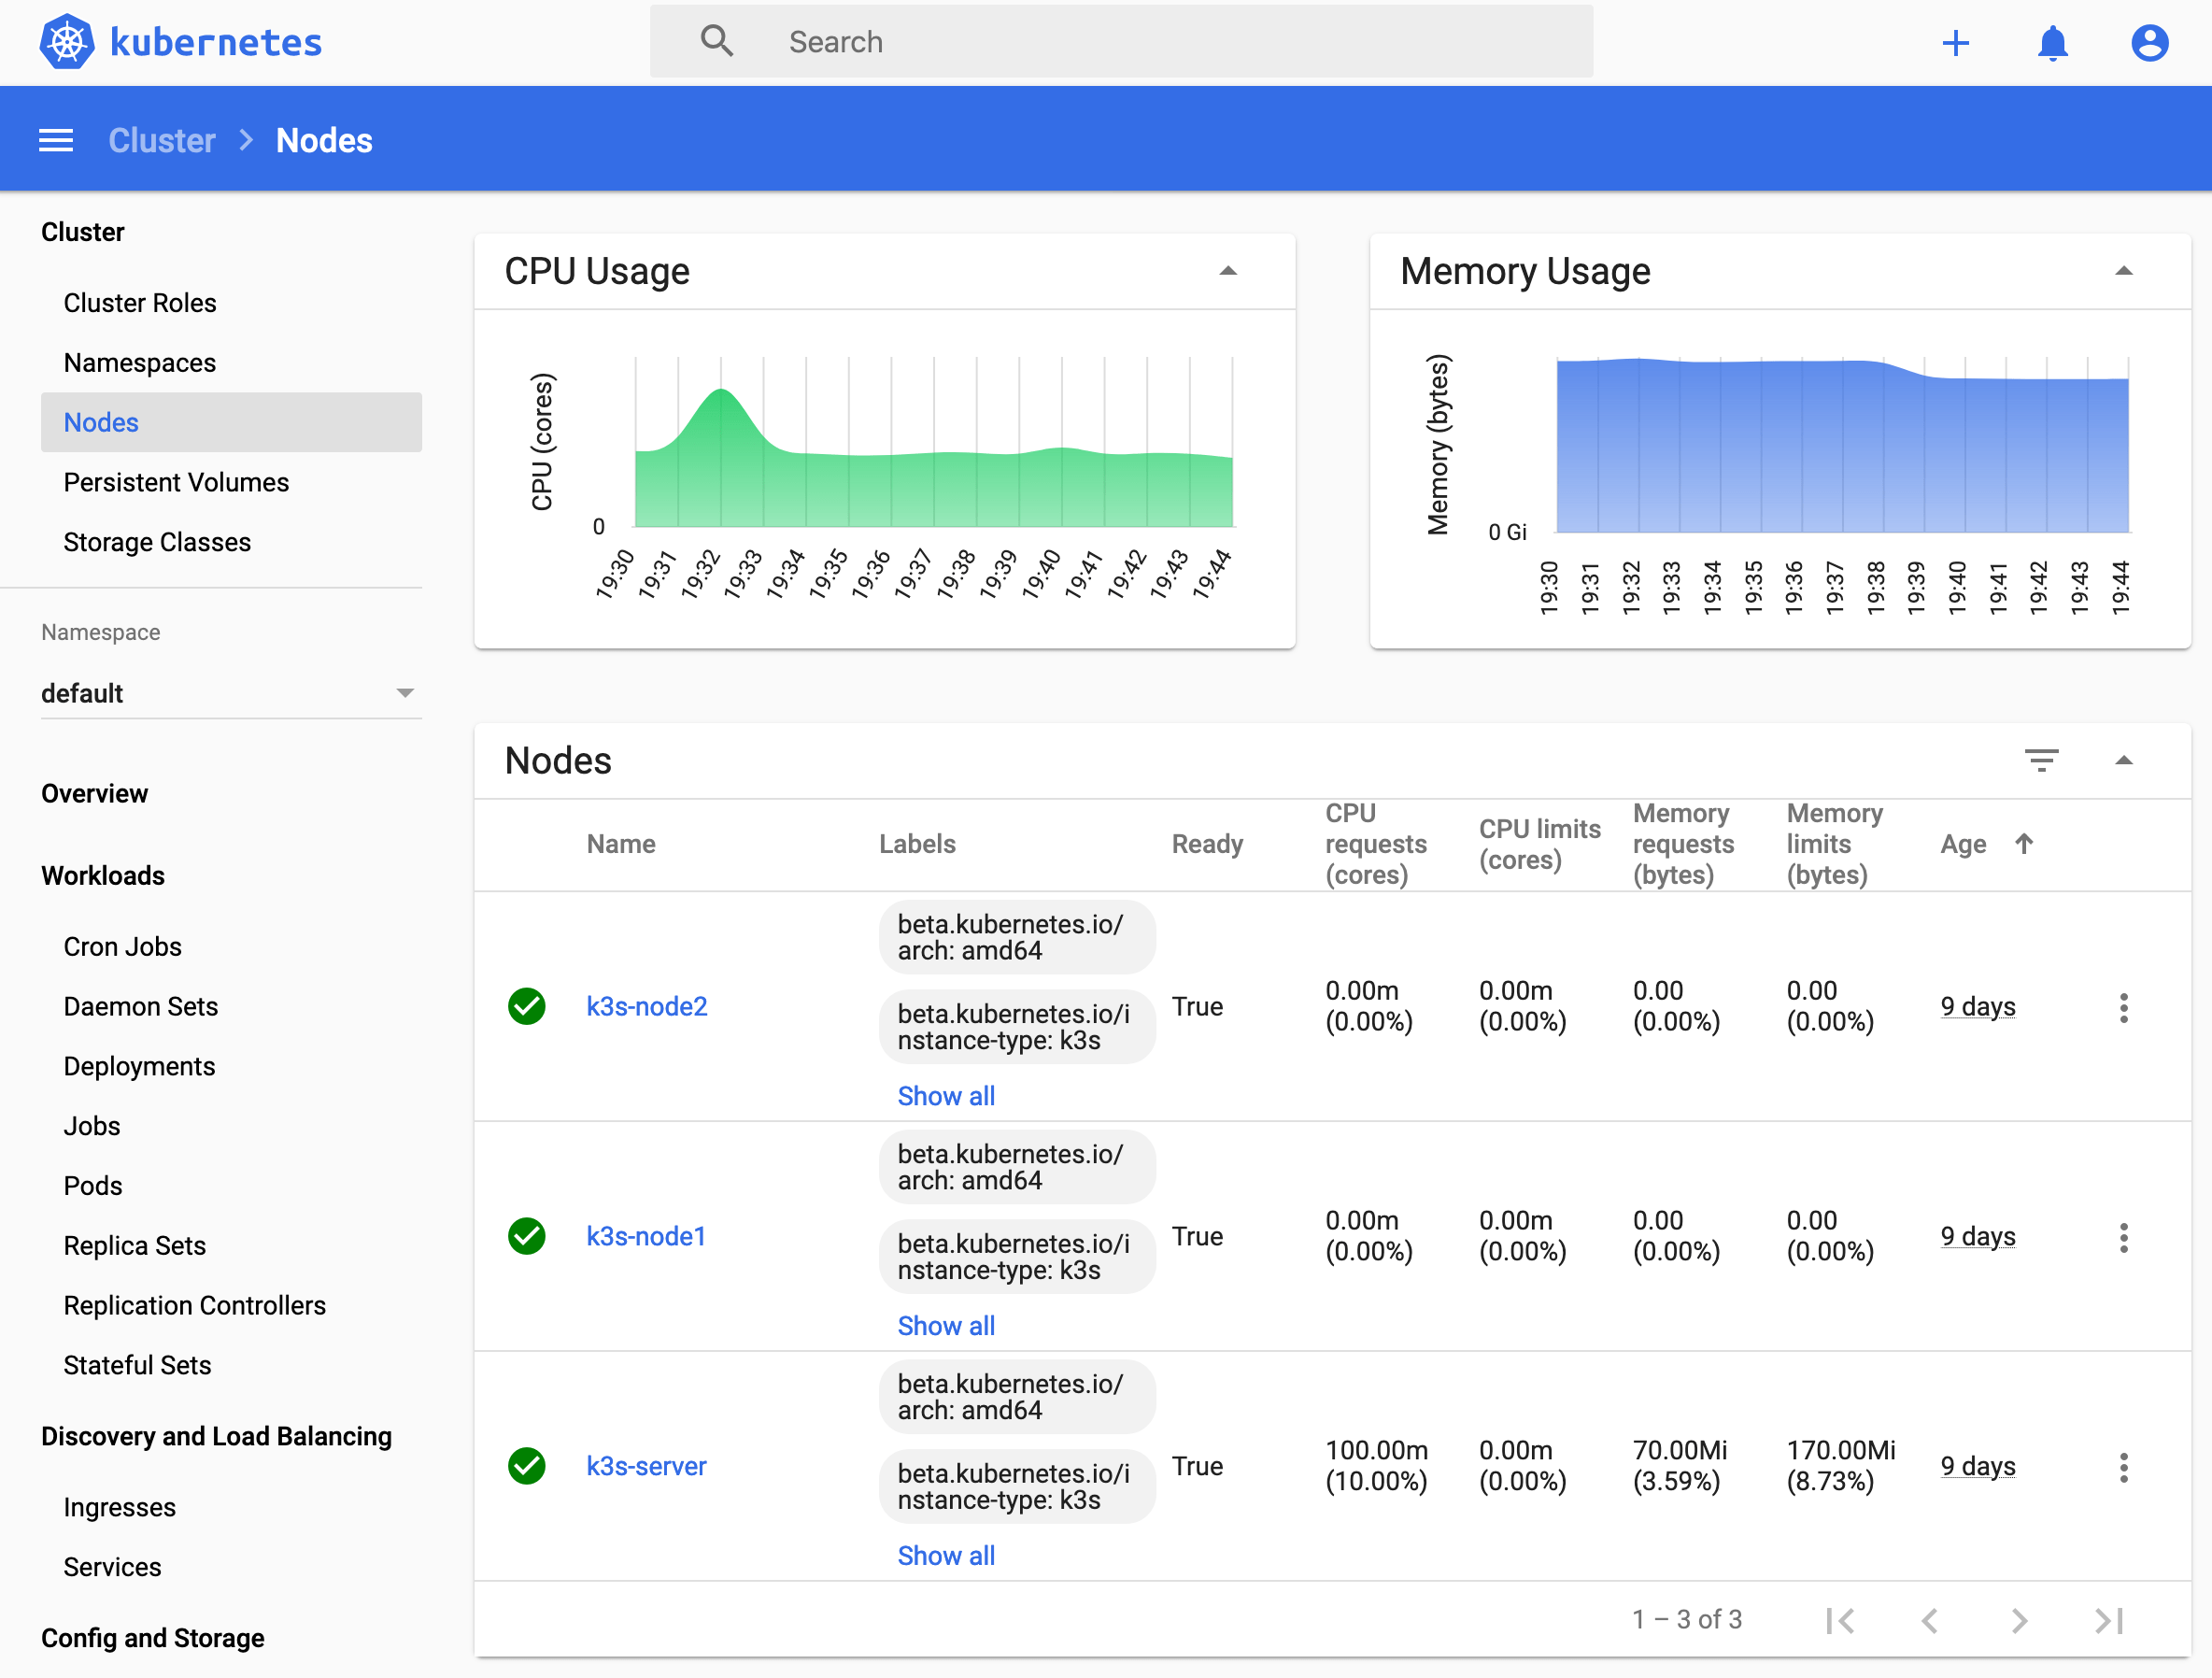
If all goes well, try the kubectl command to see your nodes:
kubectl get node -o wide
NAME         STATUS   ROLES    AGE   VERSION        INTERNAL-IP    EXTERNAL-IP   OS-IMAGE                       KERNEL-VERSION   CONTAINER-RUNTIME
k3s-node1    Ready    <none>   14h   v1.17.2+k3s1   49.12.45.26    <none>        Debian GNU/Linux 10 (buster)   4.19.0-8-amd64   containerd://1.3.3-k3s1
k3s-server   Ready    master   14h   v1.17.2+k3s1   49.12.45.6     <none>        Debian GNU/Linux 10 (buster)   4.19.0-8-amd64   containerd://1.3.3-k3s1
k3s-node2    Ready    <none>   14h   v1.17.2+k3s1   49.12.64.126   <none>        Debian GNU/Linux 10 (buster)   4.19.0-8-amd64   containerd://1.3.3-k3s1
With these steps, the basic Kubernetes installation is done. Did you check your stopwatch?
Install Dashboard
Then install the dashboard.
kubectl apply -f https://raw.githubusercontent.com/kubernetes/dashboard/v2.0.0-beta8/aio/deploy/recommended.yaml
Store the following configuration in a file called dashboard_accounts.yml.
apiVersion: v1
kind: Namespace
metadata:
  name: kubernetes-dashboard
---
apiVersion: v1
kind: ServiceAccount
metadata:
  name: admin-user
  namespace: kubernetes-dashboard
---
apiVersion: rbac.authorization.k8s.io/v1
kind: ClusterRoleBinding
metadata:
  name: admin-user
roleRef:
  apiGroup: rbac.authorization.k8s.io
  kind: ClusterRole
  name: cluster-admin
subjects:
- kind: ServiceAccount
  name: admin-user
  namespace: kubernetes-dashboard
---
Then create these roles.
kubectl apply -f dashboard_accounts.yml
If all goes well, the final steps are to create a local proxy server and get the access token.
kubectl proxy&
kubectl -n kubernetes-dashboard describe secret $(kubectl -n kubernetes-dashboard get secret | grep admin-user-token | awk '{print $1}')
Then, access the dashboard in your browser on localhost:8001/api.
Conclusion
This article showed you how to install Kubernetes with the lightweight distribution K3S. With simple one-line shell scripts, you have working cluster in a very short time. If you want to customize this installation, there are lots of [configuration options] you can apply, for example if your containers are executed with containerd or Docker, or whether you want to use Nginx or Traefik as your ingress controller. In the next tutorials, I will show you how the setup TLS encryption for your services, and how to deploy a private Docker registry so you can run private Containers with your Kubernetes.