IOT on Raspberry Pi: Install Home Assistant and a Camera Sensor for Live Video

A complete IOT stack running on a Raspberry Pi is an effective way to integrated different sensors for home automation. In the last articles, we learned how to manually add a temperature/humidity sensor to the home network. By using PlatformIO, we manually flash the sensor, then choose available library for interacting with a sensor, and adding additional libraries to communicate with MQTT and send correctly transformed JSON data. We have complete control over all these steps, and can configure every single character that the sensor outputs. In addition to this manual way, there are great frameworks to flash and install utility programs to sensors, and also great platforms that access several sensors and show the measurements graphically as well as giving you direct interaction with these sensors.
In this article, you will learn how to setup the Home Assistant platform to access the ESP sensor and display the results. An ESP32-Cam board with a built-in camera, configured and managed with ESPHome, will be added to the Home Assistant dashboard.
The technical context of this article is Raspberry Pi Os 2021-05-07m Home Assistant 2021.10 and ESPHome v2021.9.1. All instructions should work with newer OS and library versions as well.
Home Assistant Installation Options
Home Assistant can be installed with three different methods: As a complete OS image that you flash to an SD card, as native software packages that can be installed as Core (essential functions) or Supervisord (nested functions and permissions, including automatic installation of other packages), and as a Docker container. Since the IOT stack runs completely with Docker, we choose the last option. However, running the Docker Image gives less capabilities for integrating all kinds of sensor. But if you want to add common boards and sensors, then this option is absolutely suitable.
Docker Compose Configuration and Startup
Add the following code to your docker-compose.yml file:
home_assistant:
  container_name: home_assistant
  image: ghcr.io/home-assistant/raspberrypi4-homeassistant:stable
  restart: unless-stopped
  privileged: true
  network_mode: host
  ports:
  - "8123:8123"
  volumes:
  - /etc/localtime:/etc/localtime:ro
  - ./volumes/home_assistant:/config
  environment:
    - TZ=Europe/Berlin
Two points to note. First, be sure to use the correct image for either Raspberry Pi 3 or Raspberry Pi 4. Second, the container needs both the privileged: true and the network_mode: host options to run on your Raspberry Pi.
Then, start the container with docker-compose up -d home_assistant and follow the self-explanotary basic setup stps in which you configure your account. All options are explained in the official documentation.
Adding the ESP32-Camera Entity and Live View
When you followed the previous article about ESPHome, you will have a fully configured ESP32-Cam board available. The frist step towards full integration with Home Assistant is to add a new UI widget, called cards, to the dashboard.
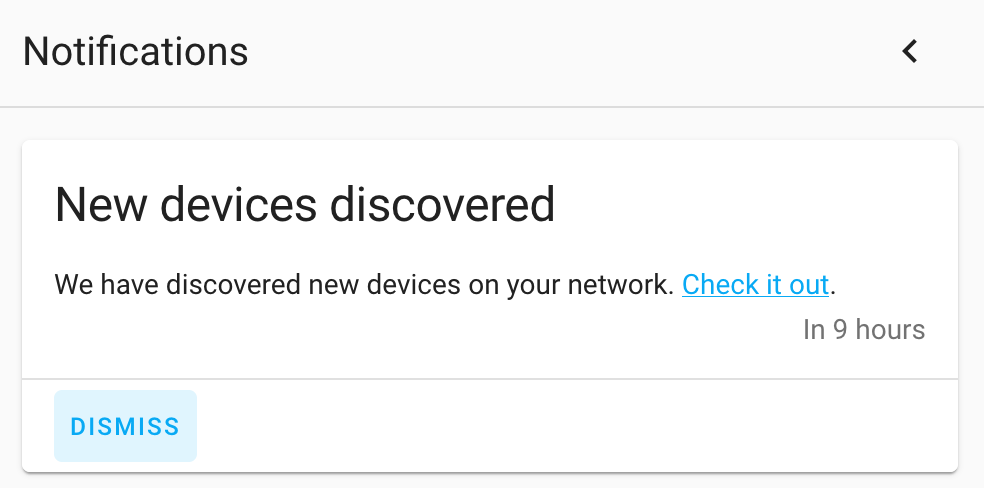
There are two entry points to achieve this. First, the dashboard should inform you about that it recognizes a new integration. Head over to the notification area, and click on the link.

Then you should see the ESPHome integration as follows.

From here, select the entity, and follow the descriptions.
The second way is to start top-down from the Dashboard. Click on the three dots, top-right corner, and then click on Edit Dashboard. Now you will see a new button + Add Card. Click on it, select the By Entity tab, and you should see the camera as shown here:

The card should show a live feed of the camera. Please note: The feed appears sloppy, but this is a limitation of the ESP32-Cam board itself - it can only deliver up to 5FPS in my experience. The fully configured card should have this code:
type: picture-glance
title: ESP32 Camera
entities:
  - entity: camera.esp32camera
camera_image: camera.esp32camera
camera_view: live
Adding the ESP32-Camera Flashlight as a Binary Sensor
This feature is cool - you can remotely activate the flashlight to illuminate the area where the camera is situated. This feature is especially useful to be triggered when a motion is detected, this will be covered in more detail in the next article.
First, we need to go back to the ESPHome Dashboard and add the flashlight as a new entity. In the ESP Home jargon, it is a binary sensor that can have exactly two states. Add this to the configuration.yml.
light:
  - platform: binary
    output: gpio_4
    name: ESP32 Camera Flashlight

output:
  - platform: gpio
    pin: GPIO4
    id: gpio_4
Install this new configuration to the board, either via direct connection to the Raspberry Pi running everything, or as an Over-the-Air update.
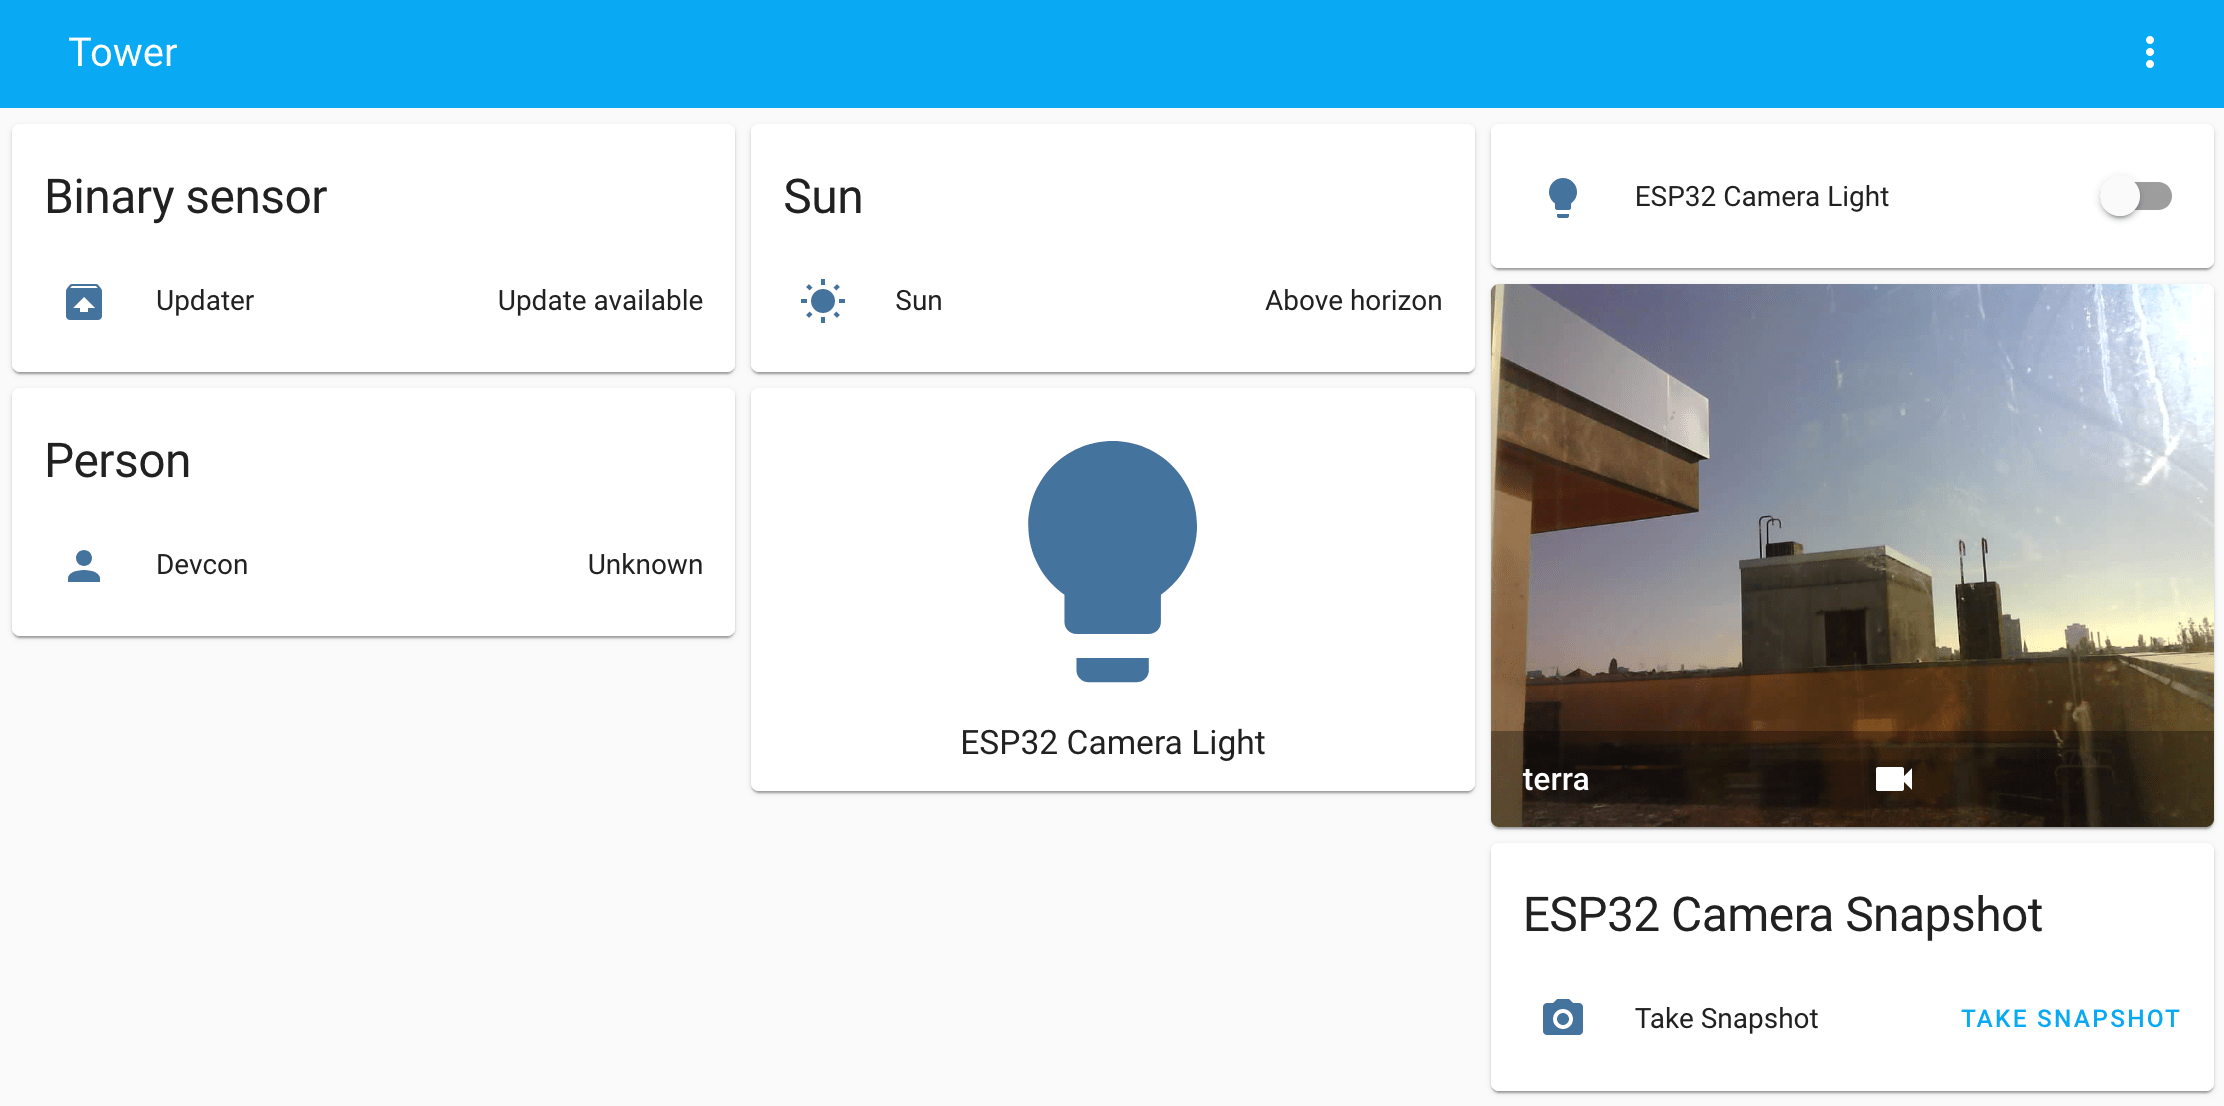
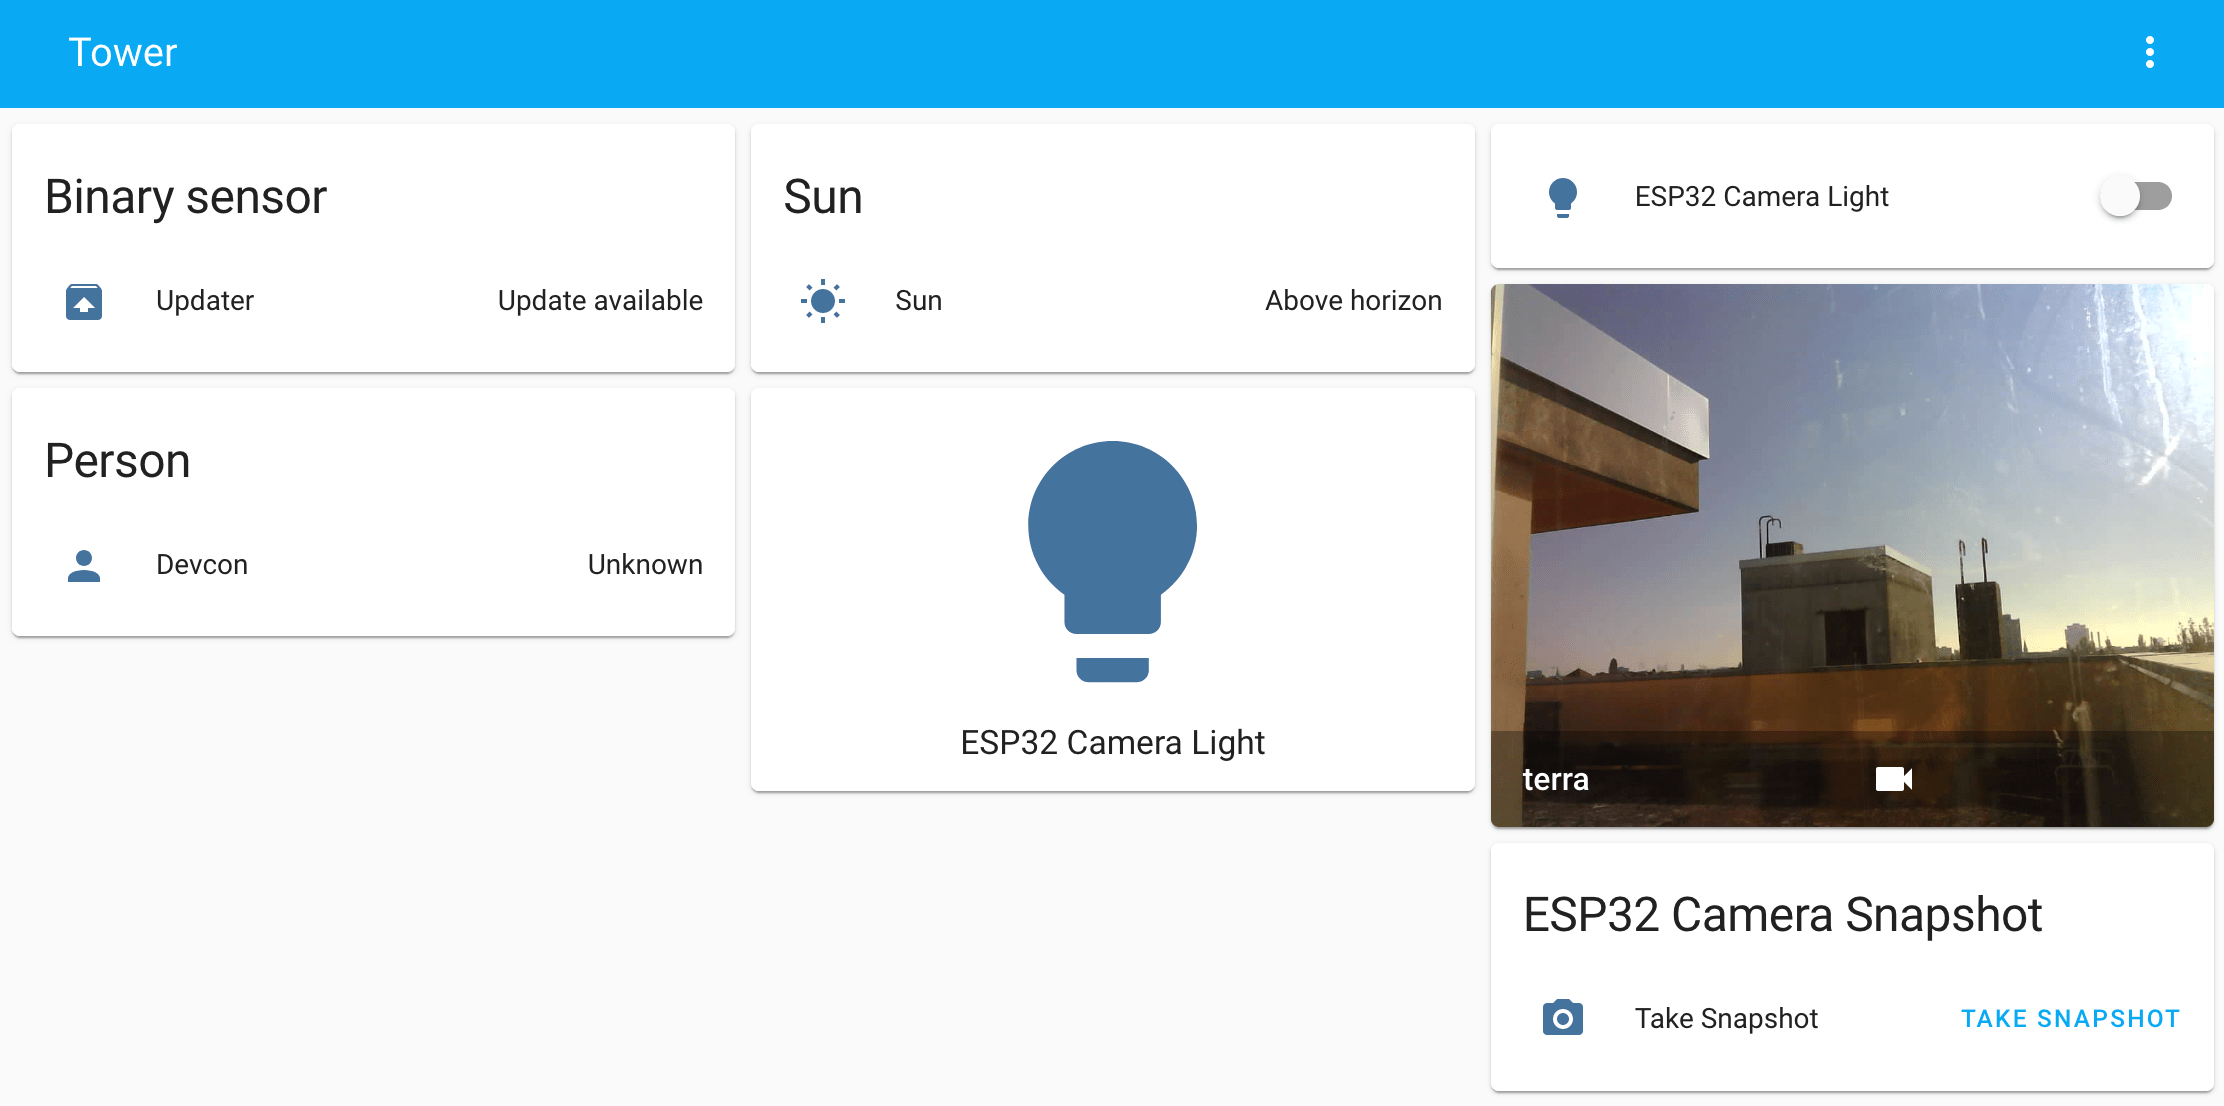
Back to the Home Assistant Dashboard, we will add a new card. In the entity list, the camera flashlight should be recognized and you can add new cards: A switch to activate the light sensor, or a big lightbulb toggle.
After some tweaks, my dashboard looks as follows.

Summary
I'm fascinated about the degree of automation and ease of re-configuration that you can get with ESPHome and Home Assistant. Adding a dashboard widget that show the cameras live feed is a matter of some mouse clicks. Once this works, adding new sensor features boils down to the same process: Re-configure the board/sensor in ESPHome, update the node via over-the-air installation, head back to the Home Assistant dashboard and add a new widget. Now: Which sensors and automations will you use in your home automation system?