A custom IOT stack at home delivers a handy way to publish and record data from a wide variety of sensors. With additional software, you can visualize the data, access dashboards remotely, and even control some sensors. All you need is a Raspberry Pi 3B+ or 4 and a SSD Disk. For about 110€ - 150€ hardware costs and 1,5 - 2,5€ monthly power cost you can build and maintain your own IOT stack at home! This article covers everything to get you started.
The technical context of this article is Raspberry Pi OS 2021-05-07 and IOT Stack master branch from 20211002. All instructions should work with newer versions as well.
Bill of Materials
- Raspberry Pi 4: This outstanding single-board-computer offers great software support, adequate hardware power and very low power consumption. Its core operating system and libraries are kept up to date. Everything from sensor reading headless servers to media center and full blow desktop computers is possible with this unique board. The Raspberry Pi 3B+ comes with 1GB RAM and USB2.0 for 45€, the Raspberry Pi 4 with 4GB Ram and USB 3.0 for 65€
- 500GB SSD: There are three options to get a 500GB SSD connected, and it depends on which disk speed you want to achieve. These options are: a) Portable SSD disk (38€) b) 2.5 Inch SATA Drive and SATA USB Adapter (56€), c) M3 NVME SSD with USB 3.0 Adapter (72€). Be aware that ultimately your Raspberry Pi USB2.0 or USB3.0 limits the data transfer speed
- Power Supply: USB power adapter with 5V & 5A for about 10€
So, what should you get? If you are sure that you will be producing a lot of data and write frequently, grab the Raspberry Pi4 and an USB3.0 SSD. If you are just starting, the Raspberry Pi 3B+ gets you covered. Also note that the Raspberry Pi 3b has lower overall power consumption.
Basic OS Installation
The IOT stack starts with a plain vanilla installation of the latest Raspian OS. Two steps are required:
- Make the Raspberry Pi Bootable from USB
- Flash the SSD Drive with the latest Raspian OS
For both steps, the recommended way is to use the official Raspberry Pi Imager.
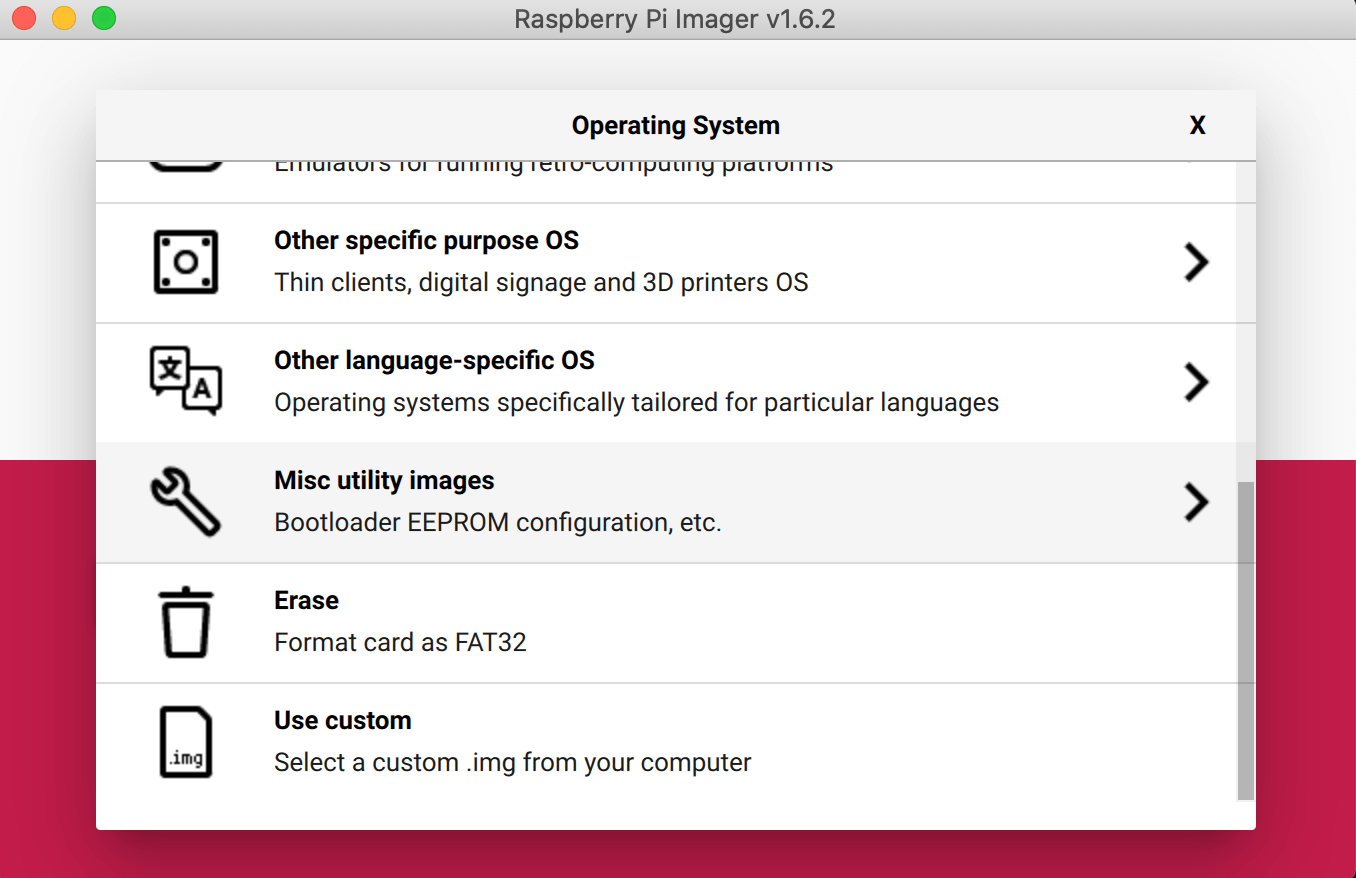
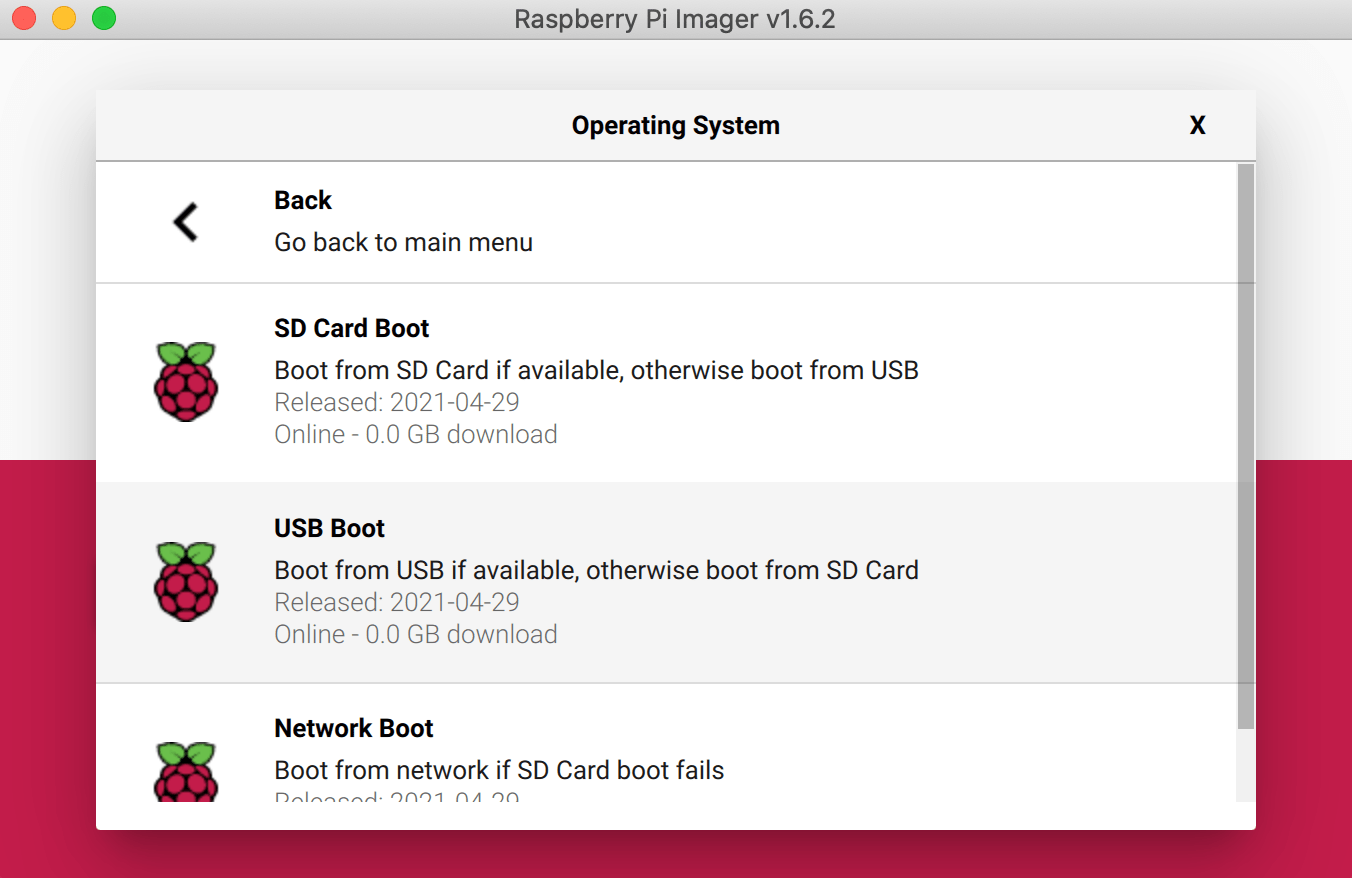
To make your Raspberry Pi bootable, we still need an SSD card. Insert it into your computer, open the Raspberry Pi Imager, and then select "Misc Utility Images" => "Bootloader" => "USB Boot". Insert this card into your Raspberry Pi, start it, and after a short time the Pi LED should blink continuously green. Poweroff the Raspberry Pi and remove the SD Card.
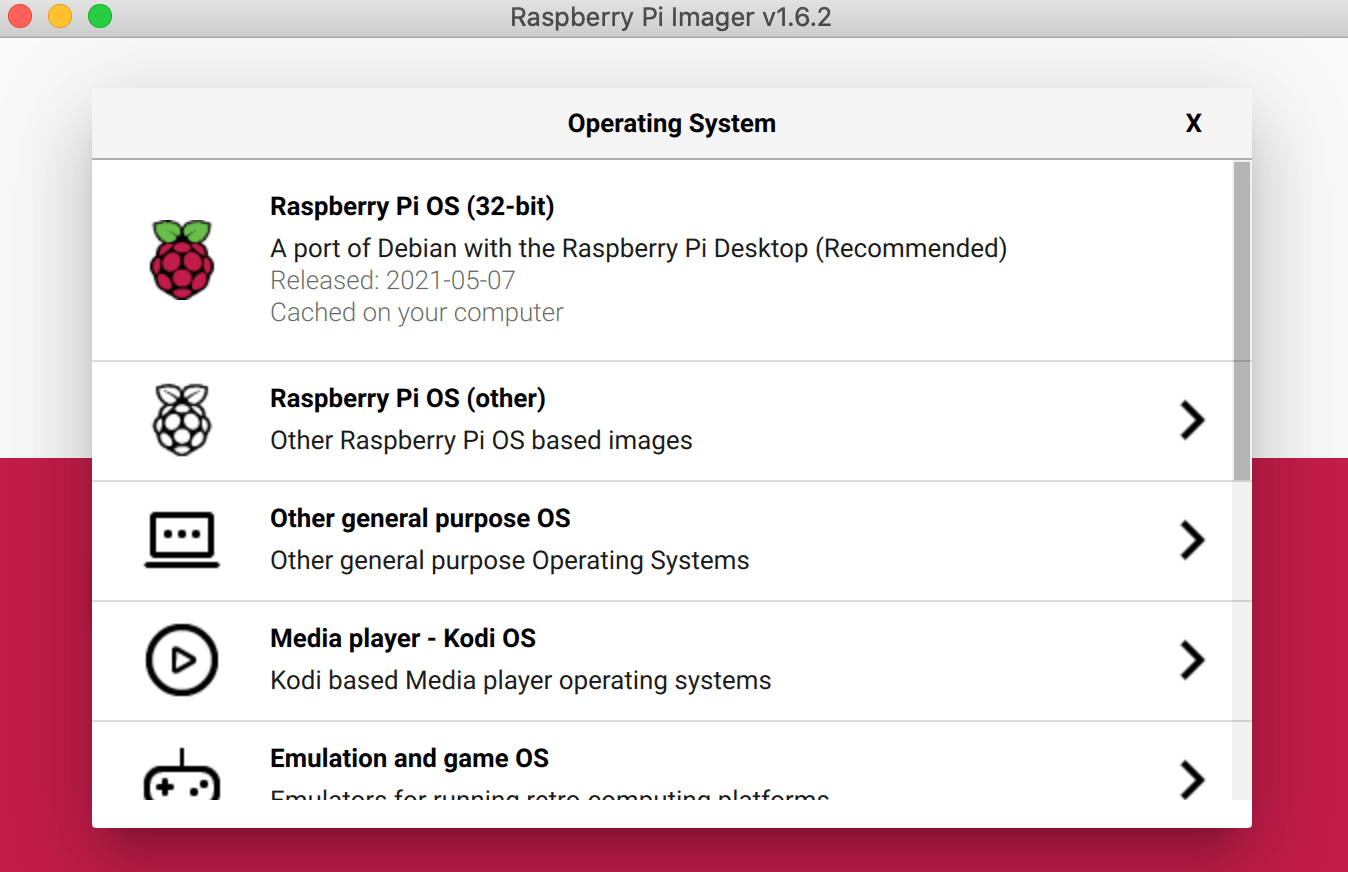
Now, connect your SSD Drive to the computer, and open the Raspberry Pi Imager again. From the menu, select "Raspberry Pi OS", then flash it to your SSD drive. Connect the SSD drive to the Raspberry Pi, provide a power supply, and it should boot.
Excellent! Using the SSD provide better disk performance and longevity compared to an SD card. We are all set.
IOT Stack
IOTStack is the amazing project that helps to get a various IOT software installed, configured and interoperable in minutes. This project will install a recent docker runtime and docker compose, and then allow you to select which software you want to install and run as part of the docker compose stack.
Important: The default IOT Stack installation works best when it is applied to a vanilla installation of Raspian. Especially, it requires that the default user is called pi and that the installation happens from the directory /home/pi/IOTstack.
Login to your Raspberry Pi and clone the Github repository:
git clone https://github.com/SensorsIot/IOTstack.git ~/IOTstack
Run the install.sh script to get all required packages on your Raspberry Pi:
> ./install.sh

IOTstack Installation
Enter in the sudo password when prompted, to install dependencies
Reading package lists... Done
Building dependency tree
Reading state information... Done
git is already the newest version (1:2.20.1-2+deb10u3).
0 upgraded, 0 newly installed, 0 to remove and 97 not upgraded.
fatal: destination path 'IOTstack' already exists and is not an empty directory.
IOTstack cloned
Python Version: 'Python 3.7.3'. Python is up to date.
...
Then, we start to configure the stack:
cd ~/IOTstack
./menu.sh
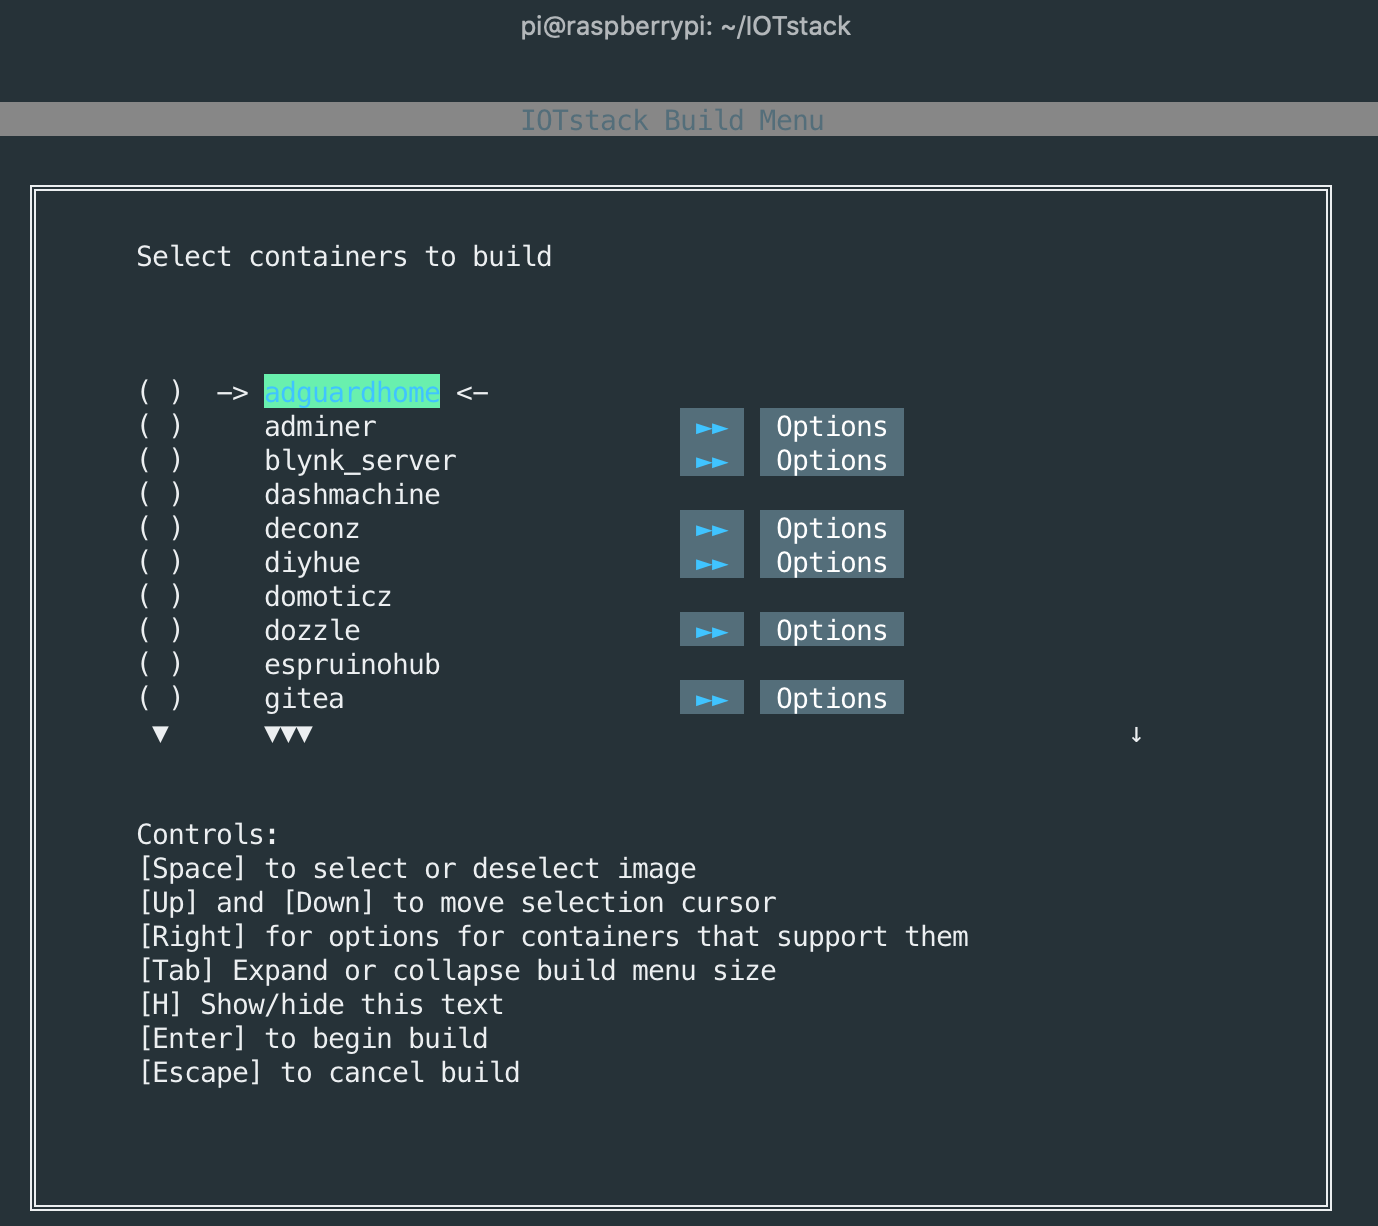
In this menu, the first choice Build Stack opens a long list of all your favorite IOT software projects:
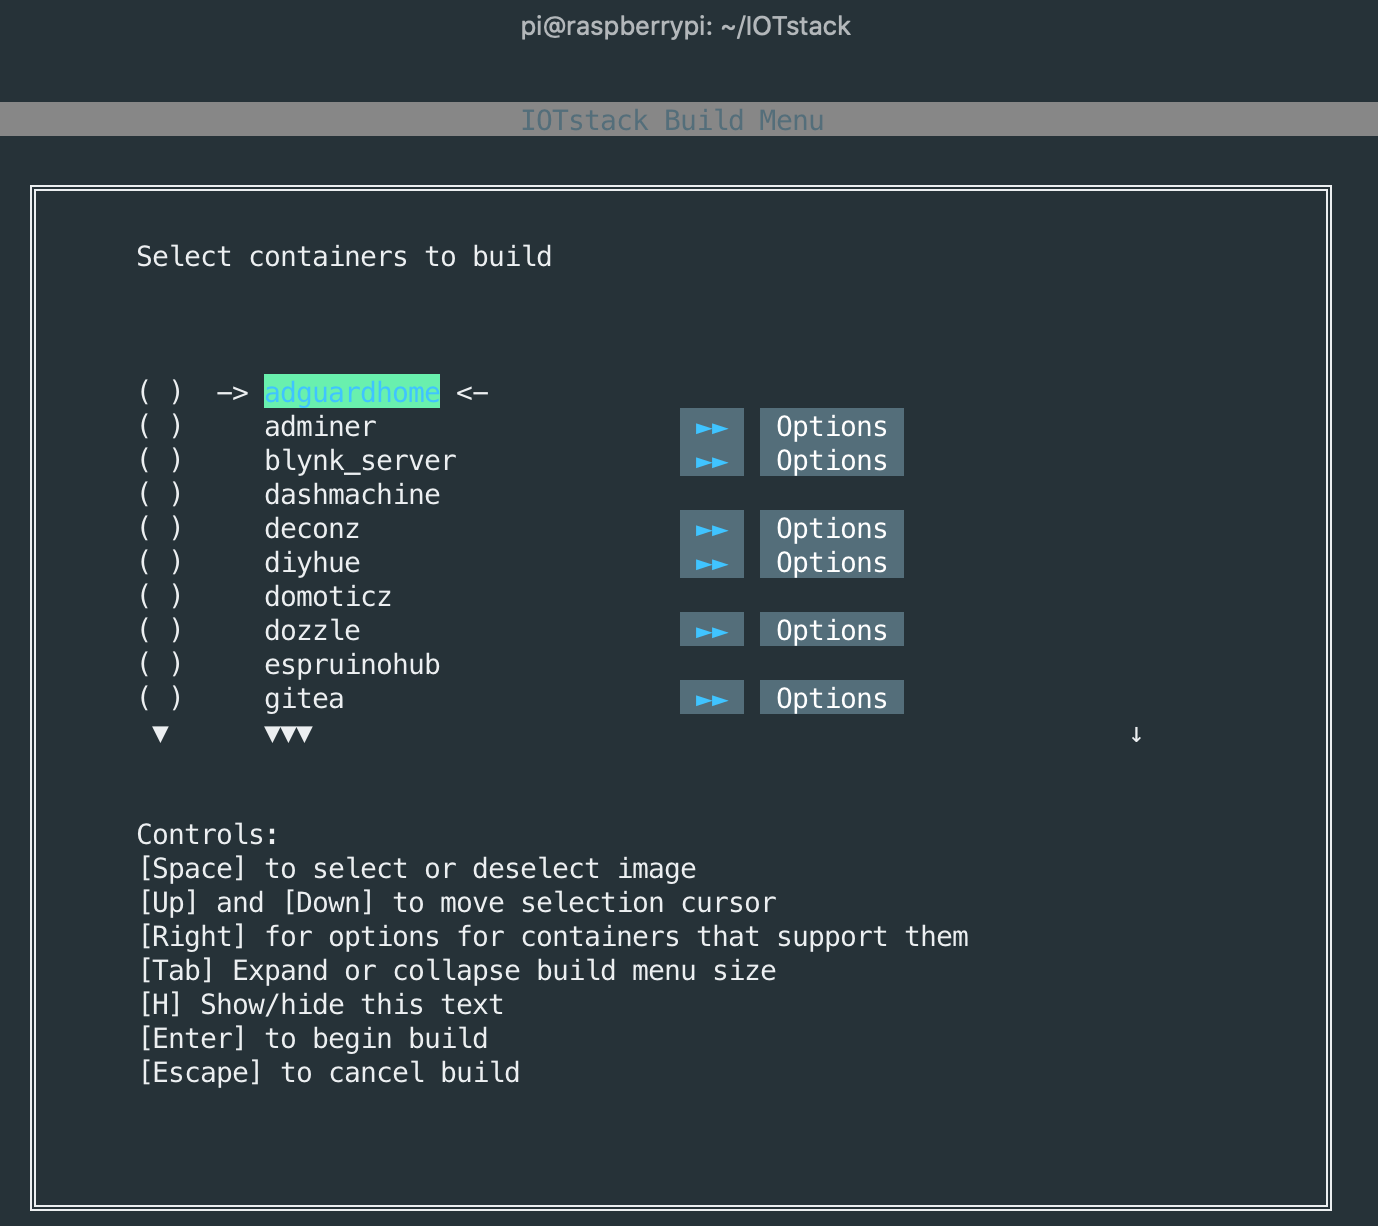
Select and configure the software that you need. In my case, this is mosquito, nodered, influxdb, grafana and portainer-ce.
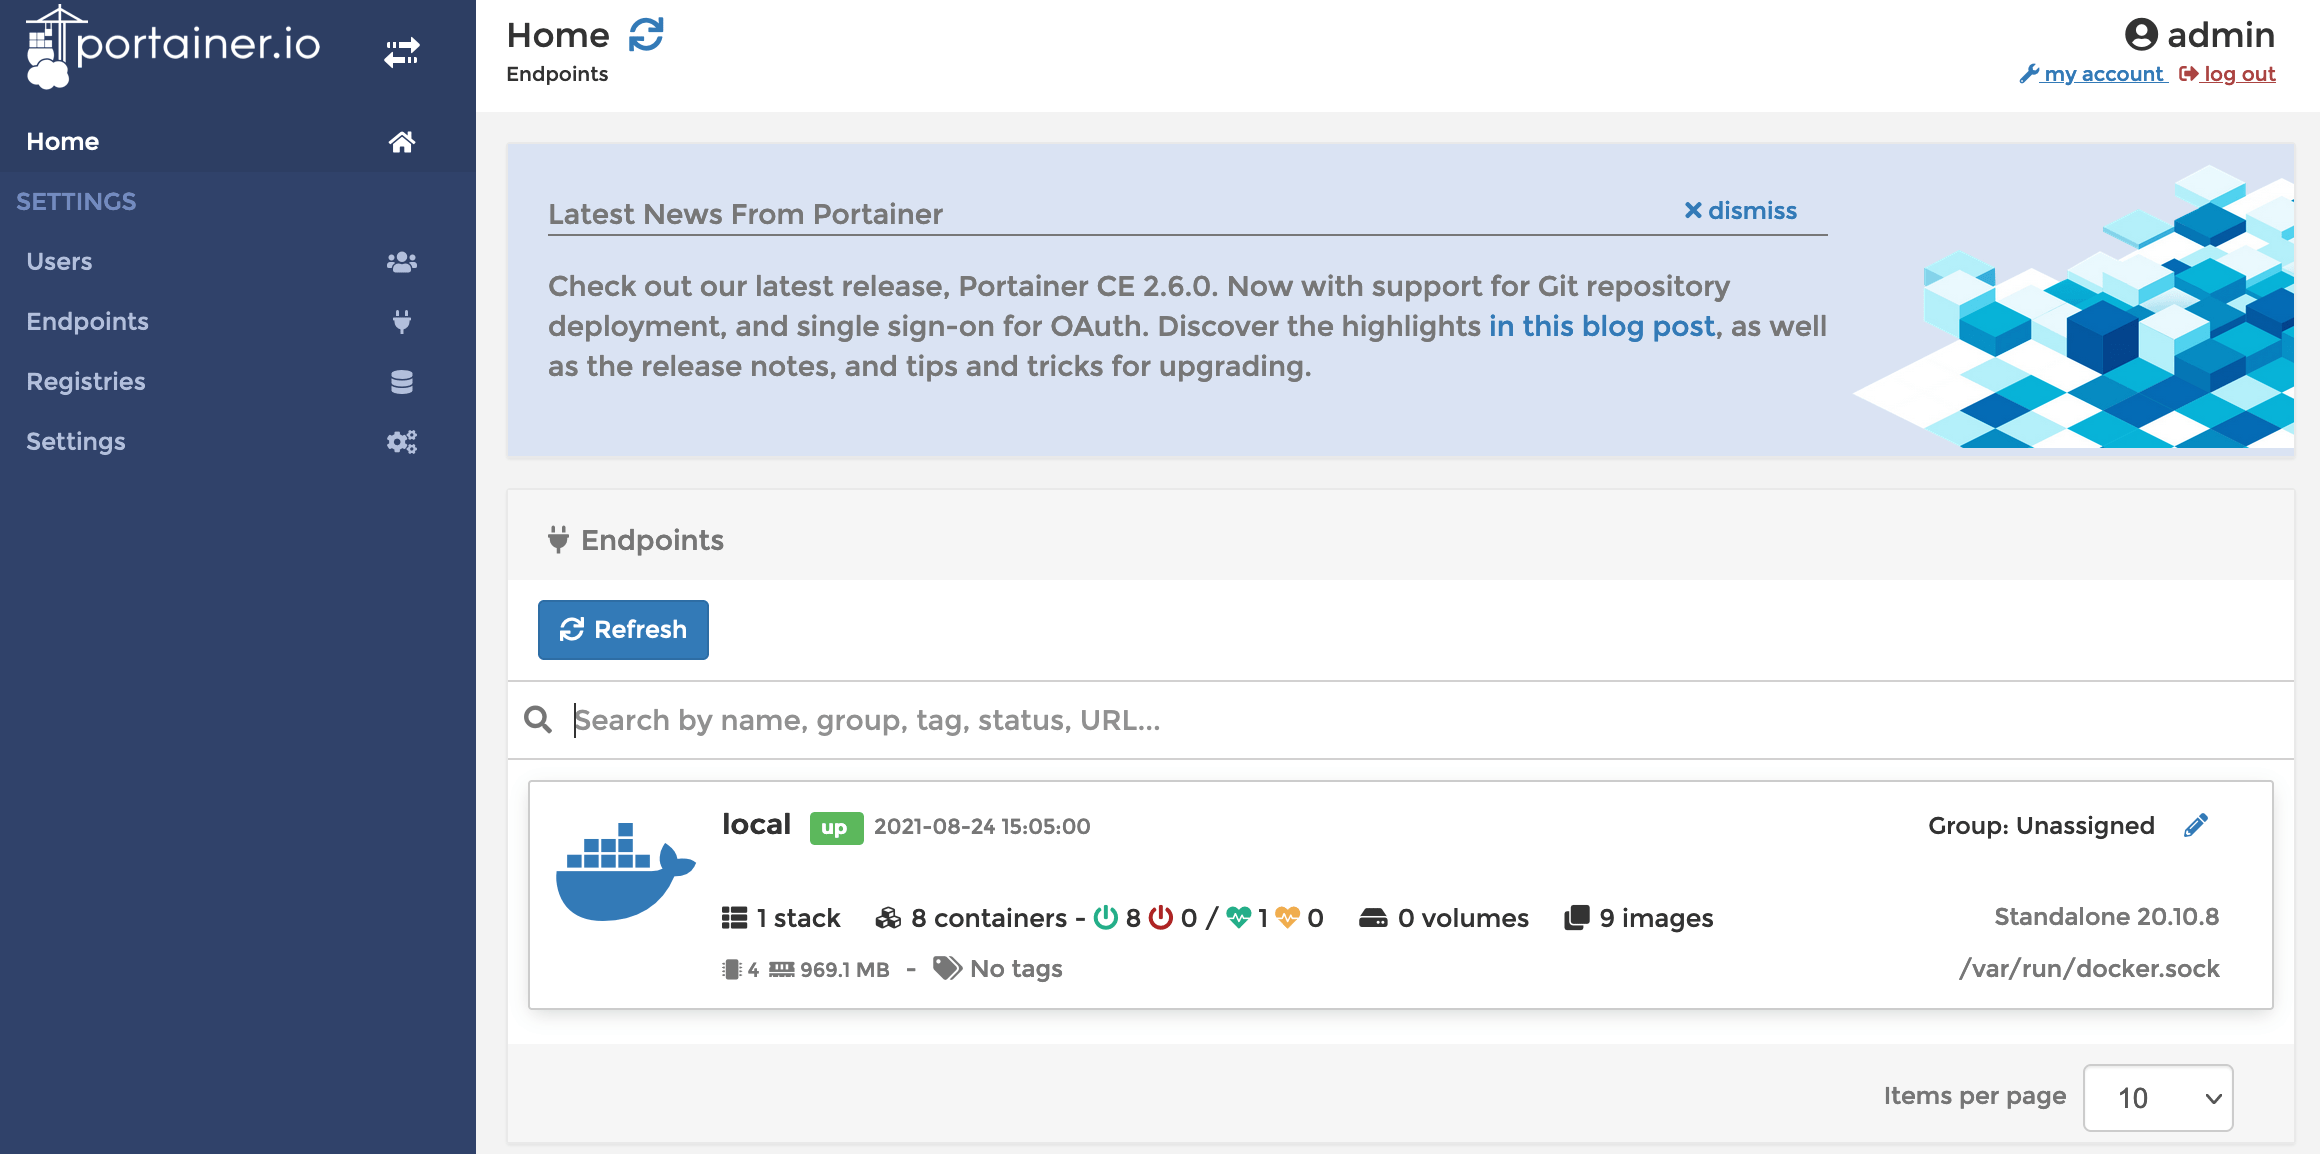
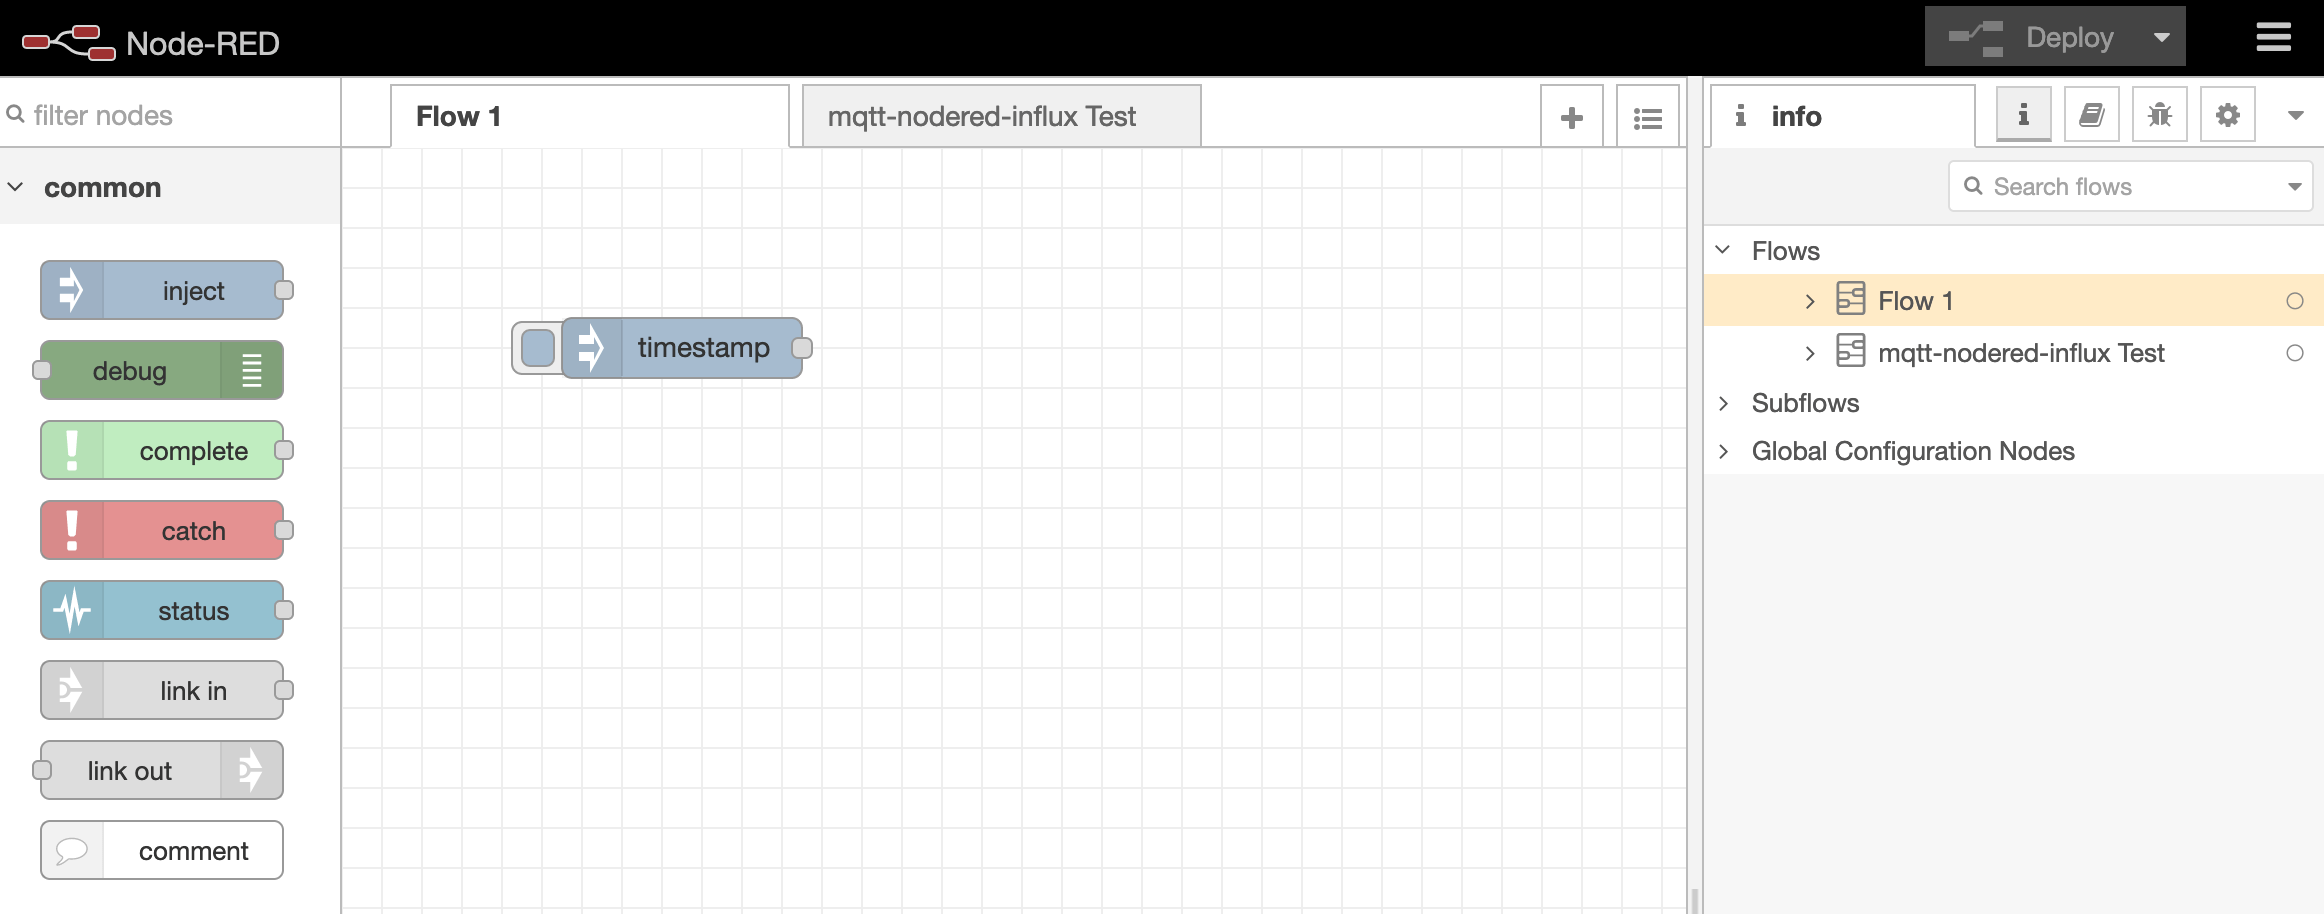
Once done, head back to the main menu and run Docker Commands => Start Stack. After a few minutes, your stack should be running and you can access the various applications.
Portainer
NodeRED
Grafana

All the applications are interconnected. For an easy start into a mosquito => node red => influxdb workflow, follow this excellent guideline.
FInally, execute this simple one line bash command to add a systemd unit file that autostarts the IOTstack after a reboot:
cd ~/IOTstack/
curl -fsSL https://techoverflow.net/scripts/create-docker-compose-service.sh | sudo bash /dev/stdin
You can see the status of the stack:
systemctl status IOTstack.service
● IOTstack.service - IOTstack
   Loaded: loaded (/etc/systemd/system/IOTstack.service; enabled; vendor preset: enabled)
   Active: active (running) since Thu 2021-08-26 14:24:41 CEST; 9min ago
  Process: 17992 ExecStartPre=/usr/bin/docker-compose -f docker-compose.yml down (code=exited, status=0/SUCCESS)
 Main PID: 18228 (docker-compose)
    Tasks: 8 (limit: 2062)
   CGroup: /system.slice/IOTstack.service
           └─18228 /usr/bin/python3 /usr/bin/docker-compose -f docker-compose.yml up

Aug 26 14:33:01 raspberrypi docker-compose[18228]: mosquitto       | 2021-08-26T12:32:00: Client auto-0EE1733D-00F1-DC2A-FEBA-3A04A8DBCC94 closed its connect
Aug 26 14:33:01 raspberrypi docker-compose[18228]: mosquitto       | 2021-08-26T12:32:01: New connection from 192.168.178.40:48271 on port 1883.
And follow the logfiles:
journalctl -u IOTstack.service -f
-- Logs begin at Wed 2021-08-25 01:09:01 CEST. --
Aug 26 14:34:01 raspberrypi docker-compose[18228]: mosquitto       | 2021-08-26T12:34:00: New connection from 192.168.178.23:49280 on port 1883.
Aug 26 14:34:01 raspberrypi docker-compose[18228]: mosquitto       | 2021-08-26T12:34:00: New client connected from 192.168.178.23:49280 as auto-F53F2BB8-CCC4-68F7-5E34-7AEF57EF9FA9 (p2, c1, k60).
Aug 26 14:34:01 raspberrypi docker-compose[18228]: mosquitto       | 2021-08-26T12:34:00: Client auto-F53F2BB8-CCC4-68F7-5E34-7AEF57EF9FA9 closed its connection.
Aug 26 14:34:01 raspberrypi docker-compose[18228]: mosquitto       | 2021-08-26T12:34:01: New connection from 192.168.178.40:54539 on port 1883.
Aug 26 14:34:01 raspberrypi docker-compose[18228]: mosquitto       | 2021-08-26T12:34:01: New client connected from 192.168.178.40:54539 as auto-EC2A2465-2F79-00CC-1C08-E675A4EDB6F9 (p2, c1, k60).
Aug 26 14:34:01 raspberrypi docker-compose[18228]: influxdb        | [httpd] 10.77.60.5 - root [26/Aug/2021:12:34:01 +0000] "POST /write?db=telegraf&p=%5BREDACTED%5D&precision=n&rp=&u=root HTTP/1.1 " 204 0 "-" "-" e4a780b0-0669-11ec-8024-02420a4d3c04 7045
Aug 26 14:34:09 raspberrypi docker-compose[18228]: influxdb        | [httpd] 10.77.60.6 - telegraf [26/Aug/2021:12:34:09 +0000] "POST /write?consistency=any&db=telegraf HTTP/1.1 " 204 0 "-" "telegraf" e9091e28-0669-11ec-8025-02420a4d3c04 7591
Aug 26 14:34:11 raspberrypi docker-compose[18228]: grafana         | t=2021-08-26T12:34:11+0000 lvl=warn msg="Request Origin is not authorized" logger=live origin=http://192.168.178.40:3000 appUrl=http://localhost:3000/ allowedOrigins=
Aug 26 14:34:11 raspberrypi docker-compose[18228]: grafana         | t=2021-08-26T12:34:11+0000 lvl=info msg="Request Completed" logger=context userId=1 orgId=1 uname=admin method=GET path=/api/live/ws status=403 remote_addr=192.168.178.23 time_ms=2 size=10 referer=
Aug 26 14:34:39 raspberrypi docker-compose[18228]: influxdb        | [httpd] 10.77.60.6 - telegraf [26/Aug/2021:12:34:39 +0000] "POST /write?consistency=any&db=telegraf HTTP/1.1 " 204 0 "-" "telegraf" faeb0e4a-0669-11ec-8026-02420a4d3c04 19294
Additional Tool: NAS with OpenMediaVault
OpenMediaVault is an effective local NAS. It can be installed in addition to your IOTStack directly on the Raspberry Pi.
Start the installation with:
wget https://raw.githubusercontent.com/OpenMediaVault-Plugin-Developers/installScript/master/install
chmod +x install
Start the install script, and in about 20-30 minutes it should be ready.
sudo ./install
Current / permissions = 755
New / permissions = 755
Forcing IPv4 only for apt...
Updating repos before installing...
Get:1 file:/var/cache/openmediavault/archives InRelease
Ign:1 file:/var/cache/openmediavault/archives InRelease
Get:2 file:/var/cache/openmediavault/archives Release
...
After a reboot of the raspberry pi, you can enter the open media vault login.
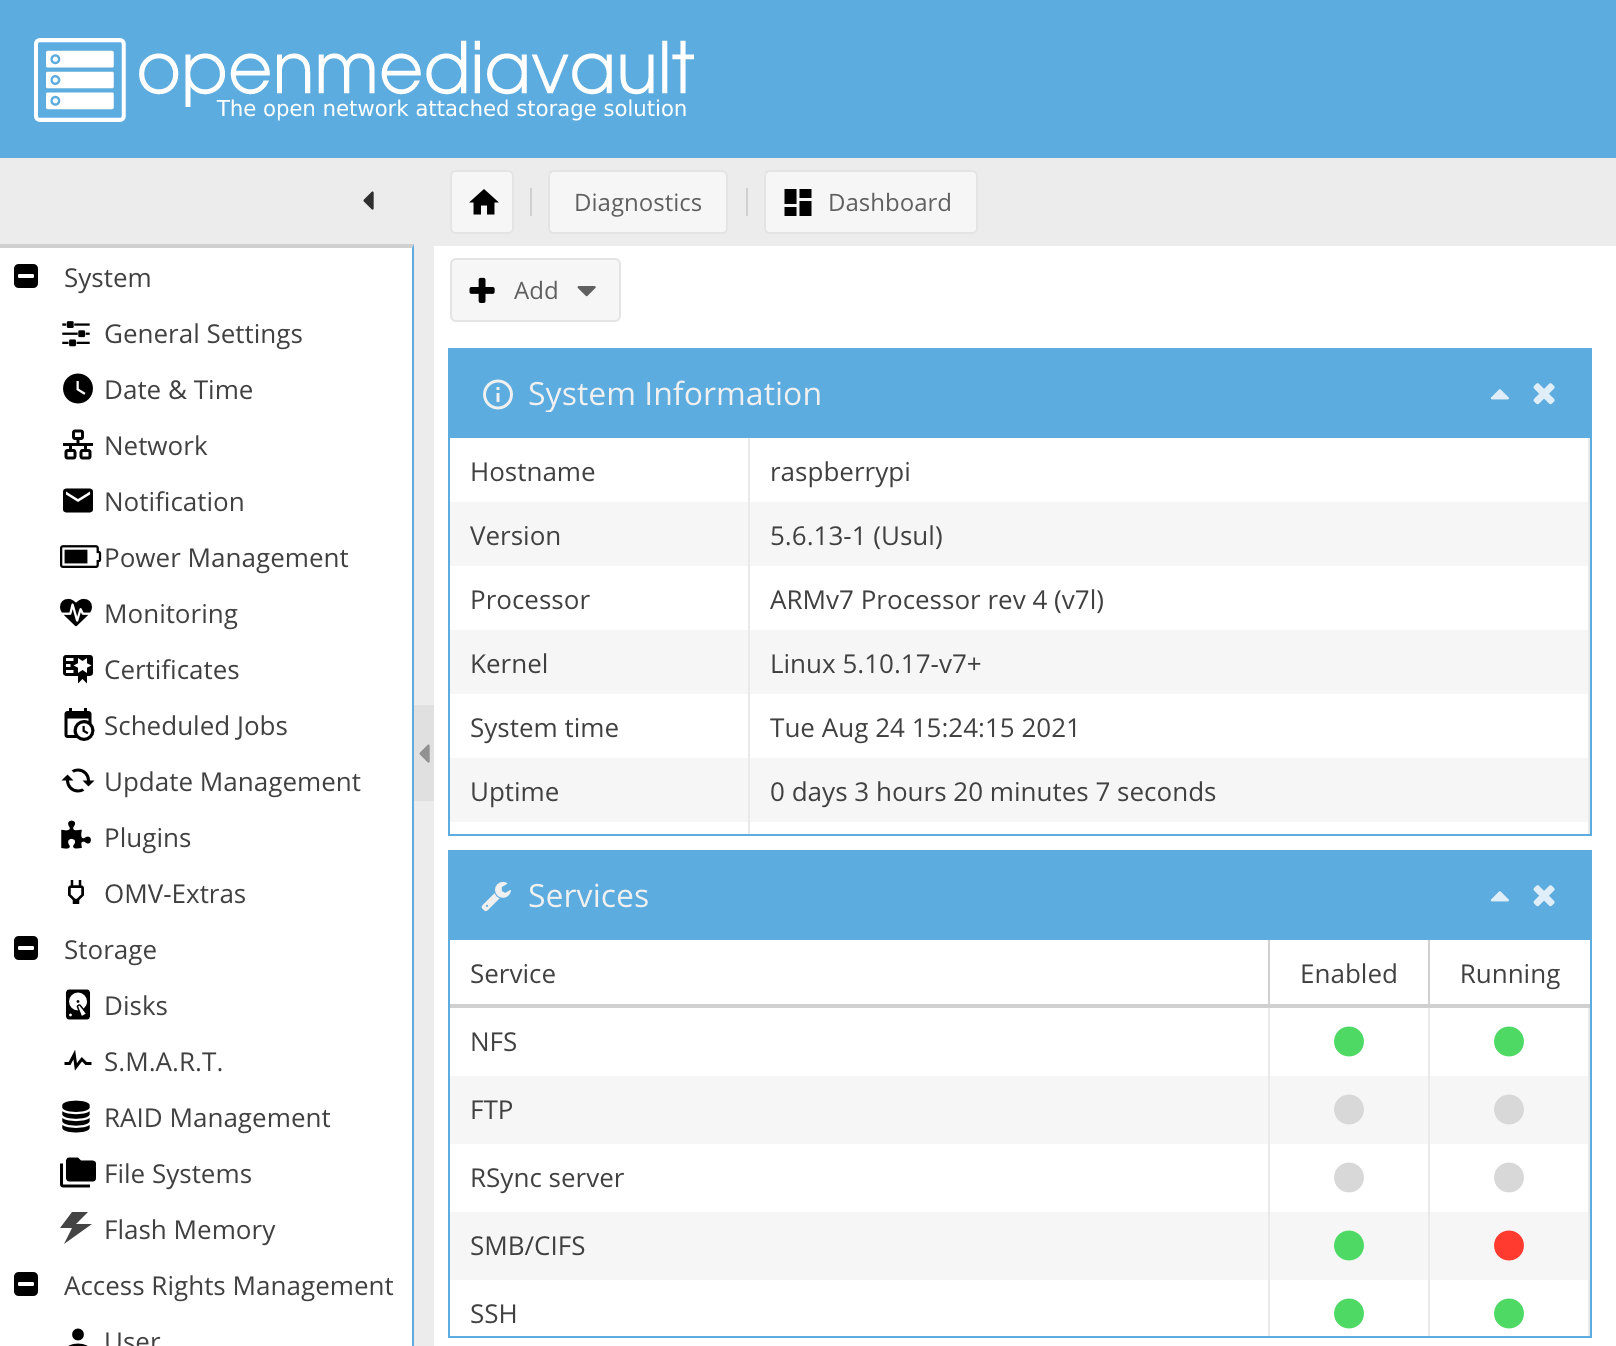
If login fails, run omv-firstaid and change the password of the default user.
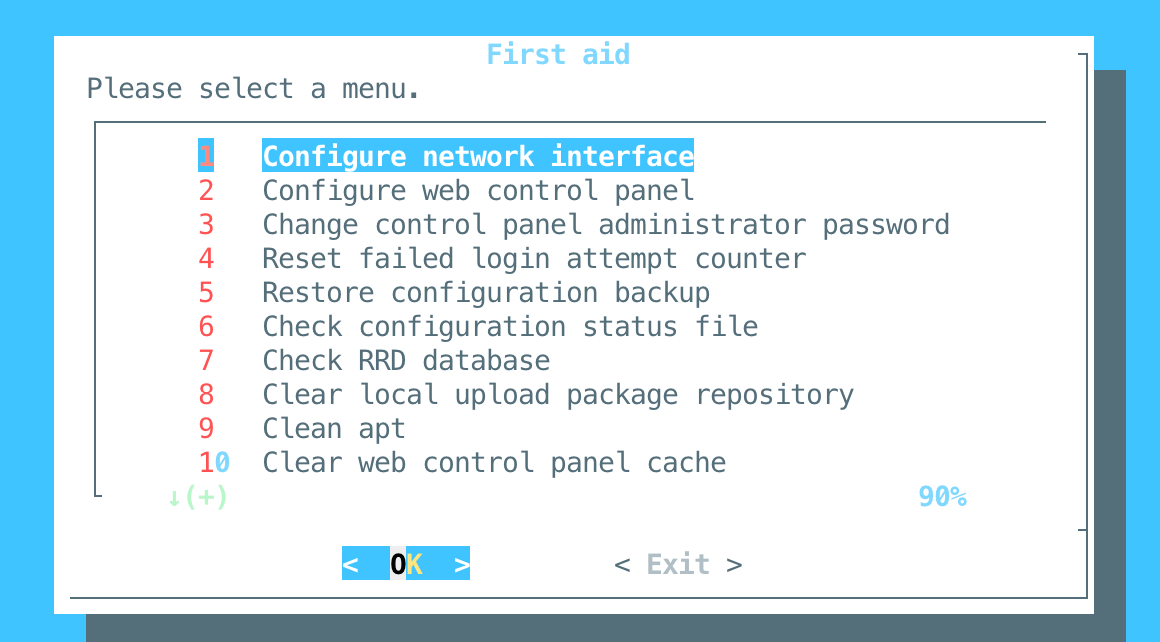
To setup a shared directory, I need to do two things. First, even after creating a new partition on the main drive, I could not select it. Only after installing the plugin openmediavault-sharerootfs via the menu point Plugin it worked. After each change, the OMV dashboard will show a JavaScript Popup asking for a confirmation - confirm every change.
Important: When configuring the shared directory, after each configuration change you make, a small popup is shown at the top of the page - you also need to acknowledge it.
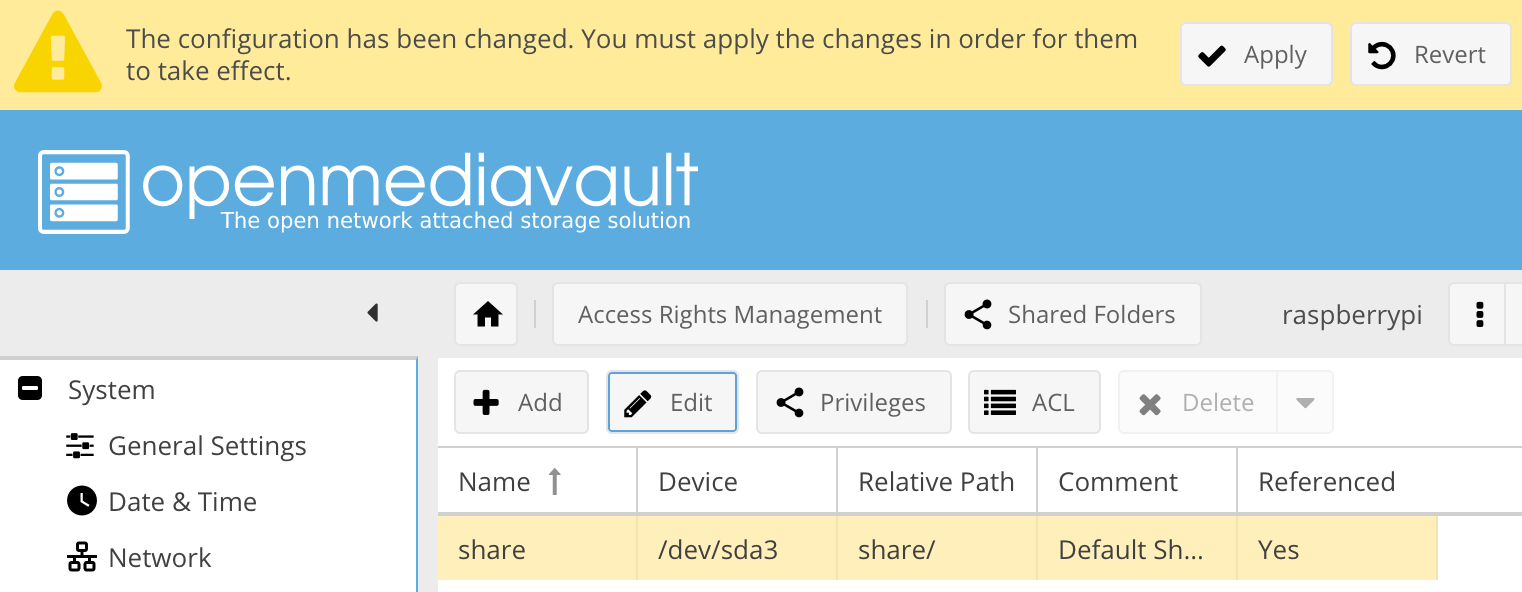
The concrete steps for configuring a Samba share are
- Click on
Access Right Managements/Shared Folder, press theAddbutton, and select the share - Select the new share, then press the
privilegesfolder and add the local user and group - Go to
Services/SMB/CIFSand enable the Service - Then, click on the table
Sharesand add the shared services - Check the
Dashboardto see if all services are working
Then you can connect to the SMB share. From a Windows client, enter \\IPADDRESS\, on OsX use smb://IPADDRESS/
Conclusion
IOTStack is an amazing tool. It takes care to install up-to-date docker and docker-compose binaries to your Raspberry Pi, then opens a powerful menu to select and configure more than 25 IOT projects, and finally pre-configures and starts all docker containers. It also comes with additional tools for updating containers, making backups, and native installs of other tools. Of equally great value are the meaningful default configuration: All containers are started in the same virtual docker network, can communicate by using their container names as hostname, and all the default ports are exposed to the host. On top, an installation of OpenMediaVault turns your Raspberry Pi into a NFS/SMB share server - provide a capable USB disk, HDD or SSD, and also start sharing data in your home network.
