After finally dropping ROS from the software stack, I continued with my robot build essentially where I left off half a year ago: A two wheeled, Raspberry Pico controlled vehicle that listens to commands via a Gamepad that are translated to movements messages. Then, I rebuild the robot, added the custom gripper module, and put everything together. It still worked. But it lacks controls. Time to investigate how to add a controller to the robot.
This article gives a concise overview about all options how to add a PS3 or PS4 controller to your robot. You will learn the Linux essentials - Bluetooth pairing, input device, and get an overview about complete libraries.
Connecting a Controller
USB Cable
On a recent Linux distribution, you can simply connect a controller via USB. Look into dmesg to identify the controllers USB binding, like here:
[  159.187707] usb 1-1.1.2: new full-speed USB device number 5 using dwc_otg
[  159.320782] usb 1-1.1.2: New USB device found, idVendor=054c, idProduct=05c4, bcdDevice= 1.00
[  159.320799] usb 1-1.1.2: New USB device strings: Mfr=1, Product=2, SerialNumber=0
[  159.320808] usb 1-1.1.2: Product: Wireless Controller
[  159.320818] usb 1-1.1.2: Manufacturer: Sony Computer Entertainment
[  159.415449] input: Sony Computer Entertainment Wireless Controller Touchpad as /devices/platform/soc/3f980000.usb/usb1/1-1/1-1.1/1-1.1.2/1-1.1.2:1.0/0003:054C:05C4.0001/input/input1
[  159.415913] input: Sony Computer Entertainment Wireless Controller Motion Sensors as /devices/platform/soc/3f980000.usb/usb1/1-1/1-1.1/1-1.1.2/1-1.1.2:1.0/0003:054C:05C4.0001/input/input2
[  159.478061] input: Sony Computer Entertainment Wireless Controller as /devices/platform/soc/3f980000.usb/usb1/1-1/1-1.1/1-1.1.2/1-1.1.2:1.0/0003:054C:05C4.0001/input/input0
[  159.478481] Sony 0003:054C:05C4.0001: input,hidraw0: USB HID v81.11 Gamepad [Sony Computer Entertainment Wireless Controller] on usb-3f980000.usb-1.1.2/input0
The controller is then registered as an input device and sends its commands from the device file /dev/js01 or /dev/input/js0. To see its configuration, run jstest to see the pads configuration:
jstest /dev/input/js0
Driver version is 2.1.0.
Joystick (Sony Computer Entertainment Wireless Controller) has 8 axes (X, Y, Z, Rx, Ry, Rz, Hat0X, Hat0Y)
and 13 buttons (BtnA, BtnB, BtnX, BtnY, BtnTL, BtnTR, BtnTL2, BtnTR2, BtnSelect, BtnStart, BtnMode, BtnThumbL, BtnThumbR).
Testing ... (interrupt to exit)
Axes:  0:     0  1:     0  2:     0  3:     0  4:     0  5:     0  6:     0  7:     0 Buttons:  0:off  1:off  2:off  3:off  4:off  5:off  6:of
Now, if you press any button, jstest will change its output correspondingly:
Axes: 0: 0 1: 0 2: 0 3: 0 4: 0 5: 0 6: 0 7: 0 Buttons: 0:off 1:on 2:off 3:off 4:on 5:off 6:of
This is all good, but the connection via USB cable is suboptimal, or do you want the robot to drag a cable behind? Instead, we can establish a Bluetooth connection with two different approaches - explained in the next sections.
Bluetooth Connection for a PS3 Pad
The Sixlinux program is a small wrapper that allows a PS3 pad to be paired with any Linux computer. It’s a small C program that you download, compile and use with the following commands:
# wget http://www.pabr.org/sixlinux/sixpair.c
# gcc -o sixpair_connector sixpair.c -lusb
Then, connect the controller with an USB cable, and run the compiled program with sixpair_connector. It should print the following information about the controllers current Bluetooth configuration:
Current Bluetooth master: A0-25-73-A6-A8-E3
Setting master bd_addr to B2-F1-01-25-E9-49
Disconnect the cable, activate the PlayStation pad, and check the output with hidd --server --nocheck -n. You should see this:
hidd[8332]: Bluetooth HID daemon
hidd[8332]: New HID device AC-37-4A-E9-E8-50 (Sony Computer Entertainment Wireless Controller)
The controller is then registered as an input device and sends its commands from the device file /dev/js01 or /dev/input/js0.
Raspberry Pi Built-in Programs
For Bluetooth pairing, the most straightforward solution does not require any additional hardware, but just a working Bluetooth stack and the help of built-in libraries.
The essential step, derived from this article, will enable you the automatic paring of any game controller:
1: Install the bluetooth CLI tools with sudo apt-get install bluetoothctl
2: Open the bluetoothd command line utility and execute the following commands:
agent on
discoverable on
pairable on
default-agent
scan on
3: Reset the PS4 pad via a small outlet on the backside (push e.g. the pin of a paperclip inside) 4: Put the PS4 pad into pairing mode by pressing the share button and the touchpad 5: Shortly after, you should see a message indicating that a new controller was found, such as this:
[NEW] Device AC-37-4A-E9-E8-50 Wireless Controller
6: Copy the mac address, and finally run the following commands:
connect PS4_PAD_MAC_ADDRESS
trust PS4_PAD_MAC_ADDRESS
7: You should see the following messages indicating that the connection could be made successfully:
[CHG] Device PS4_PAD_MAC_ADDRESS Connected: yes
[CHG] Device PS4_PAD_MAC_ADDRESS Paired: yes
Connection successful
Now, stop the Bluetooth CLI tool by pressing CTRL-C, then restart the Bluetooth daemon with sudo systemctl restart bluetoothd. When you switch on the PS4 controller, it should be paired with the Raspberry Pi immediately. As before, the controller inputs should be shown form the device file /dev/js01 or /dev/input/js0.
Controller Software
Now that we know how to connect a game controller, lets implement a program to process the controller inputs. Like before, we will start with from scratch methods and continue to frameworks and libraries.
Parsing raw HDI Input
The great article “Talking to gamepads from Python” explains step-by-step how a joystick or game controller is registered in Linux and how to systematically build a controller scheme. It starts by connecting the controller (see the section before) and accessing the controller with the generic HID interface via a library such as hidapi: Enumerate the API, note the controller ID, and access it. Here is a simple code example:
import hid

for device in hid.enumerate():
    print(f"0x{device['vendor_id']:04x}:0x{device['product_id']:04x} {device['product_string']}")

gamepad = hid.device()
gamepad.open(0x0f0d, 0x00c1)
gamepad.set_nonblocking(True)
Source: https://blog.thea.codes/talking-to-gamepads-without-pygame/
Then, continuously read the controller report, press different buttons, and notice the changes:
while True:
    report = gamepad.read(64)
    if report:
        print(report)

# No buttons pressed
[0, 0, 15, 128, 128, 128, 128, 0]
# A button pressed
[4, 0, 15, 128, 128, 128, 128, 0]
Source: https://blog.thea.codes/talking-to-gamepads-without-pygame/
And from here, you identify the different button combinations to map them to custom events your application requirements.
Python
In the Python ecosystem, several different libraries exist. Let’s start with a very prominent and all-encompassing one. Pygame is a complete library for multimedia and computer game design, which also includes abstractions for a game controller.
To start, you check that a gamepad is connected. If yes, it can be initialized, and various helper functions will print characteristics like its name or the buttons. Then, in the main loop, the program checks for new events, and if this event is of a type corresponding to a button, then we can process it.
Here is a simple sketch:
import pygame

pygame.init()

if pygame.joystick.get_count() < 1:
    print("No gamepad connected!","Exiting")
    system.exit()

gamepad = pygame.joystick.Joystick(i)
gamepad.init()

print(f'Gamepad {gamepad.get_name()} detected')
for button in range(gamepad.get_numbuttons()):
    print(button)

while True:
    for event in pygame.event.get():
        if event.type == pygame.JOYBUTTONDOW:
            print(f'Gamepadd button {event.button} pressed')
A very focused library is the PiPS4 Controller. It supports helpful abstractions that represent a controller or button and provides simple event listeners. It works by listening to the device file of a connected gamepad. Here is an example directly from the official documentation:
from pyPS4Controller.controller import Controller


class MyController(Controller):

    def __init__(self, **kwargs):
        Controller.__init__(self, **kwargs)

    def on_x_press(self):
       print("Hello world")

    def on_x_release(self):
       print("Goodbye world")

controller = MyController(interface="/dev/input/js0", connecting_using_ds4drv=False)
controller.listen(timeout=60)
Source: https://pypi.org/project/pyPS4Controller/
Continuing with EvDEV, which is a generic input event mapping library for keyboard, mouse or gamepad. It supports various way to detect the capabilities of connected input devices, and provides event listeners and async IO handling of events. However, to work with this library, you will need to investigate the event types and event combinations, like two buttons pressed at the same time. See the following basic example:
import evdev

device = evdev.InputDevice('/dev/input/event0')
print(device)
# device /dev/input/event0, name "Dell USB Optical Mouse", phys "usb-0000:00:12.0-2/input0"

device.capabilities()
# { 0: [0, 1, 2], 1: [272, 273, 274, 275], 2: [0, 1, 6, 8], 4: [4] }

device.capabilities(verbose=True)
# { ('EV_SYN', 0): [('SYN_REPORT', 0), ('SYN_CONFIG', 1), ('SYN_MT_REPORT', 2)],
#   ('EV_KEY', 1): [('BTN_MOUSE', 272), ('BTN_RIGHT', 273), ('BTN_MIDDLE', 274), ('BTN_SIDE', 275)], ...

for event in device.read_loop():
  if event.type == ecodes.EV_KEY:
    print(categorize(event))

# key event at 1337016188.396030, 30 (KEY_A), down
# key event at 1337016188.492033, 30 (KEY_A), up
Source: https://python-evdev.readthedocs.io/en/latest/tutorial.html
As before, you will need to define the input device from which to listen, and then start the main loop that waits for button events. Here is an example:
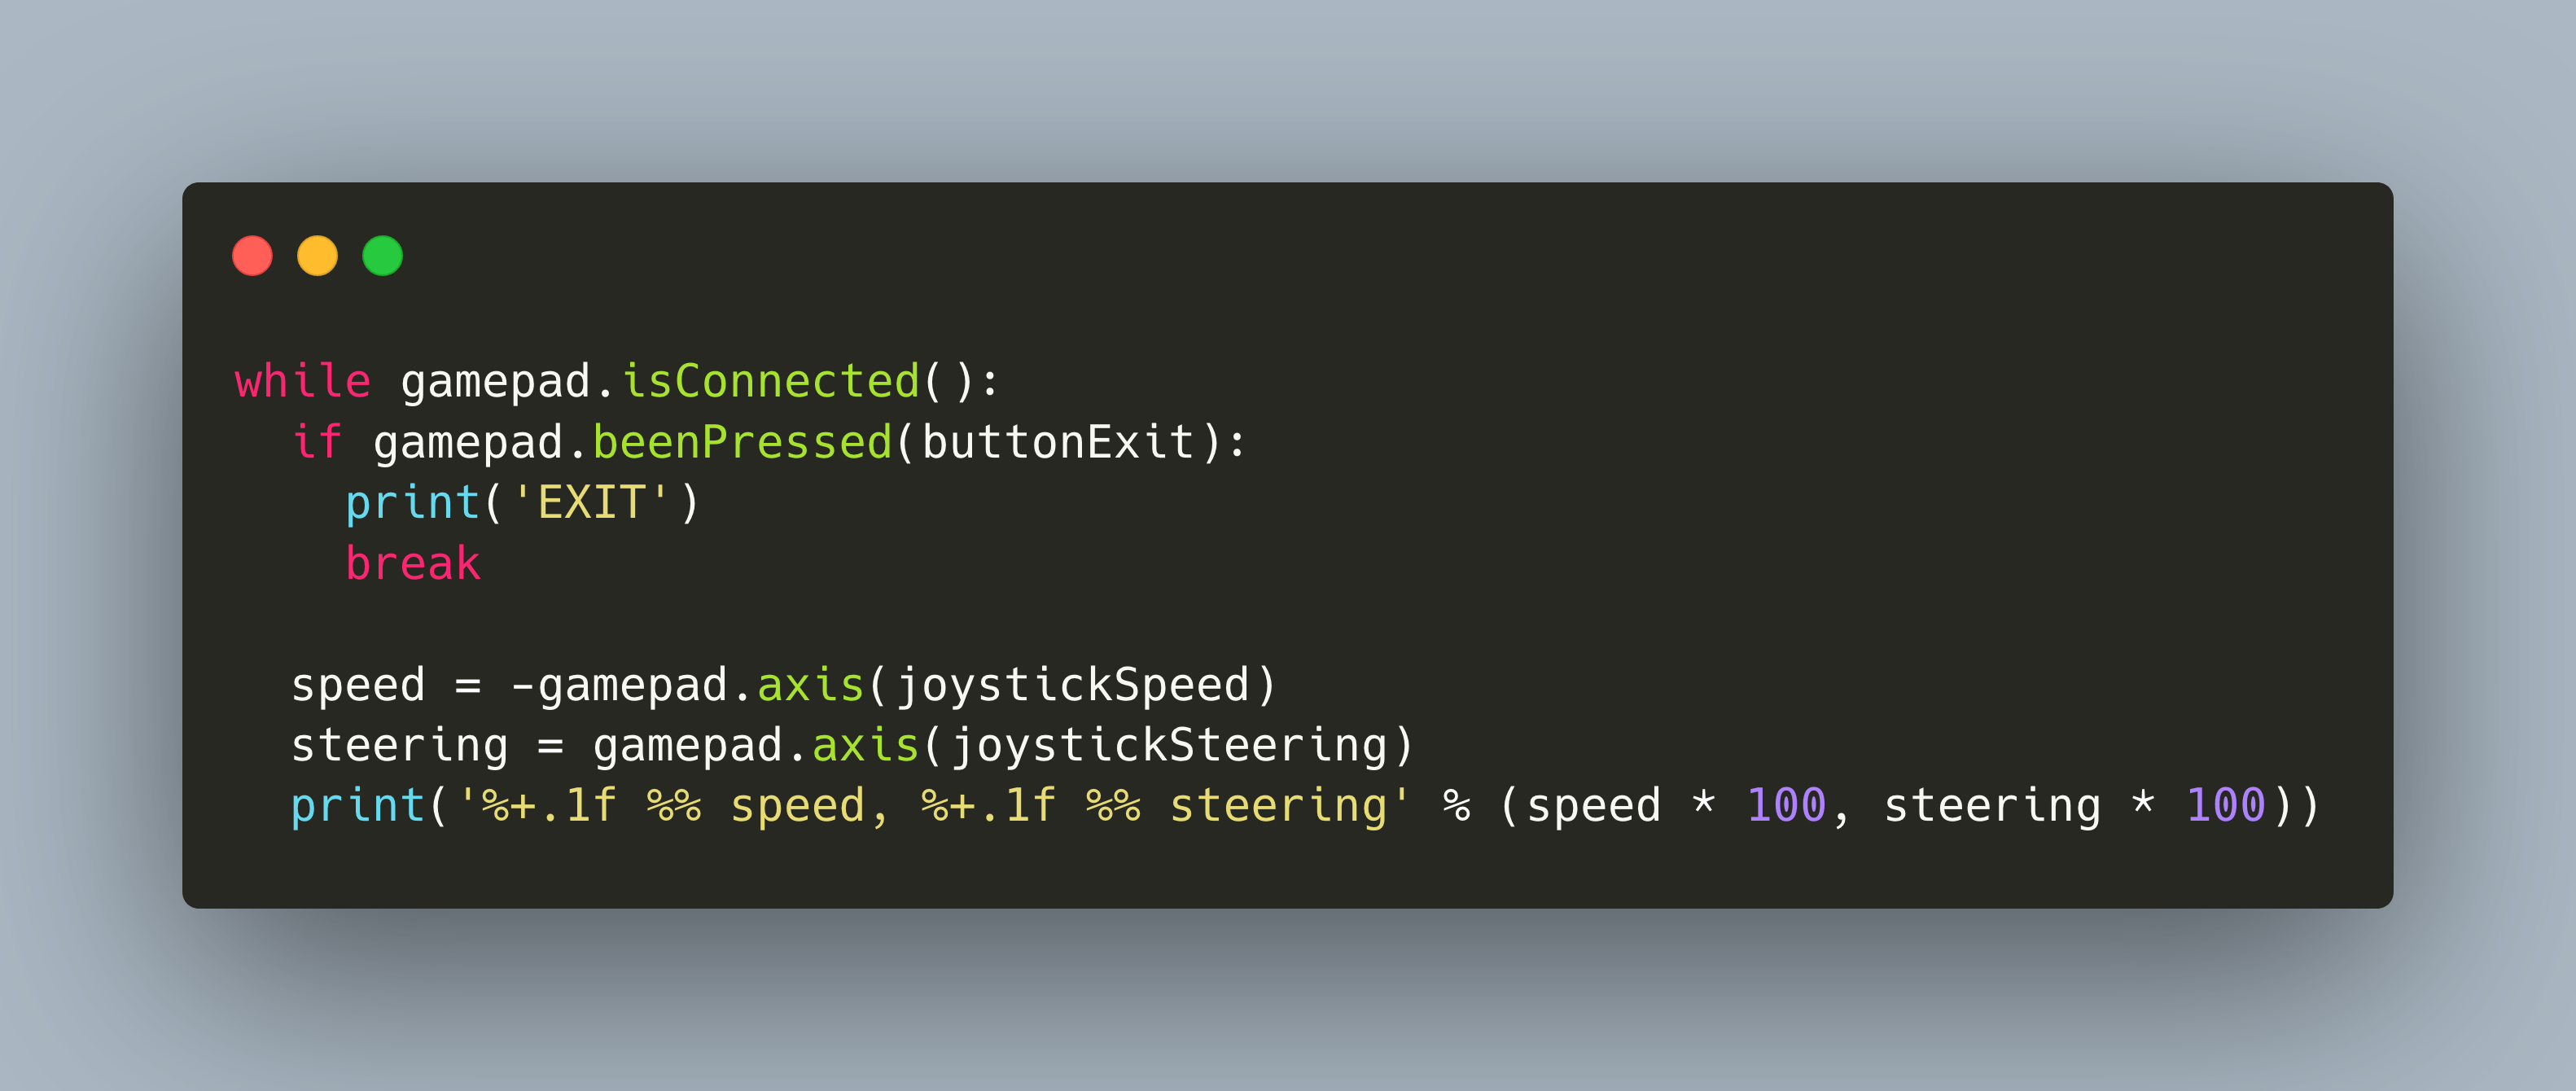
The final library is Piborg Gamepad. This library focuses on gamepad for video game consoles. It provides custom mappings for controllers with concrete button names, and it can simultaneously read the values of all gamepad axis (this is e.g. the digital pad and analog stick on a PlayStation pad). This library also supports two different programming model: You can define a global state that will be updated continuously in the background, or define event listeners that are processed when a button is pressed that trigger. The only caveat: The last commit is from 2019. Here is an example:
#!/usr/bin/env python
# coding: utf-8

# Load the gamepad and time libraries
import Gamepad
import time

gamepadType = Gamepad.PS4
buttonHappy = 'CROSS'
buttonBeep = 'CIRCLE'
buttonExit = 'PS'
joystickSpeed = 'LEFT-Y'
joystickSteering = 'RIGHT-X'
pollInterval = 0.1

if not Gamepad.available():
    print('Please connect your gamepad...')
    while not Gamepad.available():
        time.sleep(1.0)
gamepad = gamepadType()
print('Gamepad connected')

# Set some initial state
speed = 0.0
steering = 0.0

# Start the background updating
gamepad.startBackgroundUpdates()

try:
    while gamepad.isConnected():
        if gamepad.beenPressed(buttonExit):
            print('EXIT')
            break

        if gamepad.beenPressed(buttonHappy):
            print(':)')
        if gamepad.beenReleased(buttonHappy):
            print(':(')

        if gamepad.isPressed(buttonBeep):
            print('BEEP')

        speed = -gamepad.axis(joystickSpeed)
        steering = gamepad.axis(joystickSteering)
        print('%+.1f %% speed, %+.1f %% steering' % (speed * 100, steering * 100))

        time.sleep(pollInterval)
finally:
    gamepad.disconnect()
Source: https://github.com/piborg/Gamepad/blob/master/AsyncExample.py
Conclusion
This short article showed how to pair a Bluetooth game controller with a Raspberry Pi and gave an overview about different game controller libraries. For connecting a Bluetooth controller, you need to access the built-in Bluetooth functions of bluetoothd: Scan for devices, identify the correct MAC address, then connect and trust the device. Once established, the controller is paired with the Raspberry Pi the very next time it is turned on. The gamepad library overview showed interesting differences: From low-level, generic input device and event detection, to libraries that explicitly support gamepads for videogame consoles, to complete computer game programming environments. The working principle are the same: Connect a gamepad, identify its device file, create a main loop, map events to buttons, and either execute event listeners or update a global state. In my next article, I will develop a concrete gamepad controller software.