Lighthouse Scanner: Frontend Development with PlainJS

With my Lighthouse-as-a-Service website scanner you can quickly check a webpage about its performance, SEO and best practices. You can use the scanner here: https://lighthouse.admantium.com/.
In this article, I describe the frontend part, specifically the scanner page. It uses the Lighthouse tool for which I provide a HTTP API using the nodejs framework Hapi. I will discuss the requirements, and then explain why I don't need a framework, but will use PlainJS[^1] that runs in the browser. Afterwards, I will explain the necessary features of PlainJS and show how they are applied for the lighthouse scanner.
Note: The lighthouse service is discontinued since 2024-05-18.
Lighthouse Webpage Requirements
Considering the requirements, it seems that the amount of interactivity is minimal.
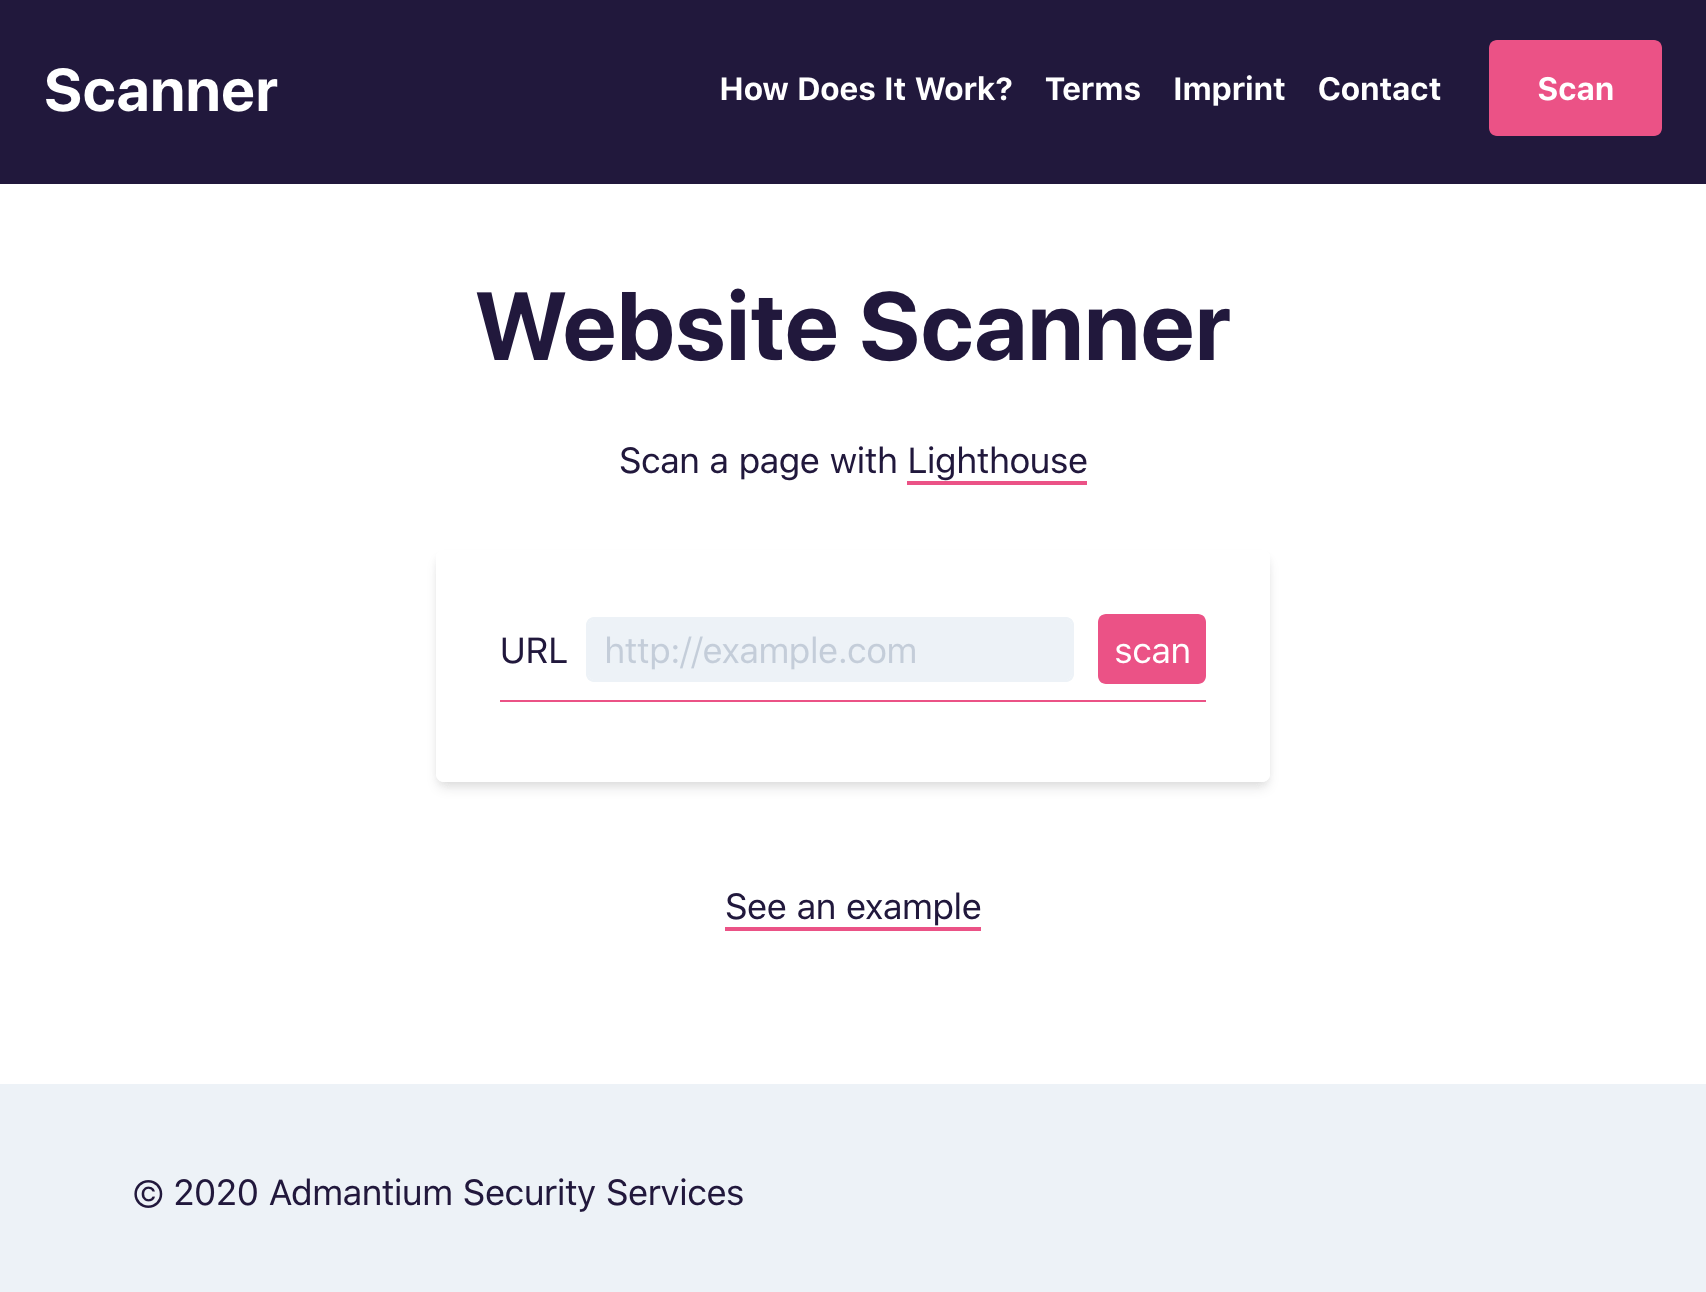
You enter the webpage in the scanner URL field, then click the scan button.

The frontend calls the backend with /scan?url=URL, and as outlined in the previous article, receives these status codes:
202Job is starting400No URL or invalid URL is given429No workers available
From here on, the frontend uses simple long polling to periodically request the /jobs?id=ID API endpoint until the job is complete or stopped with an error.
200job is finished and successful202job is running404job id is unknown409job is finished but failed
In essence, the frontend requires these features:
- Request different backend endpoints
- Show messages (success, errors)
- Periodically request job status
- During scanning, disable scan button and scan bar
- When the job is finished: enable scan button and scan bar
- When the job is successful: render download link
So, should I use a frontend framework like React or Vue? The number of features does not seem to be too complex, and I don’t see much additional features in future iterations of the webpage. A framework adds considerable load and CPU processing time to your page[^2]. Therefore, I decided to implement these features with PlainJS.
PlainJS Basics
PlainJS is client-side JS that runs in your browser. Its inherently different from NodeJS because it exposes APIs for interacting with the client, such as manipulating the DOM, controlling the browser behavior with the window object, or device APIs to display notifications. For a good introduction to Web APIs, refer to the Mozilla MDN documentation.
In our cases, we are interested in the APIs that allow us to manipulate the DOM, how to define event listeners, and how to load data from a service.
DOM Manipulation
The DOM is a tree-like structure, starting with the root document at the root, continuing with nodes like body, h1 or p, to finally arrive at the leaves, which is the text value of HTML elements. DOM manipulation techniques inherit this tree-like structure and expose methods for selecting, adding and deleting nodes.
So, lets discuss this in the context of showing a message.
The scanner box is a <form> consisting of a <label>, the <input> field for the url, an <input> button to start a scan, and an empty <div> to show a message.
<form class="form" id="search-form">
  <label for="URL">URL</label>
  <input type="text" id="search-form-input" placeholder="http://example.com">
  <input type="button" value="scan" id="search-form-button"></div>
  <div id="search-form-msg-box"></div>
</form>
Now, when we want to display a message, we select this node, and then set its inner HTML to display a message. Selecting a node is done with the document.getElementById() function[^3]. The value of a node is an attribute, so we can set any HTML with innerHTML.
function setMsg(msg) {
  const msg_box = document.getElementById('search-form-msg-box');
  msg_box.innerHTML = `<span class="text-green-500 font-medium">${msg}</span>`
}
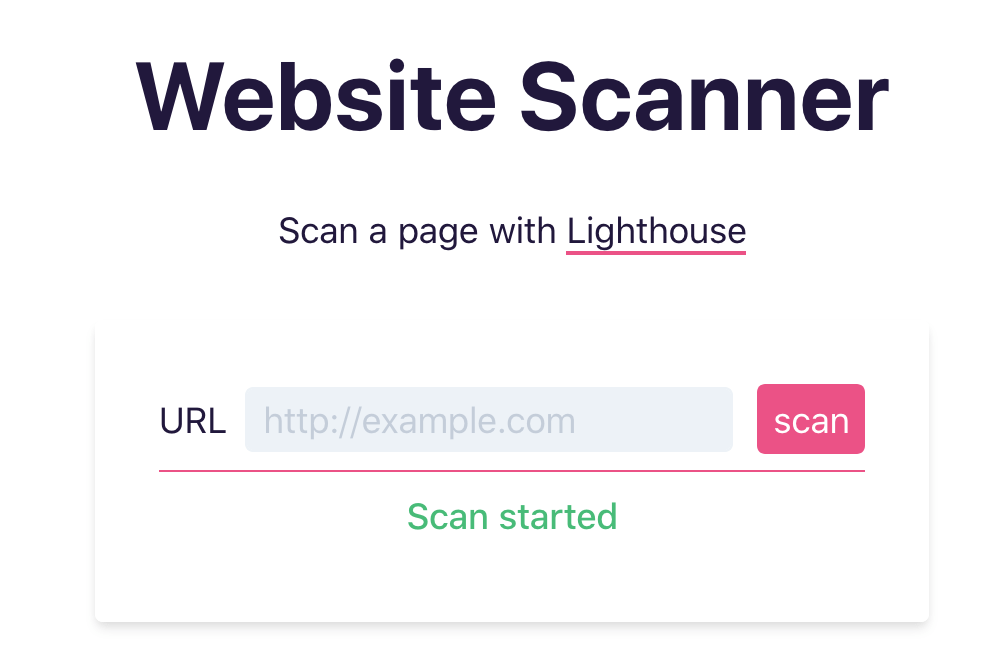
Let’s see this in action:

To remove the message, we simple set the inner html to an empty string:
function removeMsg() {
  msg_box.innerHTML = '';
}
Event Listeners
When we want to show a message conditionally, for example when clicking a button, we need to work with event listeners attached to DOM nodes. The methods addEventListener receives two arguments:
- Event: The name of the event for which the trigger is defined, see this list of event triggers
- Function: The functions that gets executed
As an example, to show the message Scan started when the search button is clicked, we define the event listeners as follows:
document
  .getElementById('search-form-button')
  .addEventListener('click', setMsg('Scan started'));
Similarly, when the form is submitted, we call the same function
document
  .getElementById('search-form')
  .onsubmit = setMsg('Scan started'));
API Requests with Fetch
When the scan button is pressed, the value of the search bar will be determined and we send a request to the backend API. PlainJS provides the Fetch API to make asynchronous calls to other URLs.
If you have worked with Axios or Request, you will see similarities: A fetch() call consists of the target url and an optional object with the method, headers and the body.
Here is an example to post a JSON payload to the /api endpoint:
fetch('/api', {
  method: 'POST',
  headers: {
    "Content-type": "application/json"
  },
  body: '{"url":"http://example.org"}'
})
The fetch request returns a promise. There are two patterns to work with the return values of promises:
- Using
.thenchains to process the results, and.catchfor error cases. - Using
awaitto get the results, and wrap the function call in atry ... catchblock
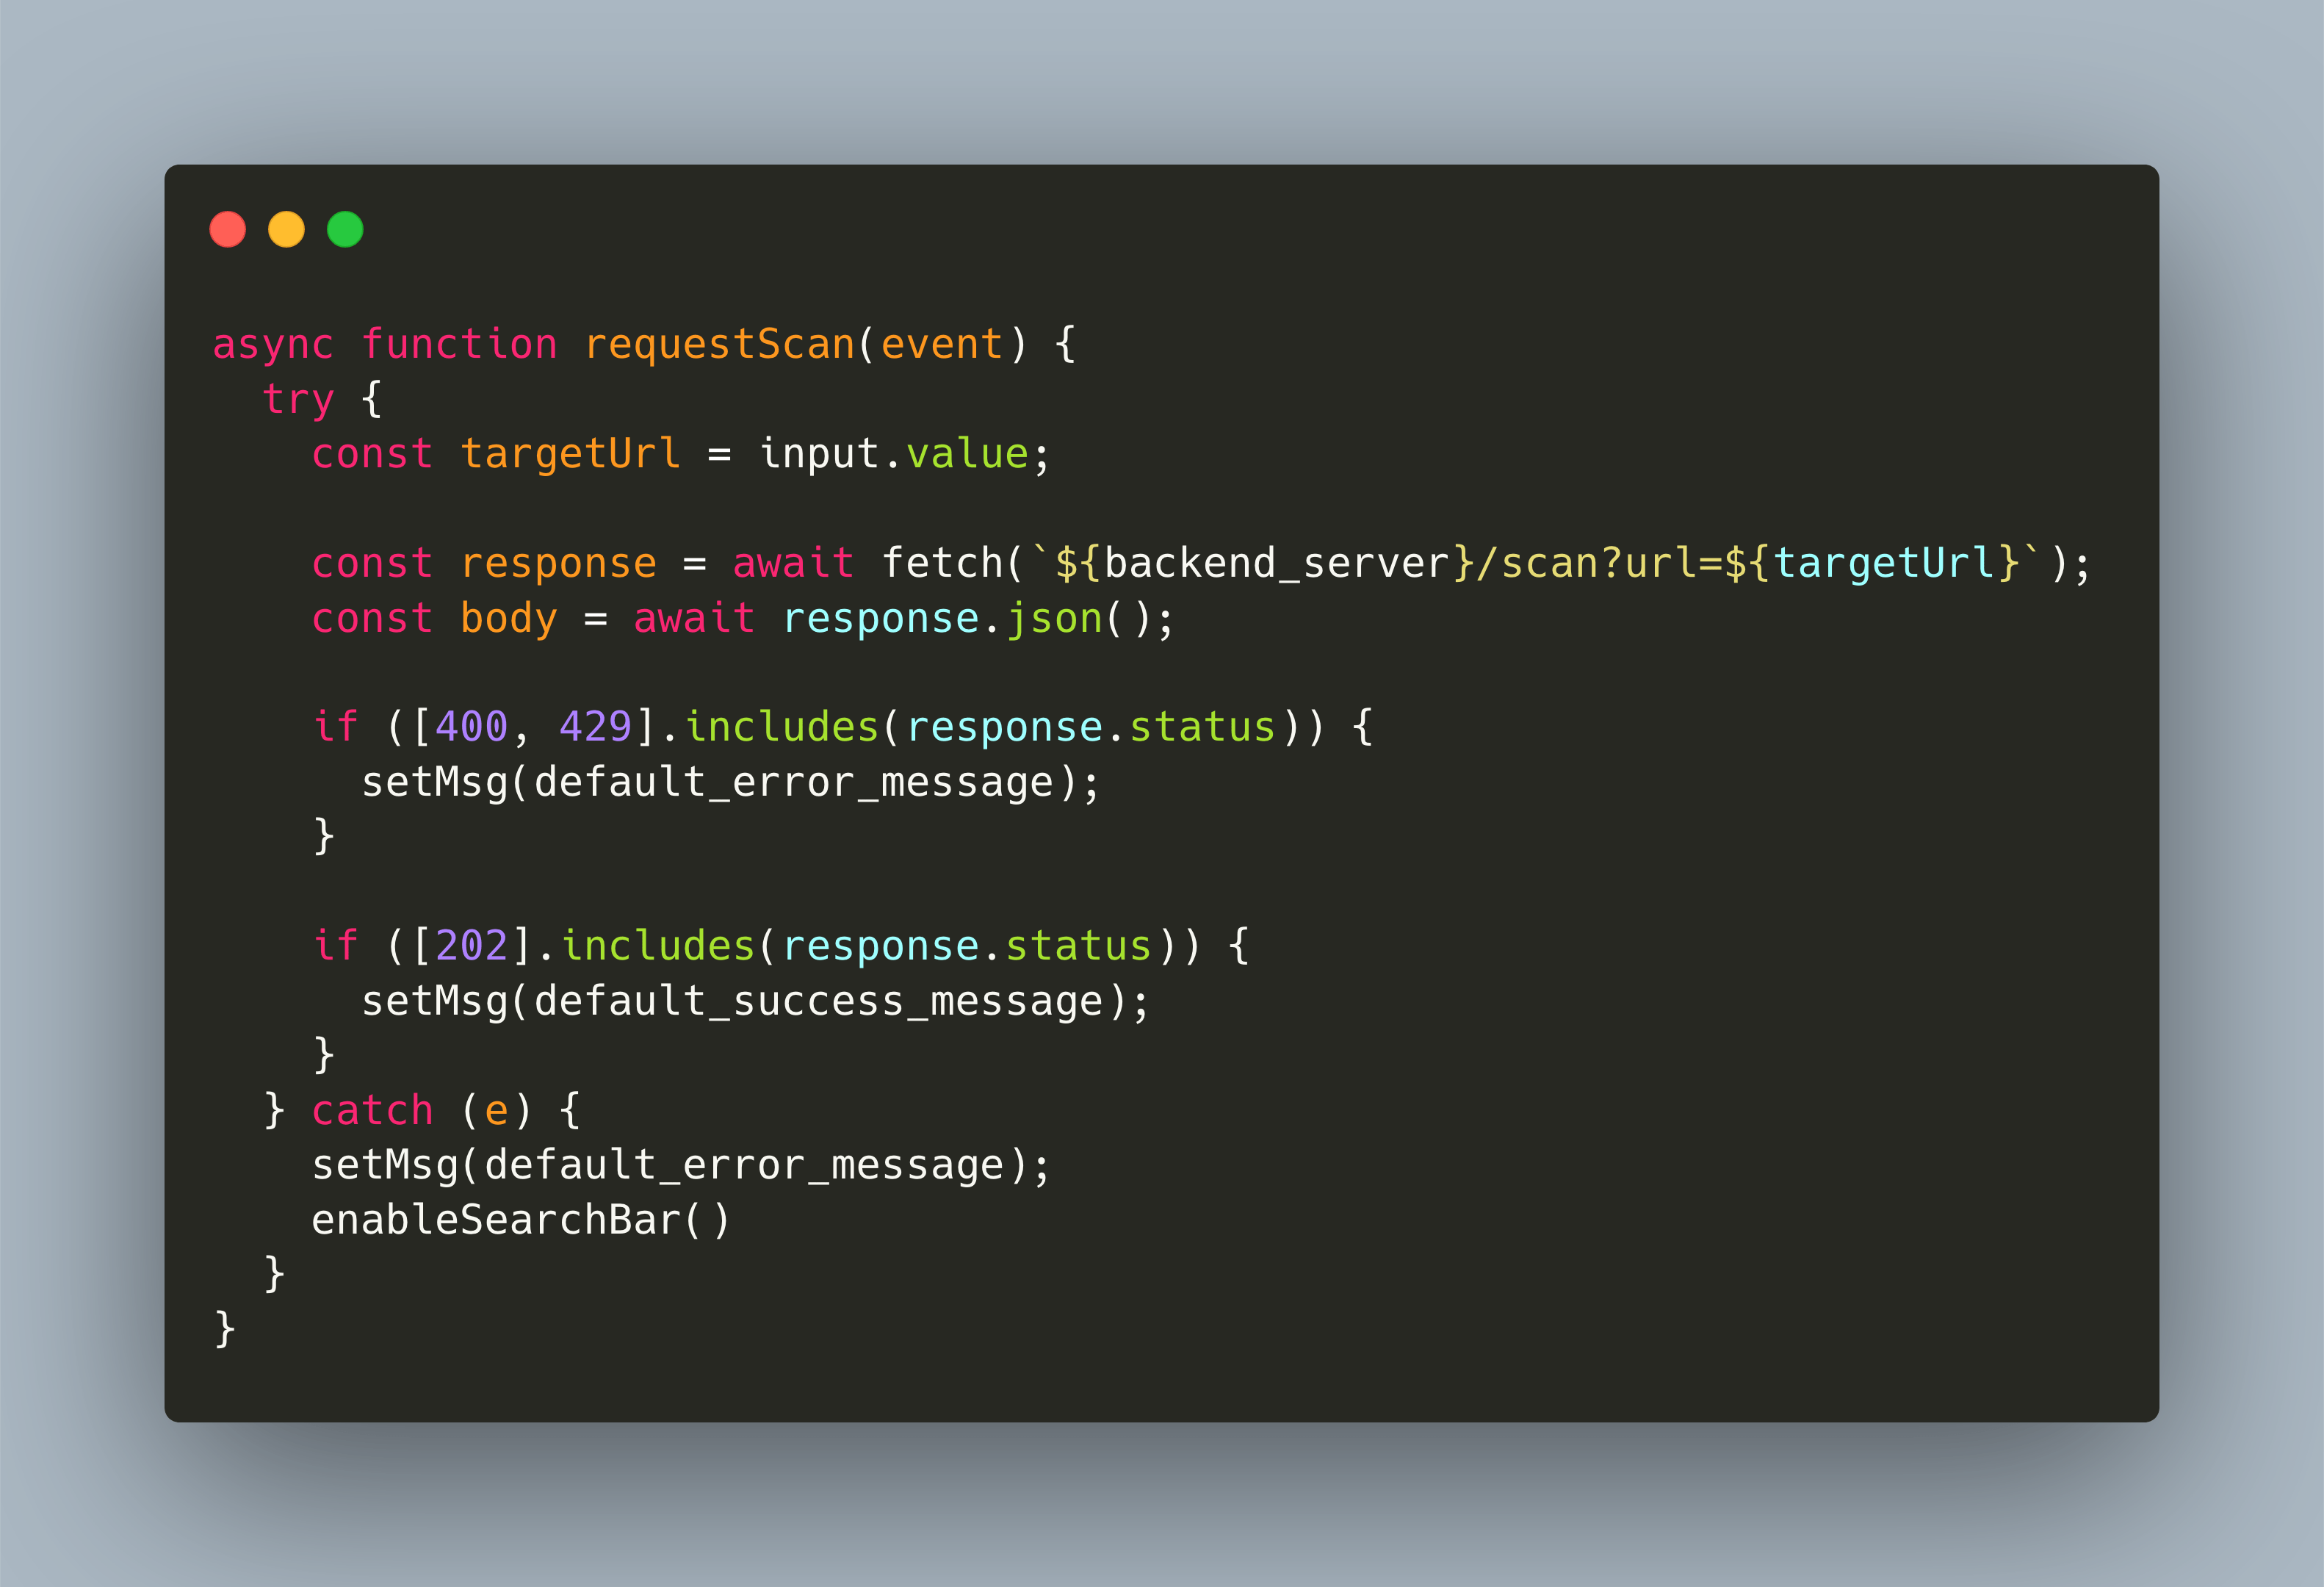
I prefer the second option because it increases code readability. In the following example you can see this style applied. In line 5, we start the fetch call, and in line 6, we await the result. In the next lines, we check the response code, and display a corresponding message.
async function requestScan(event) {
  try {
    const targetUrl = input.value;

    const response = await fetch(`${backend_server}/scan?url=${targetUrl}`);
    const body = await response.json();

    if ([400, 429].includes(response.status)) {
      setMsg(default_error_message);
    }

    if ([202].includes(response.status)) {
      setMsg(default_success_message);
    }
  } catch (e) {
    setMsg(default_error_message);
    enableSearchBar()
  }
}
Those are all the necessary features we use. Now let’s discuss how to structure this code.
Code Structure
The code structure is, well, very basic: One big file, global DOM selectors at the top, global variables, and then functions for activating or deactivating the visual effects. Event listeners are attached with an init() method. Here is a rough outline.
const form = document.getElementById(...)
const input = document.getElementById(...)
const button = document.getElementById(...)
const msg_box = document.getElementById(...)

//...

function setMsg(msg, success = false) { ... }
function removeMsg() { ... }
function enableSearchBar() { ... }
function disableSearchBar() { ... }

//...

function pollJobStatus { ... }
async function pollUntilReportDone { ... }

//...

function init() { ... }
window.onload = init;
I honestly don’t have much finesse in structuring, and seeing the code caps at 100 lines, it feels ok.
Conclusion
This article showed how to use PlainJS for developing the frontend webpage of the lighthouse scanner. The runtime environment of PlainJS is your browser. It provides a set of WebAPIs, from which I showed (a) DOM API for selecting, adding and removing nodes, (b) Fetch API for asynchrony calls to other URLs, and (c) Event API to execute events based on frontend interaction.
PlainJS feels basic, especially in how close to DOM you are and how to structure the code. It fulfills the requirements of the frontend features. I'm surprised that the logic for displaying success and error messages, shown a loading bar, and making periodic requests to an API in about 100 lines of code.
Footnotes
[^1]: Read this great article to understand why it’s not possible to pinpoint the JavaScript version that you are using in your browser.
[^2]: See how different JavaScript frameworks impact the loading and CPU processing time in this report.
[^3]: You can use other selectors, including tag names or CSS as well.