Kubeadm is a CLI tool with the explicit goal to bootstrap a minimum viable, Kubernetes specification conformant cluster. It expects nodes to be preconfigured, and upon using the CLI, it will install the Kubernetes components, create tokens, and join nodes together into a cluster. The documentation page explicitly states that it should serve for higher-level tools that will provide customization, monitoring and other environment-specific options. This article gives a concise overview about Kubeadm: supported architectures, installation, and upgrade process, and supported components.
Distribution Overview
The Kubeadm default installation only fixes one Kubernetes component: the control plane storage is etcd. The CRI and the CNI needs to be installed and configured manually in addition to Kubeadm. This gives you maximum flexibility with the installation process. For a complete list of supported components, see below.
Installation Architectures
Although the kubeadm documentation assumes a “classic” multi controller, multi worker node architecture with ETCD as the storage, you can choose different architectures as well:
- Single node cluster: You use one server to install the control plane and configure it to also accept workloads.
- Single controller, multi worker: You configure one server as the single controller node of the cluster and add additional worker nodes that host the workloads. The minimum required hardware spec for the nodes is at least 2 CPU and 2GB RAM for controller nodes, and 1 CPU, 2GB RAM for worker nodes.
- Multi controller, multi worker: This architecture adds additional controller nodes for a more robust cluster. The number of controller nodes should confirm to the equation of 2*n + 1 to allow a quorum in the case that a controller node goes down.
For designing a high-availability cluster, etcd can either be stacked with the controller nodes, or you install an external etcd cluster. In any case,
Installation Process
To install a Kubernetes cluster with kubeadm, follow these steps as outlined in the official documentation:
- Node provisioning & configuration
- OS
- Install a compatible Linux on the nodes
- Check that the machine UUID is unique
- Ensure that required network ports are accessible
- Provide SSH access to the nodes
- Container runtime installation
- Install a [supported container runtime]/ (https://kubernetes.io/docs/setup/production-environment/container-runtimes/) on all nodes, which are containerd or cri-o (Docker Engine is only supported until Kubernetes v1.24)
- Install core binaries
- Install kubeadm, kubctl, and kubelet on each node
- Configure the same cgroup driver that is used by the container runtime for these binaries as well
- OS
- Create the Kubernetes controller node
- Check and define the required kubeadm CLI flags to be used (see all supported CLI flags), such as these:
- dedicated control plane endpoint when multiple controller nodes are used
- the CRI to be used
- the network plugin configuration options to enable Pod networking
- Run
kubeadm initon the (primary) controller node - When this command is successful, it will print a status message, including the later to be used command
kubeadm join
- Check and define the required kubeadm CLI flags to be used (see all supported CLI flags), such as these:
- Install and configure a CNI
- Check the supported CNI plugins
- Download and install a plugin version that is compatible with your Kubernetes version
- If the installation is successful, the CoreDNS pod will start
- Join additional nodes
-
Get the join token by running
kubeadm token liston the controller node -
Use the
kubeadm joincommand that was printed during setup of the first controller node -
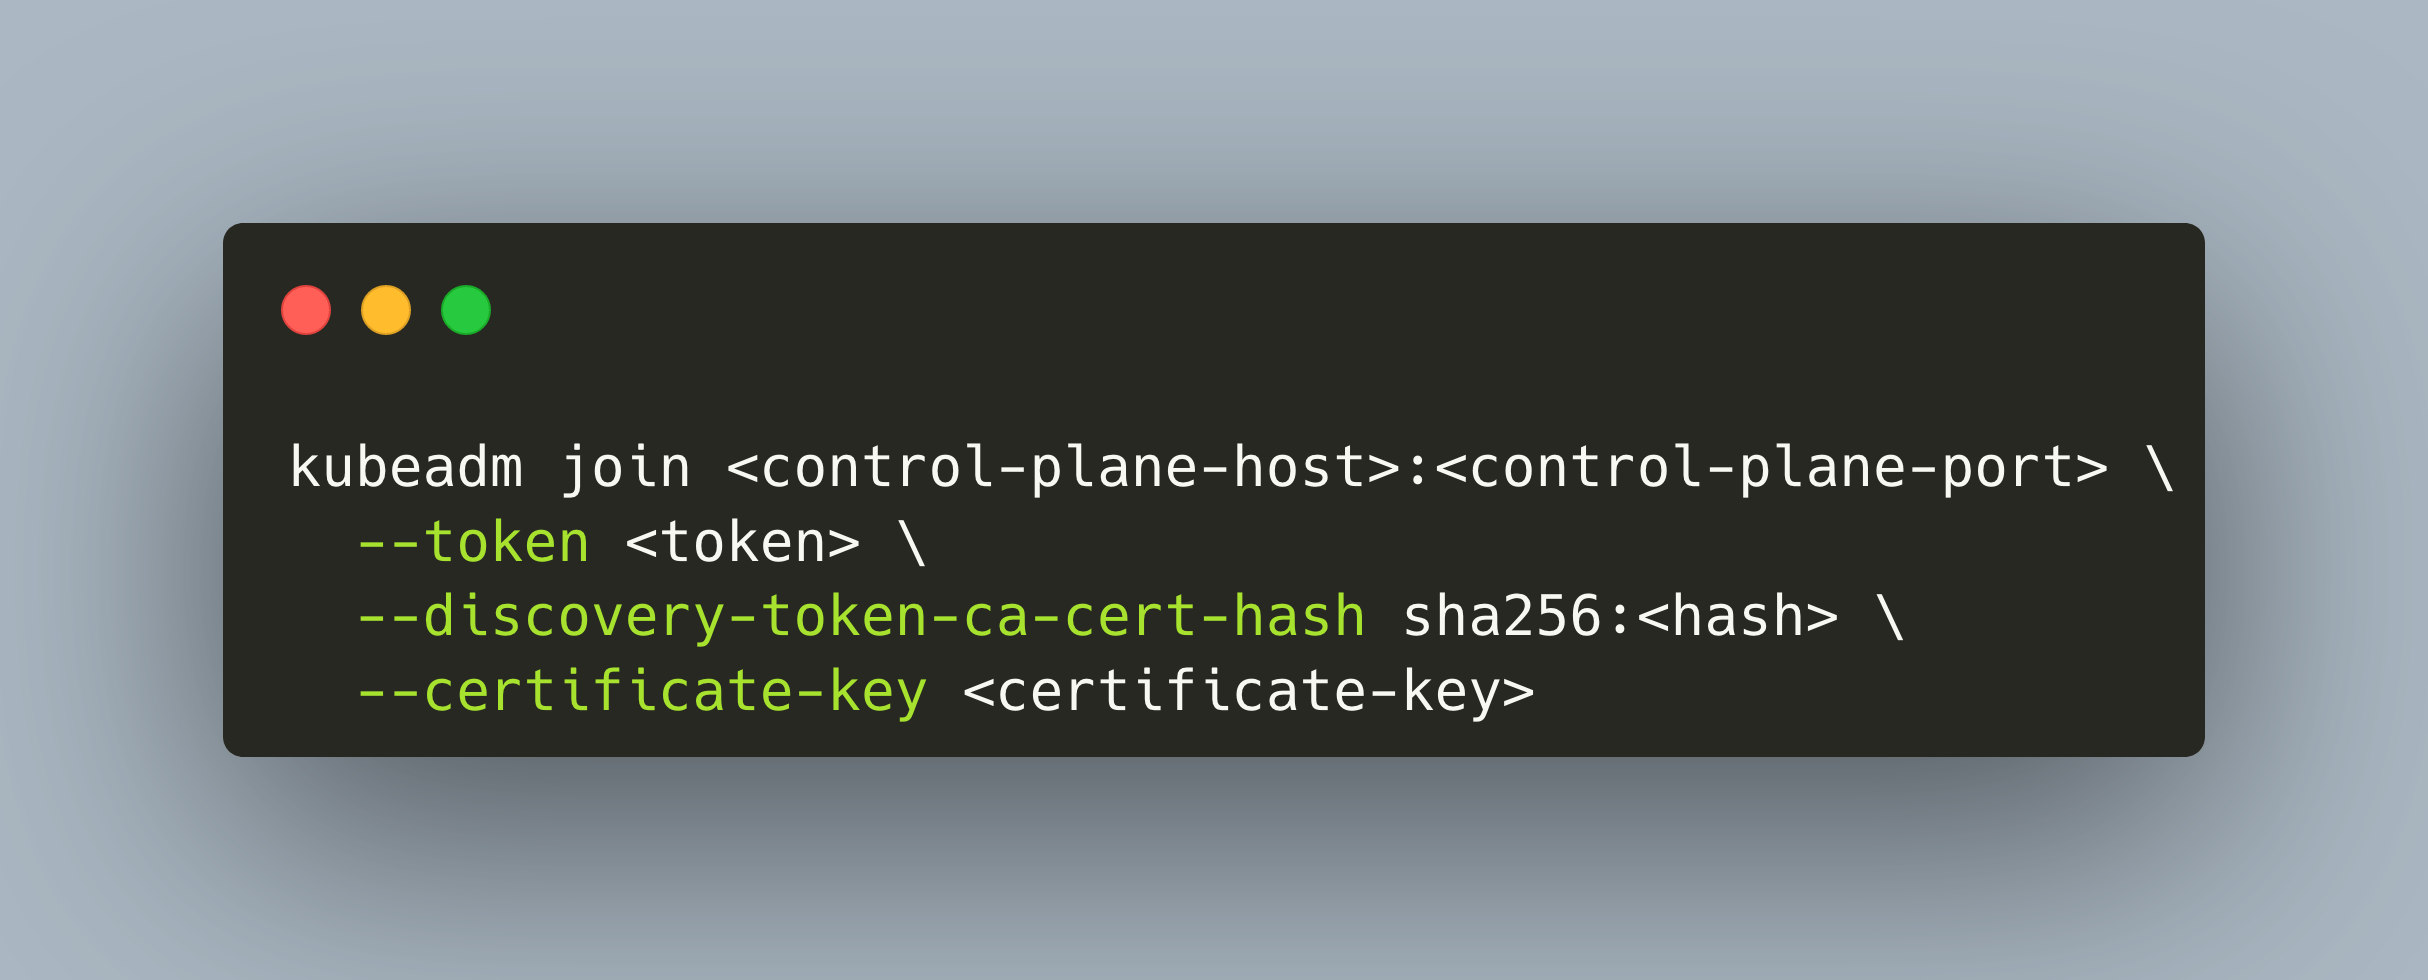
… on a new work node:
kubeadm join <control-plane-host>:<control-plane-port> \ --token <token> \ --discovery-token-ca-cert-hash sha256:<hash> \ --certificate-key <certificate-key> -
… on a new controller node, additionally add the flag
--control-plane -
On controller nodes, configure the startup script to be the same as the above provisioned one.
-
This general approach can be tailored for a high-availability setup in which etcd is replicated. One option is to stack etcd together with the controller nodes, the other one is to provide an external etcd cluster to which the controller nodes communicate with. See the high availability setup documentation for details.
Upgrade Process
To upgrade the Kubernetes version used in your cluster, follow these step as outlined in the documentation:
- Controller nodes
- Upgrade kubeadm
- Manually install the new version of
kubeadmvia the OS package manager - Run
kubeadm upgrade planthe following command to pre-plan the upgrade process - For the first controller node, run
kubeadm upgrade apply v1.25.xto apply the updates - For all other controller nodes, run
kubeadm upgrade node
- Manually install the new version of
- Optionally: Upgrade the CNI
- Remove all workloads from the controller node with
kubectl drain <node-to-drain> --ignore-daemonsets - Manually install new versions of kubelet and kubectl via the OS package manager
- Restart workload/scheduling workloads with
kubectl uncordon <node-to-drain>
- Upgrade kubeadm
- Worker nodes
- Manually install the new version of
kubeadmvia the OS package manager - Apply the update with
kubeadm upgrade node - Remove all workloads from the node with
kubectl drain <node-to-drain> --ignore-daemonsets - Manually install new versions of kubelet and kubectl via the OS package manager
- Restart workload/scheduling workloads with
kubectl uncordon <node-to-drain>
- Manually install the new version of
- Check that all nodes are available again by running
kubectl get nodes
Customization
Since kubeadm only bootstrap a minimum viable, Kubernetes specification conformant cluster, you have the choice and responsibility to setup the other required Kubernetes components yourself. Therefore, at the time of writing this article, following components can be used:
- Control plane storage
- etcd
- Container runtime
- Containerd
- CRI-O
- Docker Engine (up to Kubernetes Version v1.24)
- Container networking znterface
There is no dedicated Ingress controller or storage class installed.
Conclusion
Kubeadm is a Kubernetes bootstrapper concerned with installing the basic tools kubeadm, kubectl and kubeproxy on each node, and then joining these nodes to a cluster. It supports single node, single controller and multi controller node architectures as well. Several customization options are supported, where control plane storage and container runtime are part of the setup, while the CNI, Ingres and storage plugins needs to be installed and configured manually.