In the last two articles, a radio frequency sensor in the 433MHz frequency range and a BLE gateway were created. This article continues with capturing and transmitting infrared signals, opening up several options to integrate different consumer products into your home automation stack.
The technical context of this article is OpenMQTT Gateway v1.7.0, and for the hardware you need an ESP8266 board as well as parts to create an IR receiver/transmitter. The examples should work with newer versions of OpenMQTT as well.
Required Hardware
Following the official documentation for creating an infrared signal gateway, you need the following hardware:
- A microcontroller of type ESP32, ESP8266 or Arduino Uno
- An infrared receiver
- An infrared diode
- A N2222 transistor
For my setup, an ESP8266 is sufficient. This board is wired with the infrared sensors as follows:
- IR receiver GND => ESP8266 GND
- IR receiver VCC => ESP8266 5V
- IR receiver Signal => ESP8266 D4
- IR emitter GND => ESP8266 GND
- IR emitter VCC => ESP8266 5V
- IR emitter Signal => ESP8266 D0
Note that you need to use the designated signal pins because they are hard-wired into the IR gateway binaries.
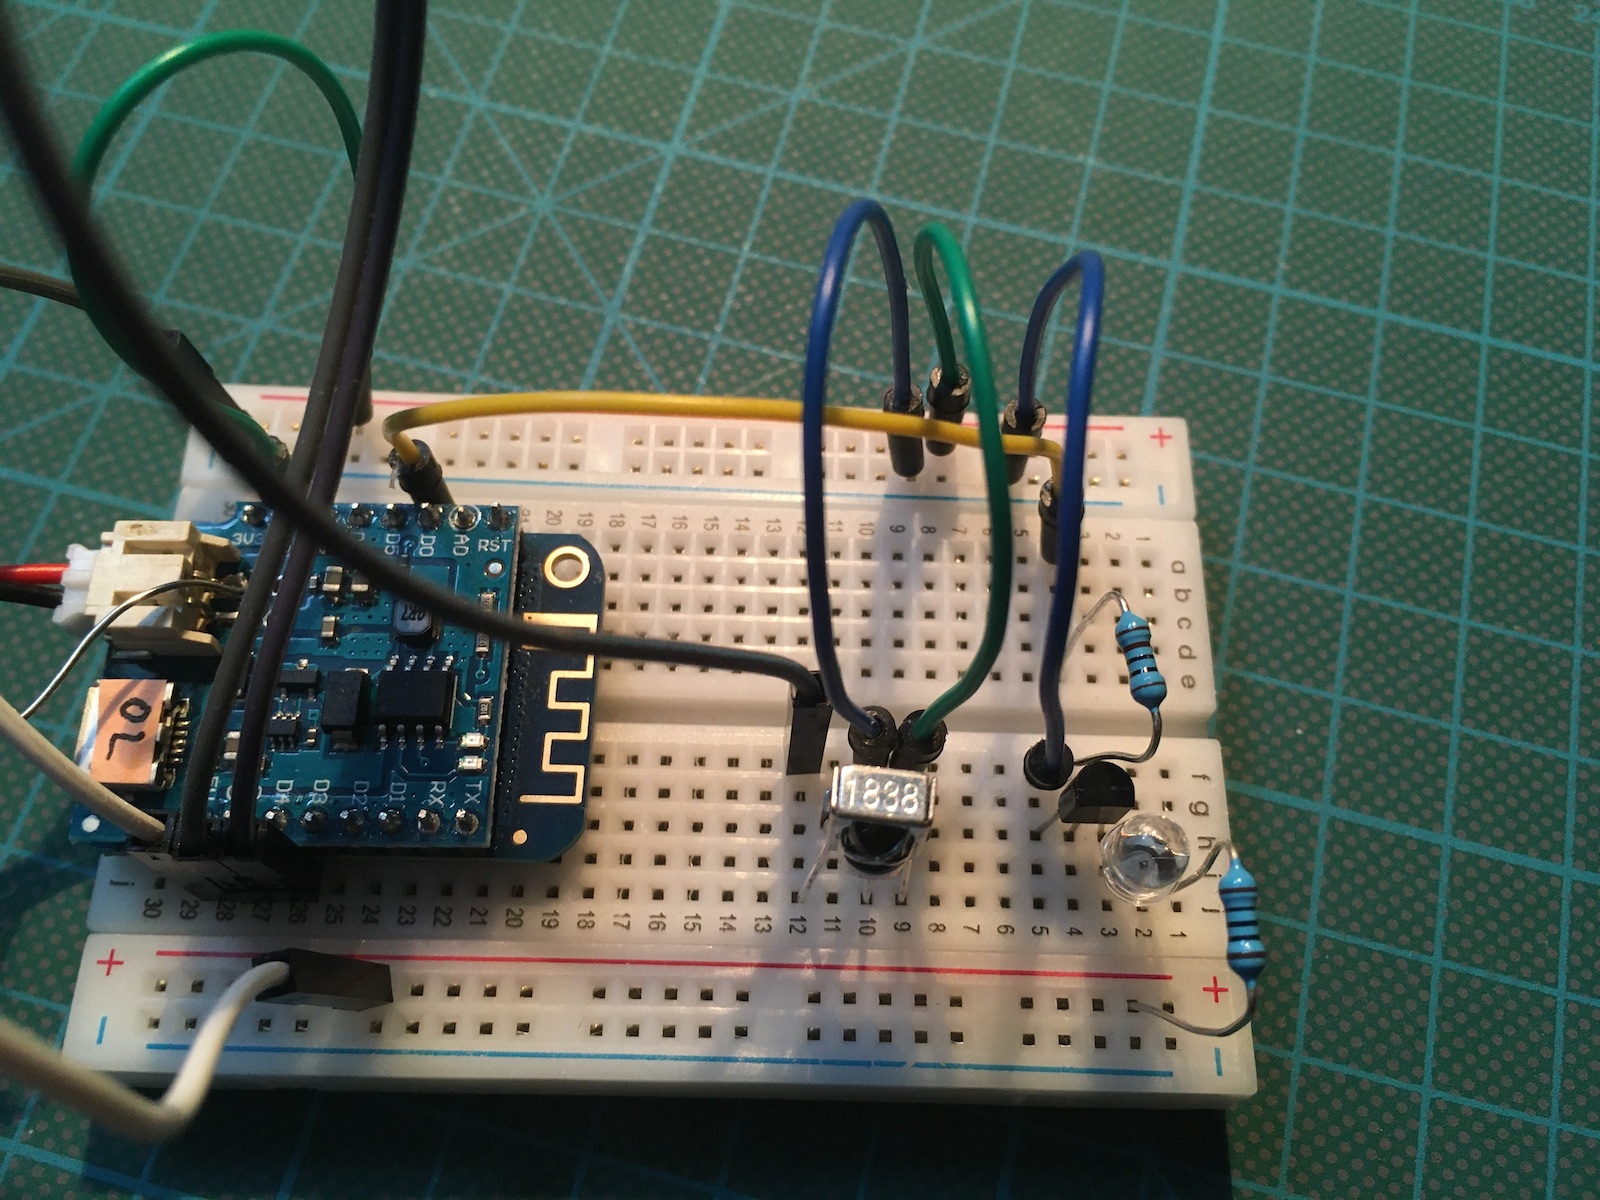
When starting on the project, I thought that you do not need the N2222 transistor for the infrared diode, but without it, I could not send a signal at all. The wiring was challengingly, because additional resistors are needed. What worked for my setup is shown in this ESP8226 IR circuit: A 100ohm resistor between the 5V VCC and diode input, and a 1k ohm resistor between the PN2222 transistor and the D0 pin.
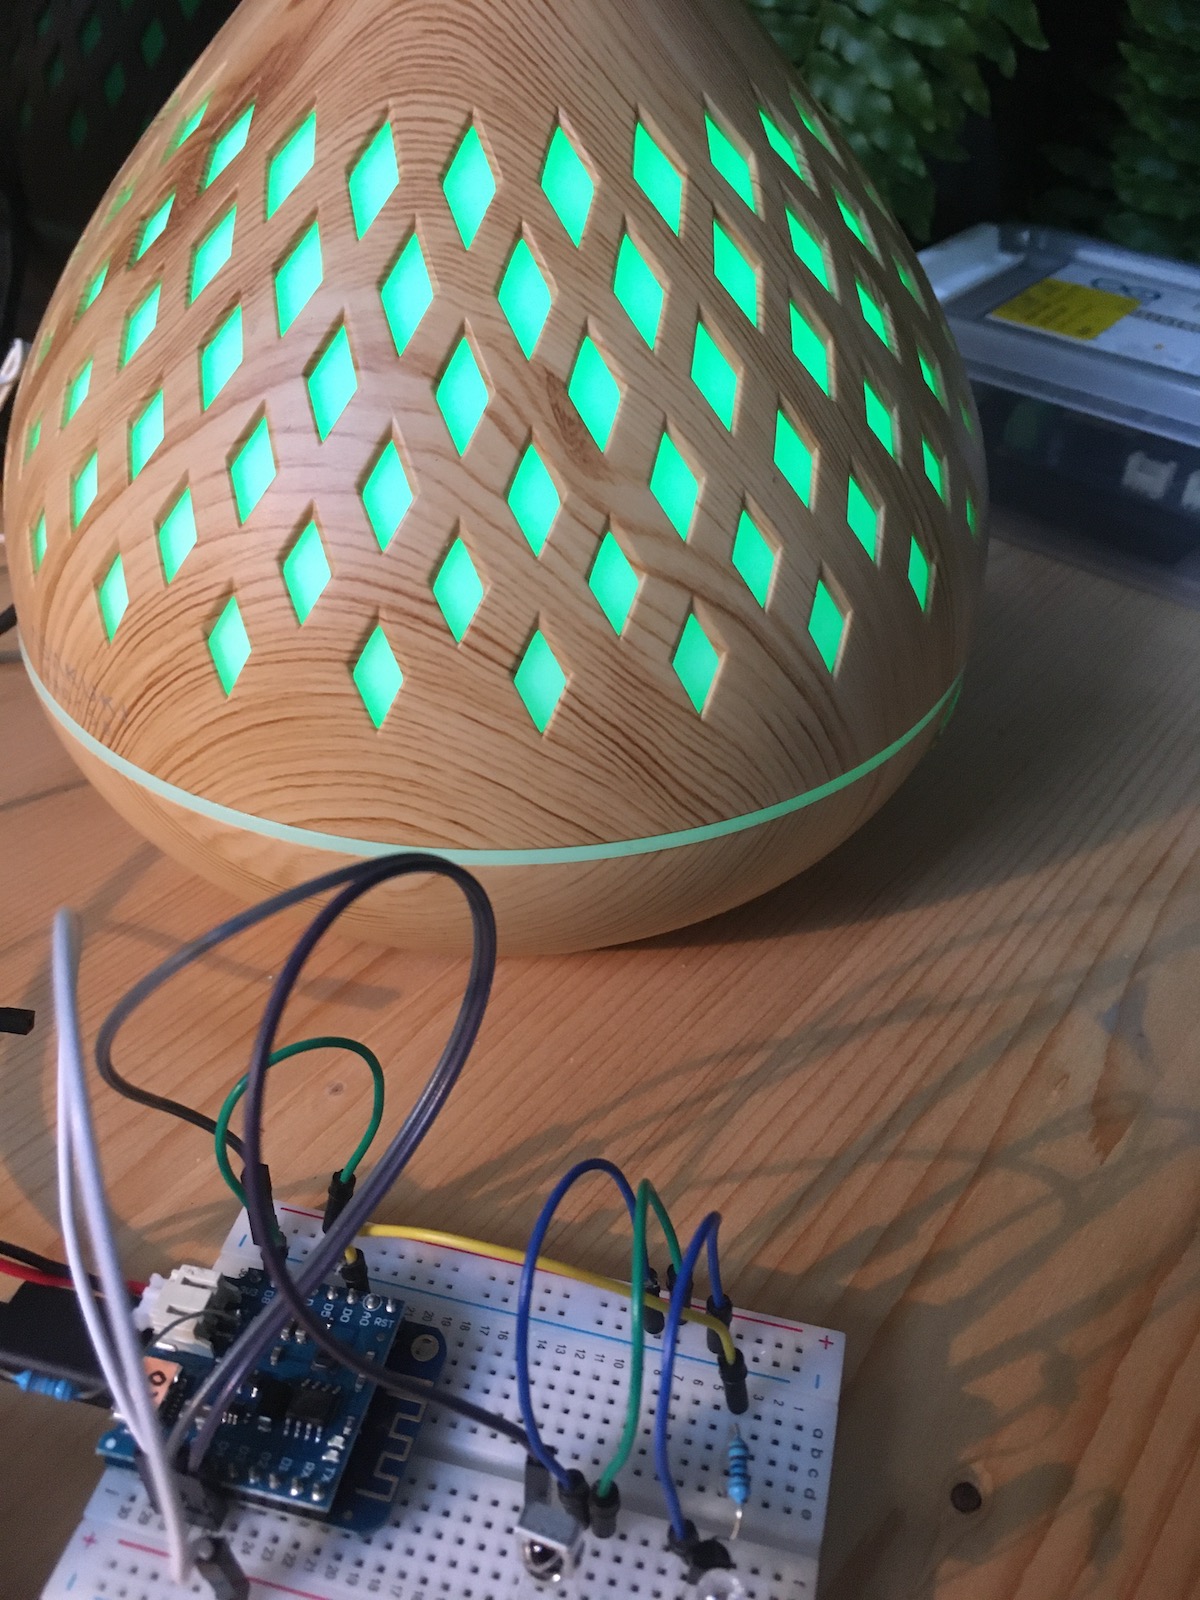
My complete hardware setup looks as follows:
IR Gateway Flashing
For this gateway, the Chrome browser-based installation method is sufficient. Connect the esp82666 board via USB to your computer, then go to the web install page and select the nodemcu2-rf model. A dialog opens, and the flashing process begins:

Once done, disconnect the device, choose a steady power supply, and switch it on again.
IR Gateway Configuration
The initial configuration follows the same method as with other OpenMQTT gateways. The device emits an Wi-Fi hotspot with the name OMG-ESP8266-IR. Connect to it, enter the default password, and the configuration screen appears.
The WebUI has a very clear layout. For the initial configuration, you need to click on Configure Wifi. Then, a new screen opens which shows a from to enter your Wi-Fi credentials and how to access your MQTT broker, including options for securing via username-password combination or even uploading a client certificate. Once you are done, click on “Save”. When you are not using the WebUi anymore, the device will automatically restart. Alternatively you can reset the device manually.
Receiving IR Gateway MQTT messages
Immediately after booting, you should see the topic SysToMQTT which will broadcast detailed information about the gatway configuration. A message from this topic is as follows:
{
  "uptime": 206,
  "version": "v1.6.0",
  "discovery": true,
  "ohdiscovery": false,
  "env": "nodemcuv2-ir",
  "freemem": 32904,
  "mqttport": "1883",
  "mqttsecure": true,
  "rssi": -47,
  // ...
  "modules": [
    "IR"
  ]
}
Now, lets test how commands from a remote are captured. The first device of my choice is a humidifier. Its remote allows on/off, setting the time interval, controlling the light and more. Pressing these buttons results in the following MQTT messages:
// humidifier light switch
{
  "value": 16732335,
  "protocol": 3,
  "bits": 32,
  "hex": "0xFF50AF",
  "protocol_name": "NEC",
  "raw": "9046,4492,618,518,554,580,586,552,580,558,590,546,590,546,616,522,580,556,588,1660,588,1658,618,1630,588,1660,586,1662,586,1660,586,1662,620,1628,592,546,586,1662,586,550,578,1670,586,550,618,518,584,554,576,560,616,1632,596,540,590,1658,586,550,586,1662,592,1656,590,1656,592,1654,592"
}

{
  "value": 18446744073709551615,
  "protocol": 3,
  "bits": 0,
  "hex": "0xFFFFFFFFFFFFFFFF",
  "protocol_name": "NEC",
  "raw": "9036,2254,572"
}
Then pressing the TIMER switch:
// humidifier TIMER Switch
{
  "value": 16716015,
  "protocol": 3,
  "bits": 32,
  "hex": "0xFF10EF",
  "protocol_name": "NEC",
  "raw": "9036,4506,570,566,570,566,570,566,572,564,572,564,572,568,570,564,572,568,568,1702,546,1700,546,1680,568,1674,572,1702,546,1676,572,1678,570,1678,570,564,572,566,570,566,572,1678,568,564,574,564,572,564,572,564,572,1678,570,1678,570,1678,568,566,570,1678,570,1676,570,1678,568,1680,568"
}

{
  "value": 18446744073709551615,
  "protocol": 3,
  "bits": 0,
  "hex": "0xFFFFFFFFFFFFFFFF",
  "protocol_name": "NEC",
  "raw": "9034,2256,572"
}
As you see, each button pressed results in two payloads. The first payload identifies the concrete button, and the second payload is the same unique identifier for this remote. Furthermore, each payload is a raw packet, containing a value in HEX and decimal, the number of bits send, and the raw bits.
Let’s compare this to TV infrared signals. I have an LG and Samsung TV, and see the following signals when pressing the on/off switch.
// LG TV on/off
{
  "value": 18446744073709551615,
  "protocol": 3,
  "bits": 0,
  "hex": "0xFFFFFFFFFFFFFFFF",
  "protocol_name": "NEC",
  "raw": "9056,2274,494"
}

{
  "value": 551489775,
  "protocol": 3,
  "bits": 32,
  "hex": "0x20DF10EF",
  "protocol_name": "NEC",
  "raw": "9056,4530,494,632,494,634,494,1788,468,634,494,634,494,632,496,634,494,634,494,1762,492,1762,494,634,492,1762,494,1764,492,1762,494,1788,468,1762,492,632,496,634,494,634,494,1762,494,632,494,632,494,634,494,630,496,1760,494,1762,494,1762,494,632,494,1766,492,1762,492,1788,468,1764,490"
}
// Samsung TV on/off

{
  "value": 3772793023,
  "protocol": 7,
  "bits": 32,
  "hex": "0xE0E040BF",
  "protocol_name": "SAMSUNG",
  "raw": "4460,4508,542,1730,516,1708,540,1730,516,570,540,570,540,570,542,566,544,568,542,1730,516,1730,516,1708,540,568,542,568,542,568,542,570,540,568,542,568,542,1708,540,570,540,568,542,568,542,568,542,568,542,568,542,1708,540,570,540,1730,516,1706,540,1708,538,1706,542,1704,540,1708,540"
}
Interestingly, for the Samsung TV, it recognized a different protocol, and no confirmation message was sent.
But what do you do with this information? OpenMQTT gateway does not provide any mapping of the IR signals to concrete buttons pressed, it only parses the signals and provides this information as raw data. It’s up to you to note down which data corresponds to which button, and then define a MQTT message consumer in you IOT software stack for triggering automations. For example, you could use a remote controls volume button to send volume values to a set of sound boxes.
And another option is to send these signals back to the devices. Let’s see this in the next section.
Sending IR messages
The OpenMQTT IR gateway listens on a defined MQTT topic for incoming commands. These commands can be instructions to send an IR signal. You can replicate the captured information and play it back to the device, effectively copying the remote controls functionality. And since you can capture data from several remotes, this might open a path to replace all remotes with just one sender.
As a practical test, I used the humidifiers on/off switch as an example. The message to the OpenMQTT Gateway needs to include only two parameters: The value and protocol. Here is the crafted message:
// >openmqtt/ir/commands/MQTTtoIR

{
  "value":16732335,
  "protocol":3
}
That’s it. The humidifier is turned on or off whenever the MqttGateway receives this message.

In order to scale this idea up to controlling several devices, you should consider that both the IR sending by the gateway and the IR receiving of the device that you wish to control are limiting factors. Finding a spot in your home from which all devices can be reached could be tricky. For this, I recommend to read about the “IR Blaster”, a common name for DIY projects that create a universal and powerful IR transmitter. Alternatively. you can setup multiple IR gateways throughout your home.
Conclusion
The OpenMQTT IR gateway is a practical solution to making IR devices controllable with your home automation stack. You need an ESP board, a IR receiver and IR diode. Build it, flash it, and then see IR signals transformed into MQTT messages. By sending these messages back to the gateway, an IR signal is emitted. This turns the IR Gateway into a master remote control, and enables effective home automation for several devices in your home.